How to Turn Raw Bulk Hair and Ponytails into Ultra-Thin Seamless Tape-Ins at Home
🛡️ The Ultimate DIY Freedom: Saving Thousands Safely
Making your own seamless hair extensions is not just a creative hobby—it is an incredible path to financial freedom. The combined cost of purchasing high-end pre-made extensions, paying someone to manufacture custom wefts, and booking professional salon installations can easily skyrocket into thousands of dollars. For those who have been wearing extensions for years, learning to craft your own at home using our methods saves hundreds of thousands of dollars over a lifetime.
However, the absolute most important reason to make your own extensions at home isn't just about saving money—it is about protecting your long-term health.
🏥 The Truth About Liquid Polyurethane Glue vs. Our Non-Toxic USA Adhesives
Our business was founded in 2008 for one critical reason: Our founder is highly sensitive to standard chemical glues.
When looking for supplies to make your own tape-ins at home, it is absolutely vital to understand the severe health realities of using raw chemical adhesives:
- The Polyurethane Glue Toxicity Danger: Utilizing raw liquid polyurethane glue to make hair extensions at home is highly toxic to breathe for any amount of time. While finished factory-made wefts are not toxic to wear, using raw polyurethane adhesive yourself to build them releases dangerous, harsh chemical fumes that can severely irritate your lungs. No matter how cheap the glue is, it is never worth risking your respiratory health.
- The "Tiny Hair" Rip-Off: Beyond the safety risks, factory systems using polyurethane require a very sparse, thin amount of hair fibers so the chemical plastic can bond properly. In the end, you pay a massive premium for a very tiny, fragile millimeter of hair density.
- The Unlimited Density Freedom: When you make your extensions yourself using our method, you have complete control. You can use whatever rich, thick amount of hair fibers you desire to create voluminous, gorgeous wefts without inhaling dangerous fumes.
🏅 Our Gold Standard USA Adhesives
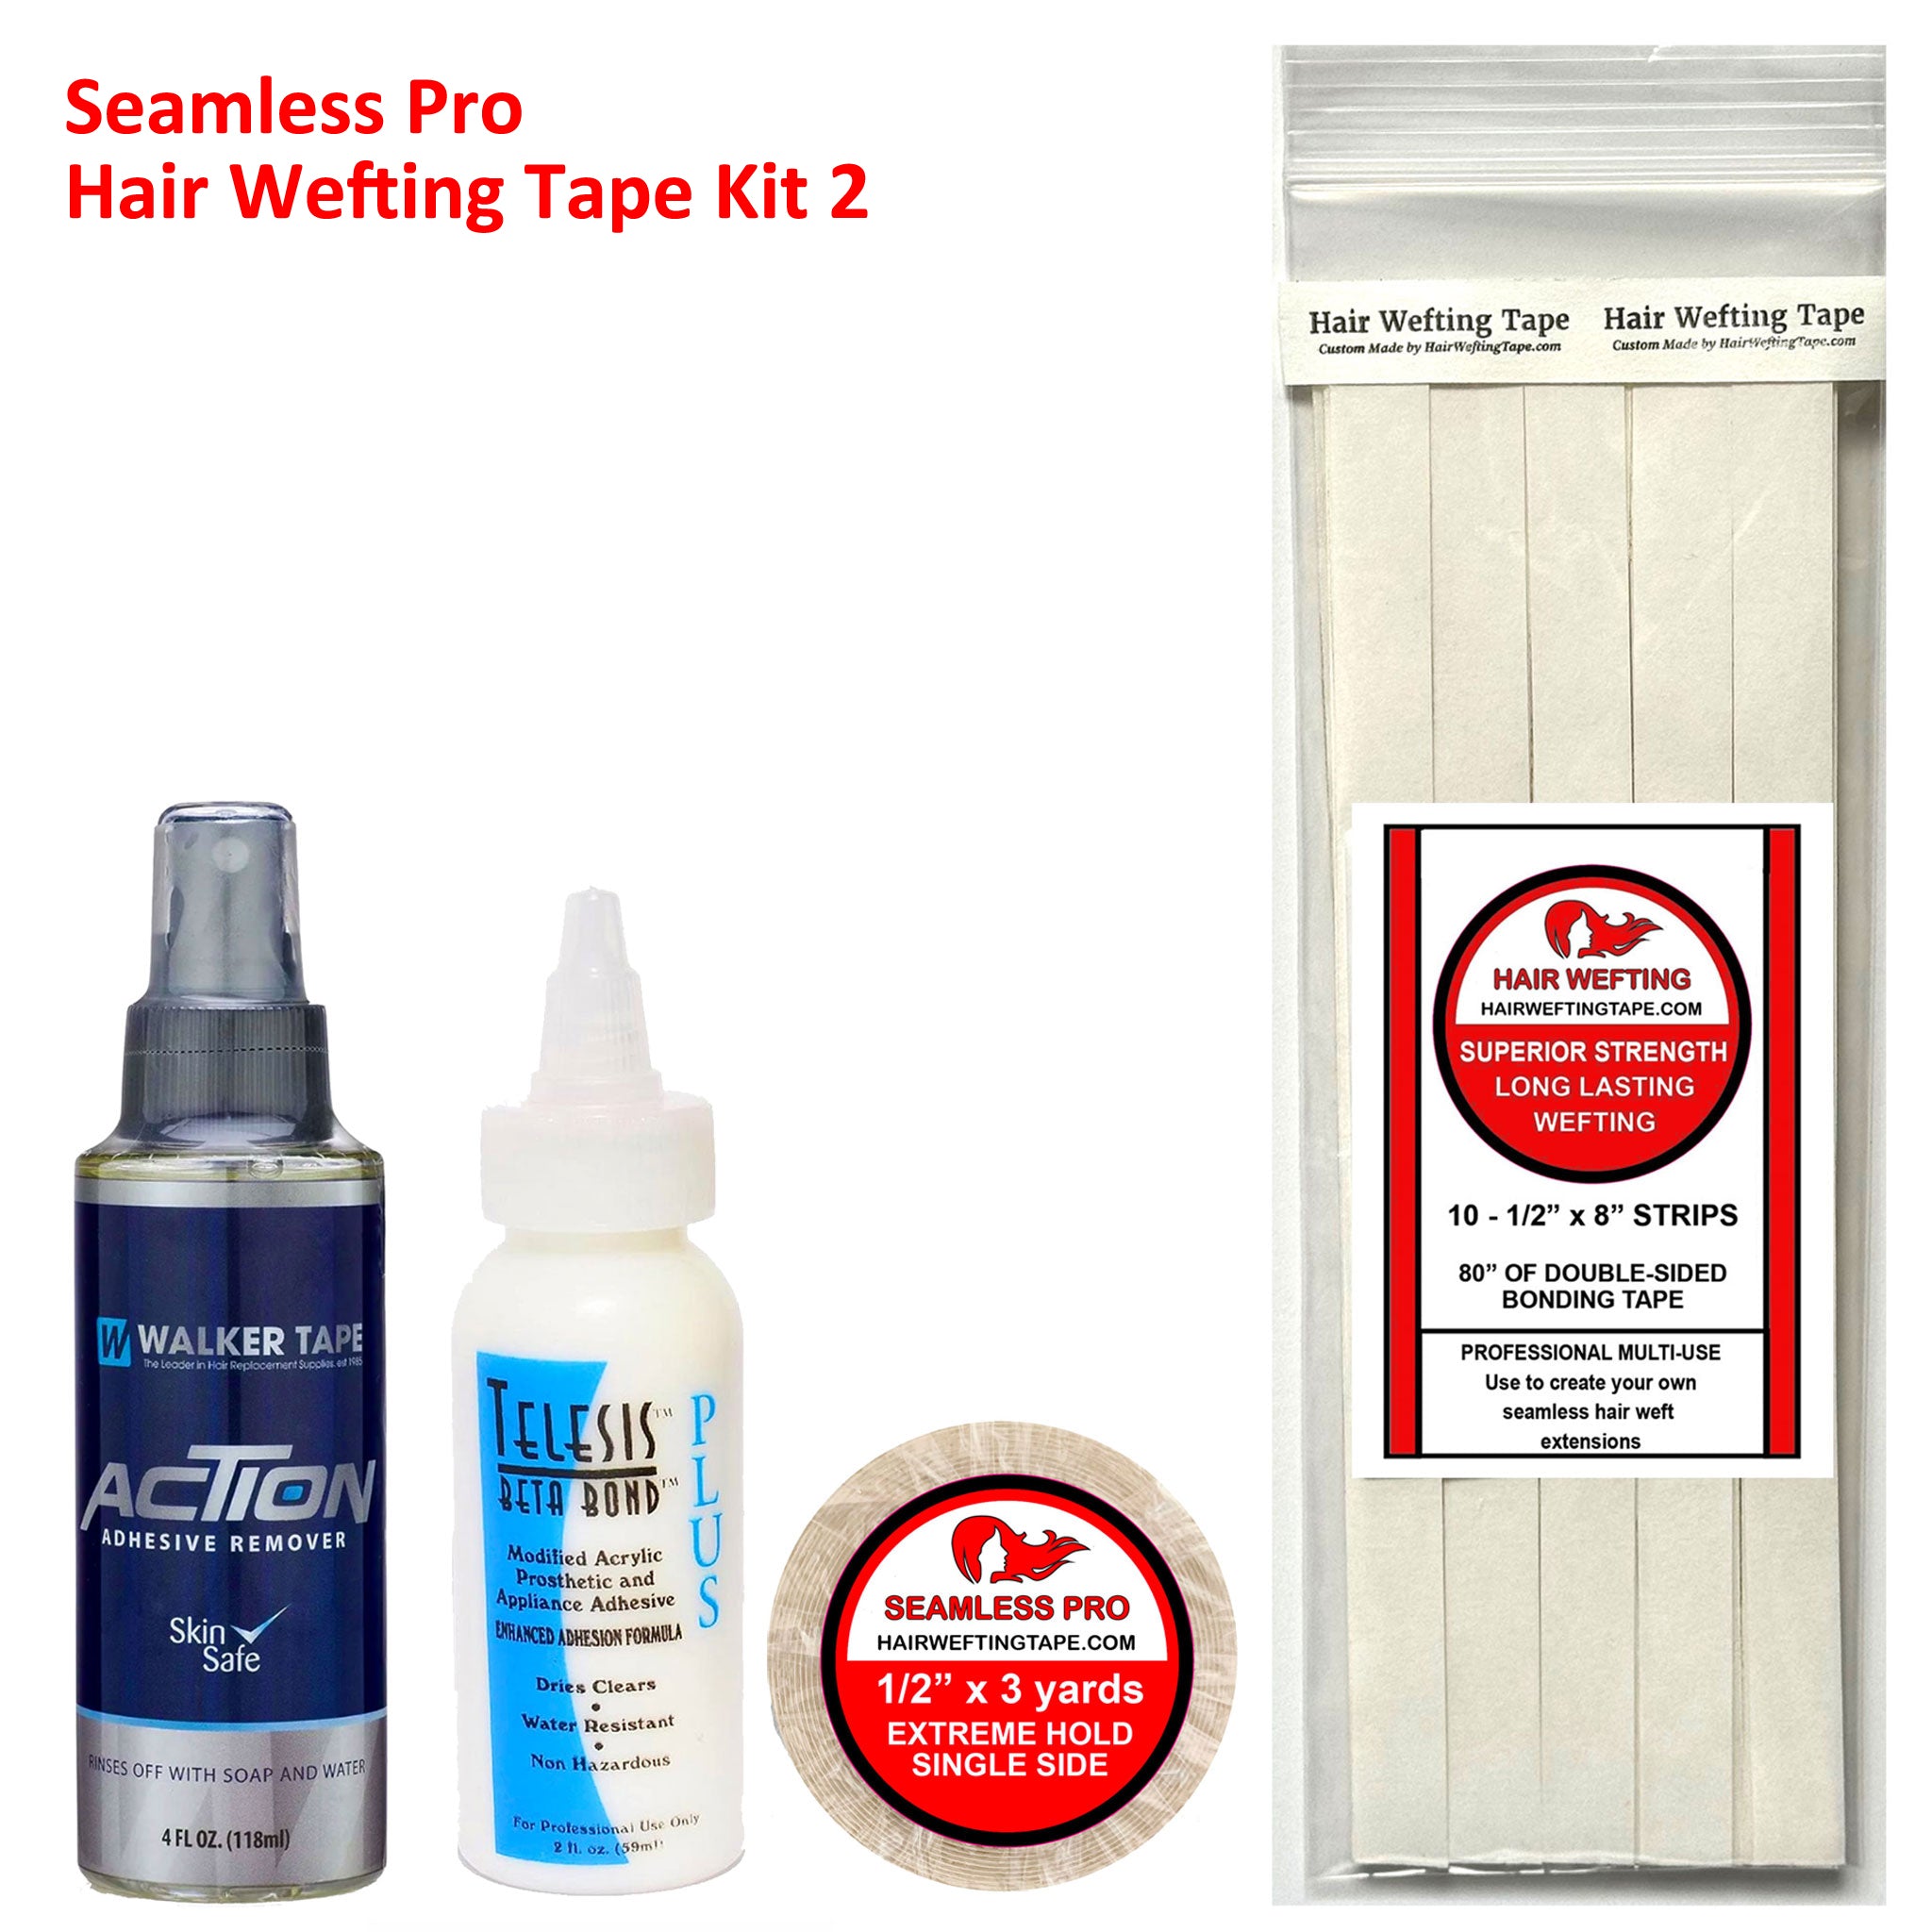
To give DIYers a safer, non-toxic option, we source and utilize only the safest adhesives available in the United States. We have integrated two legendary, professional products into our signature kits:
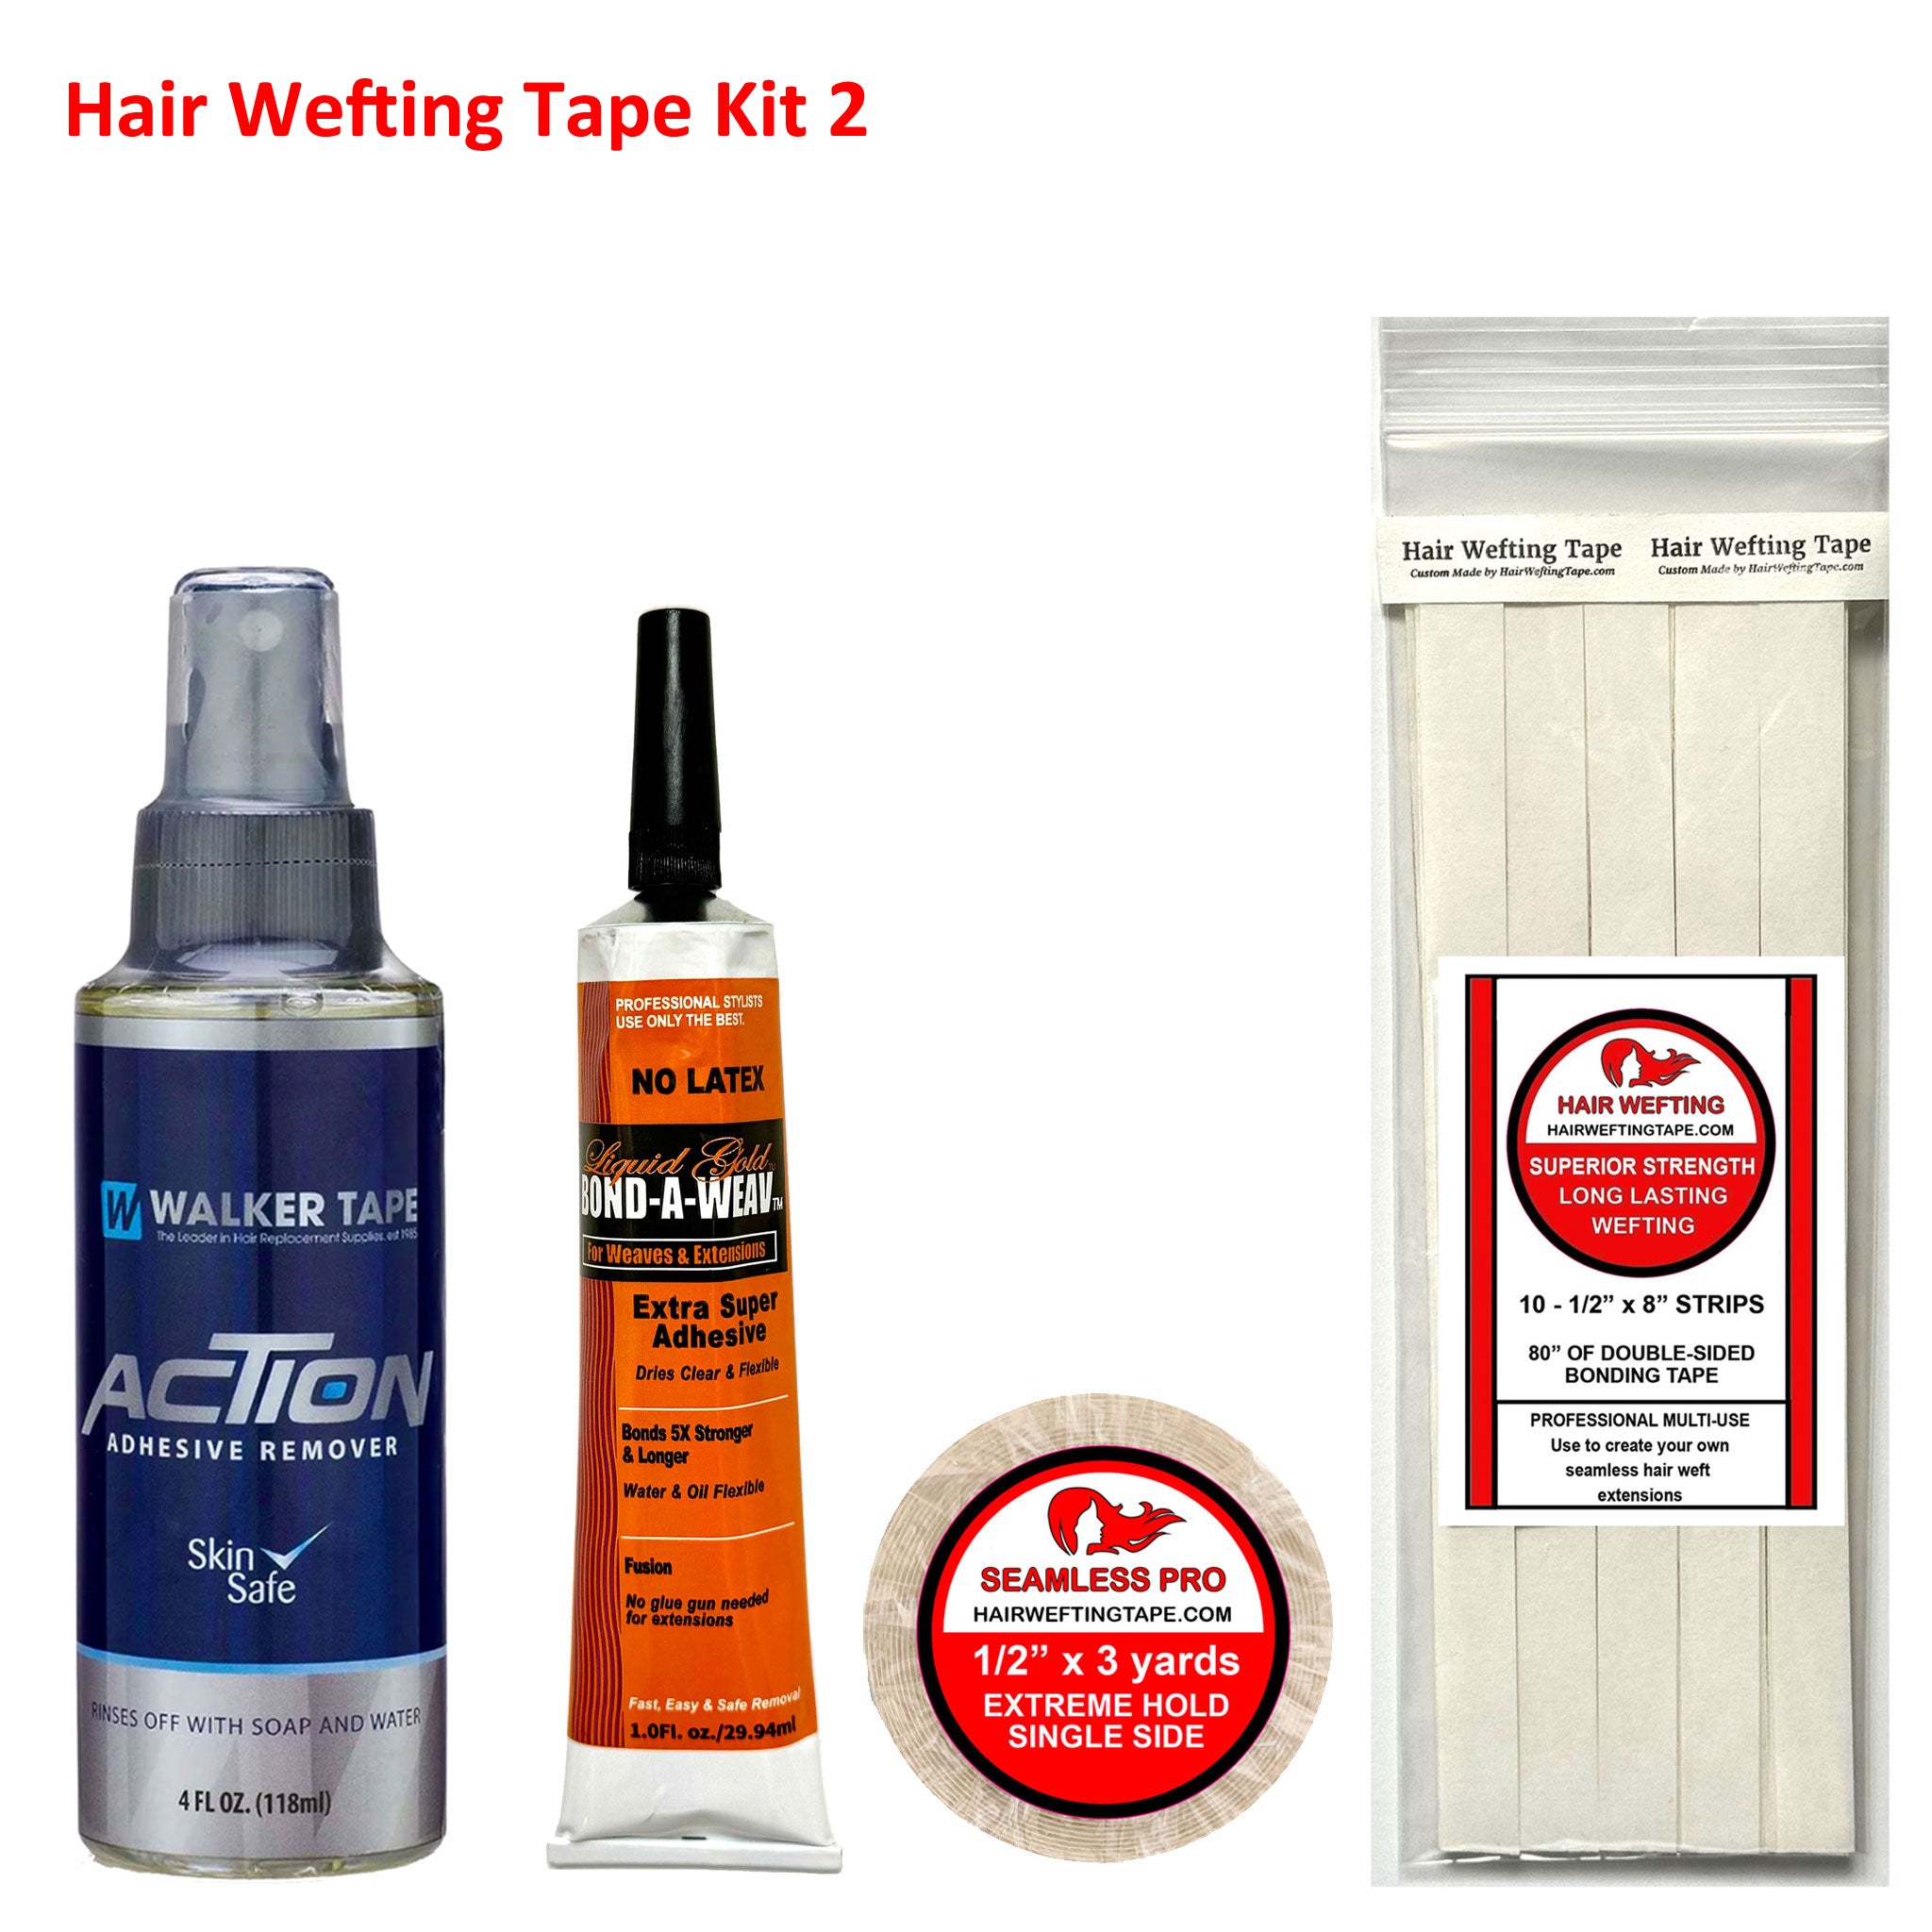
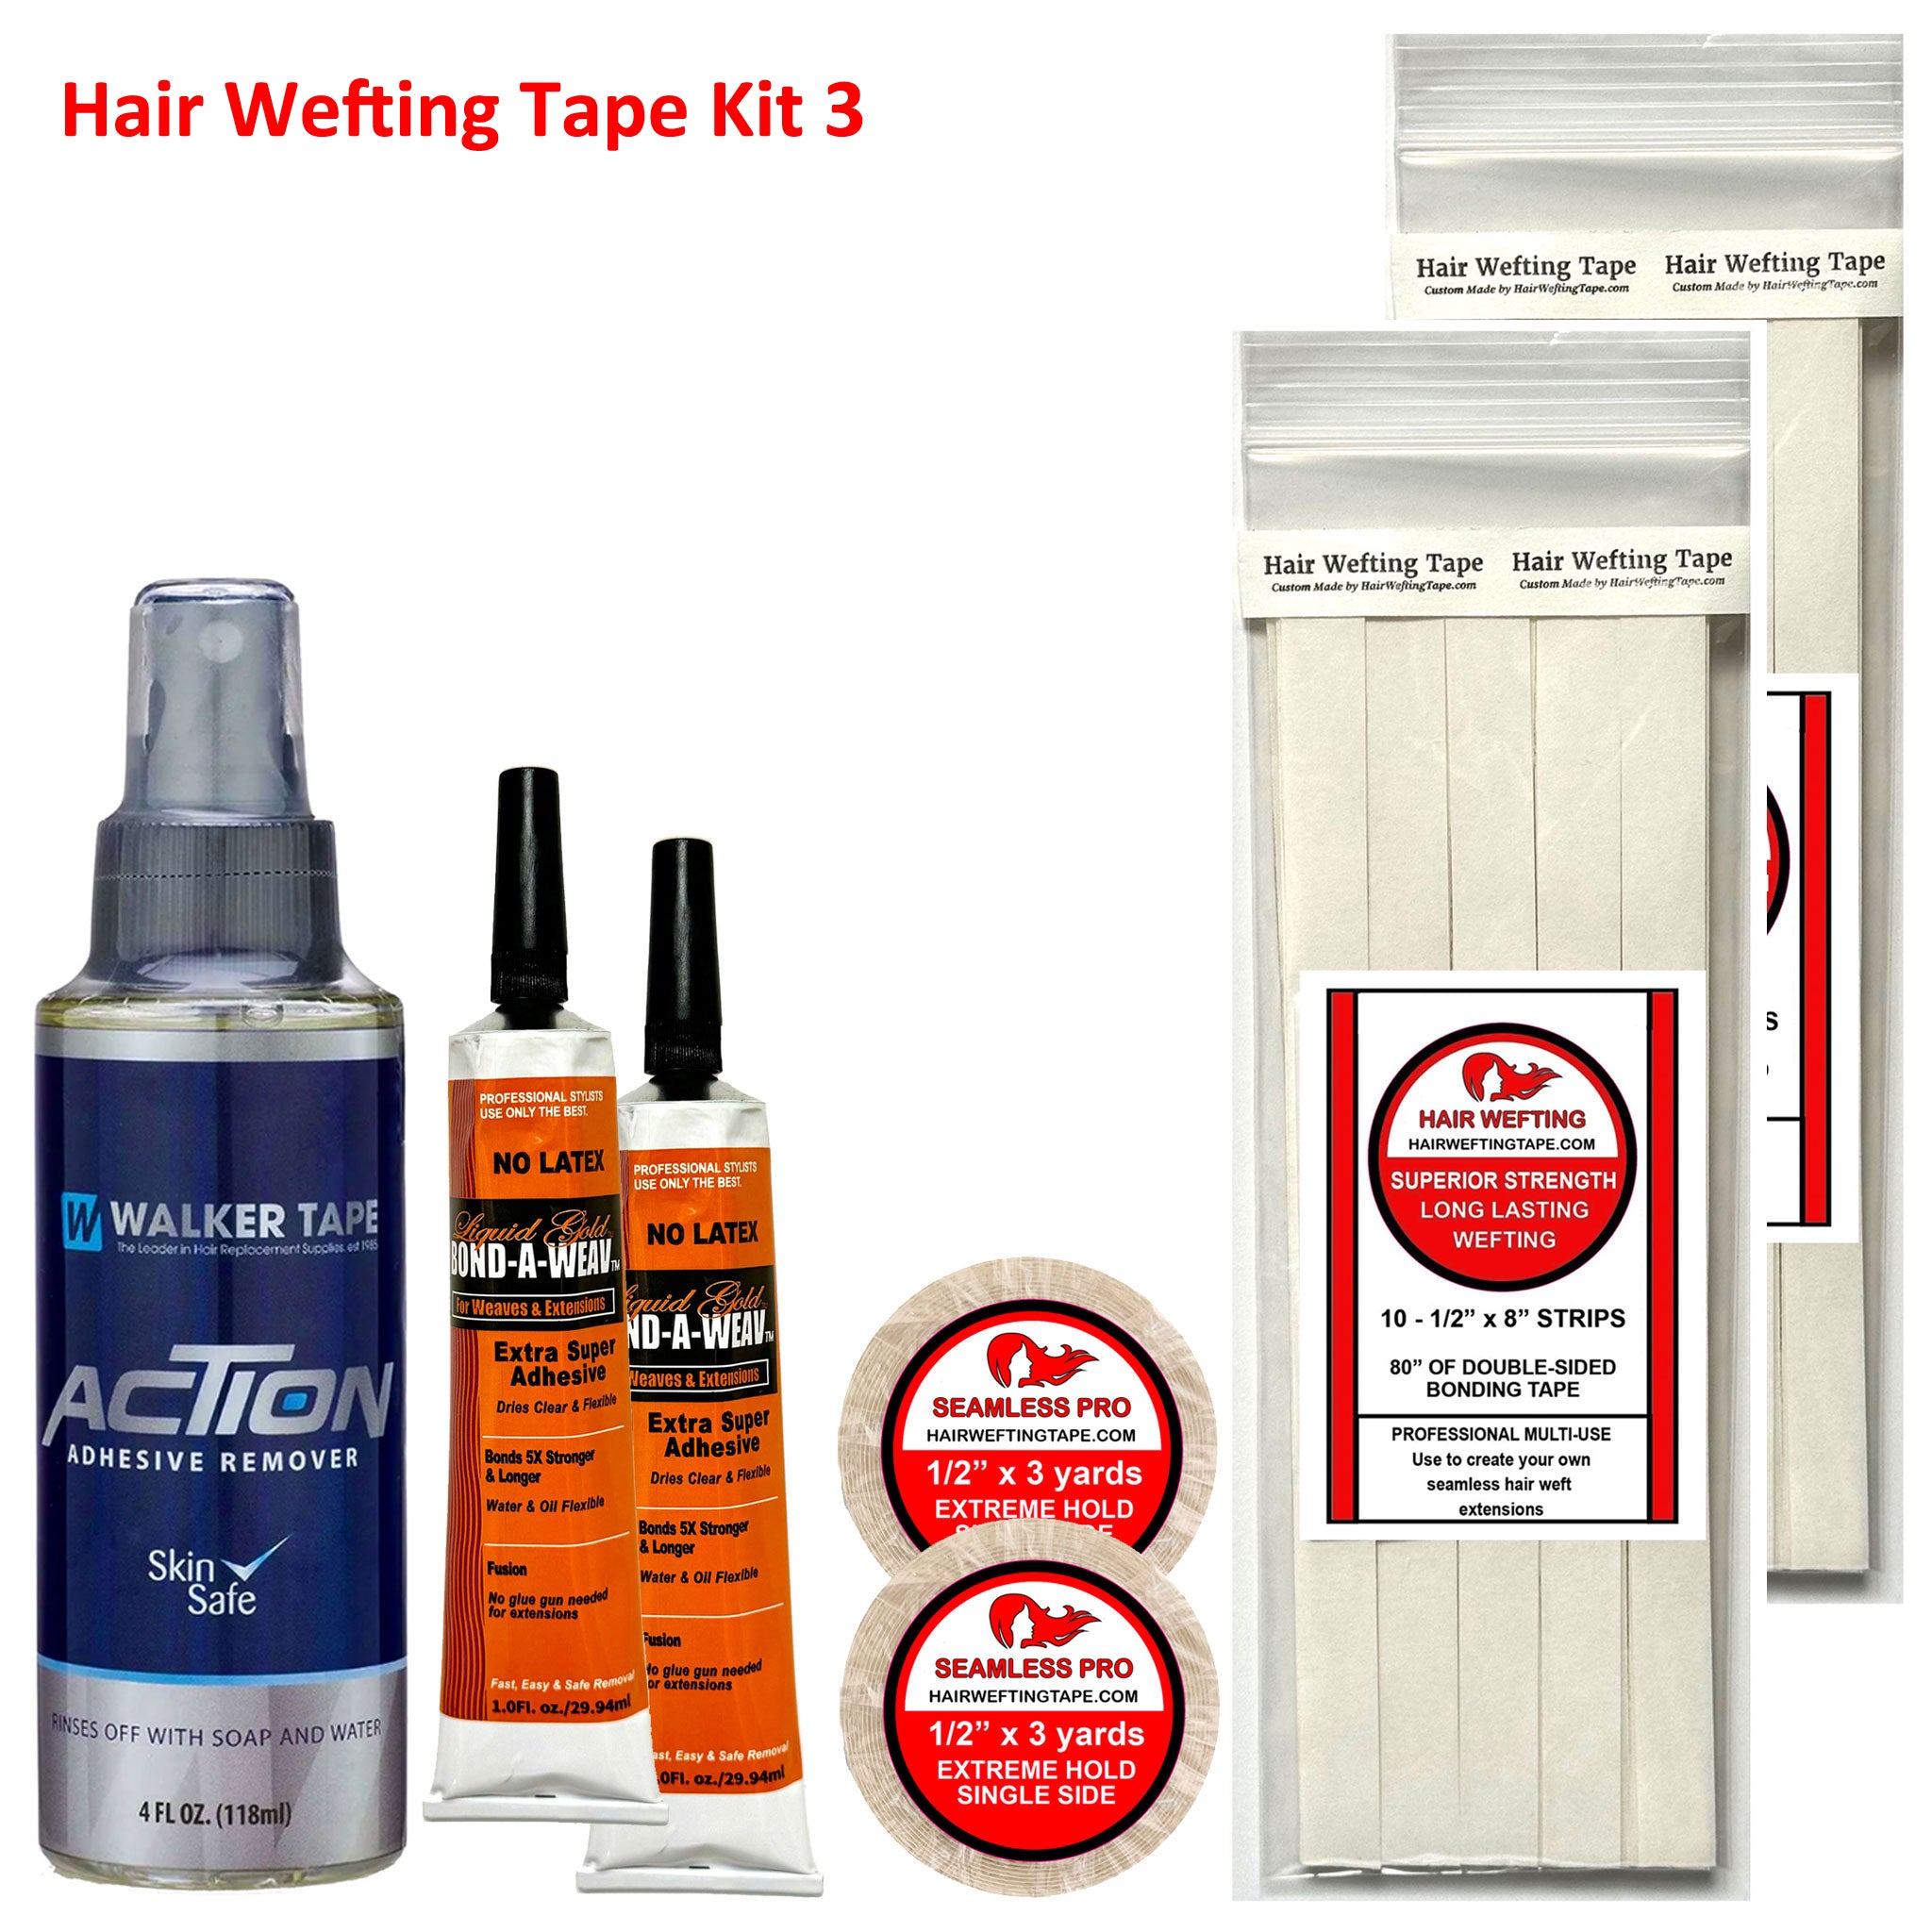
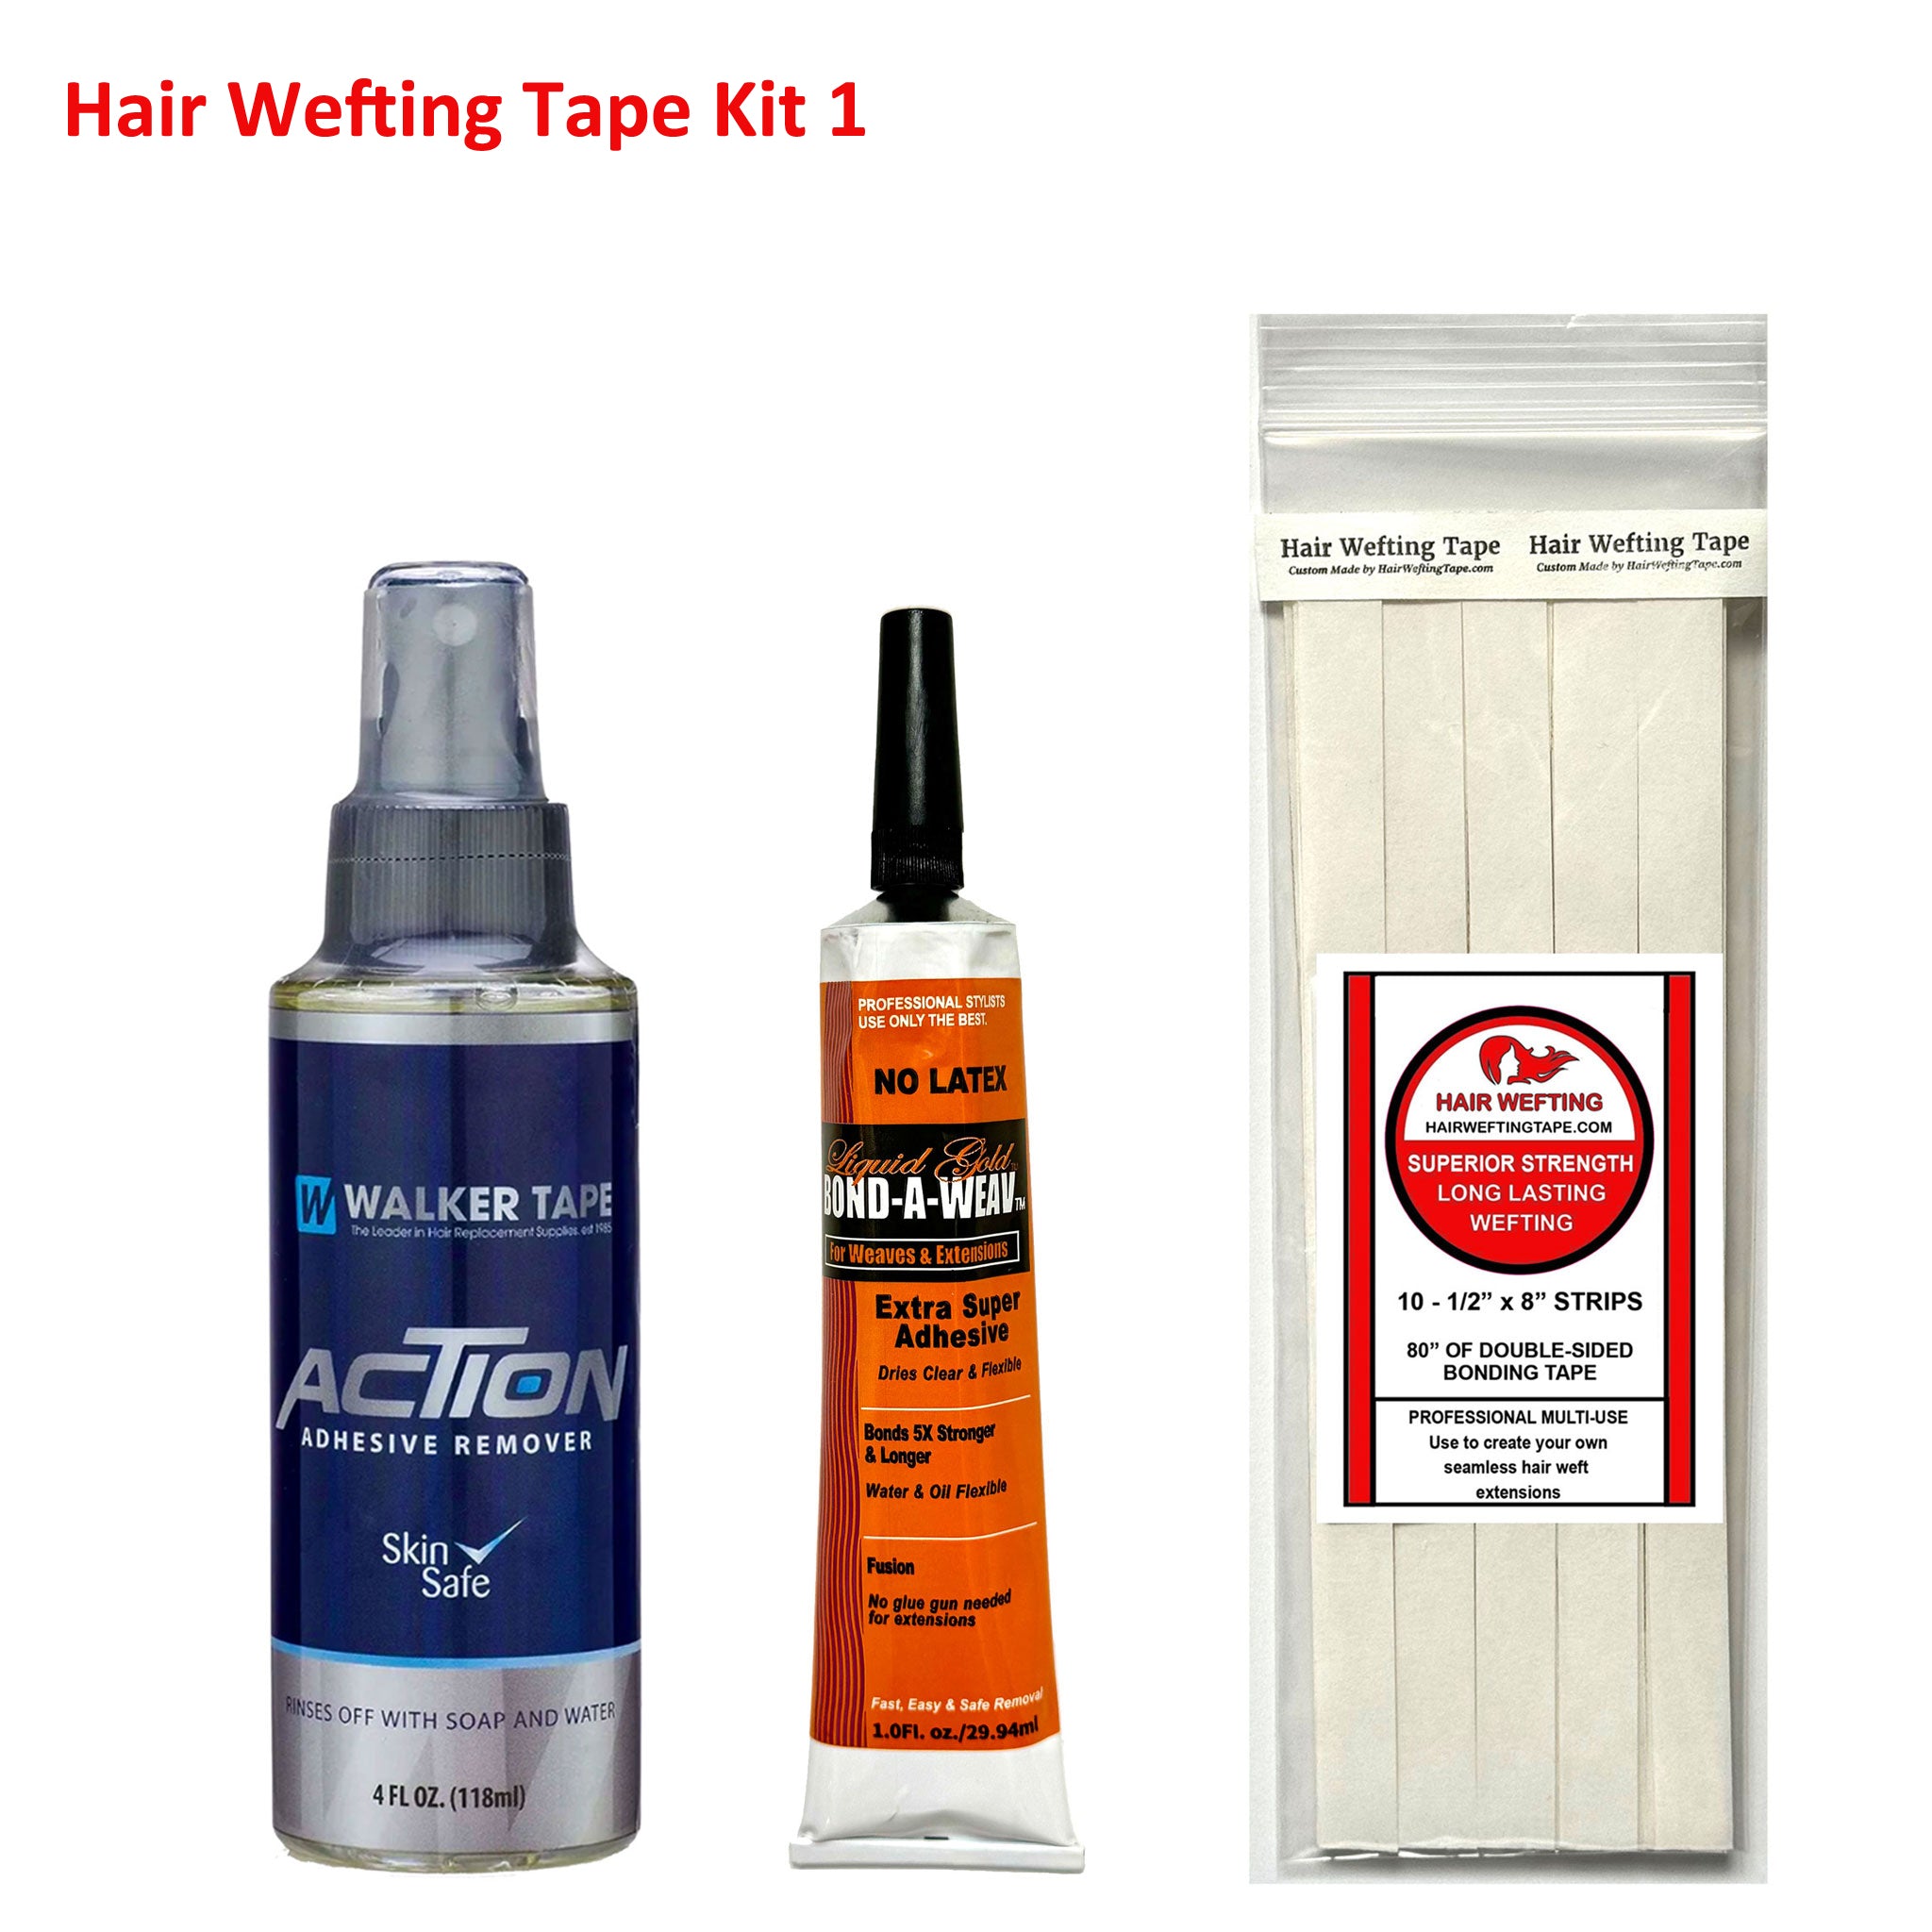
- Liquid Gold Bond Weave Hair Extension Glue: The premium gold standard for a secure, comfortable, and highly reliable extension hold. Available in our Hair Extension Wefting Kit Two.
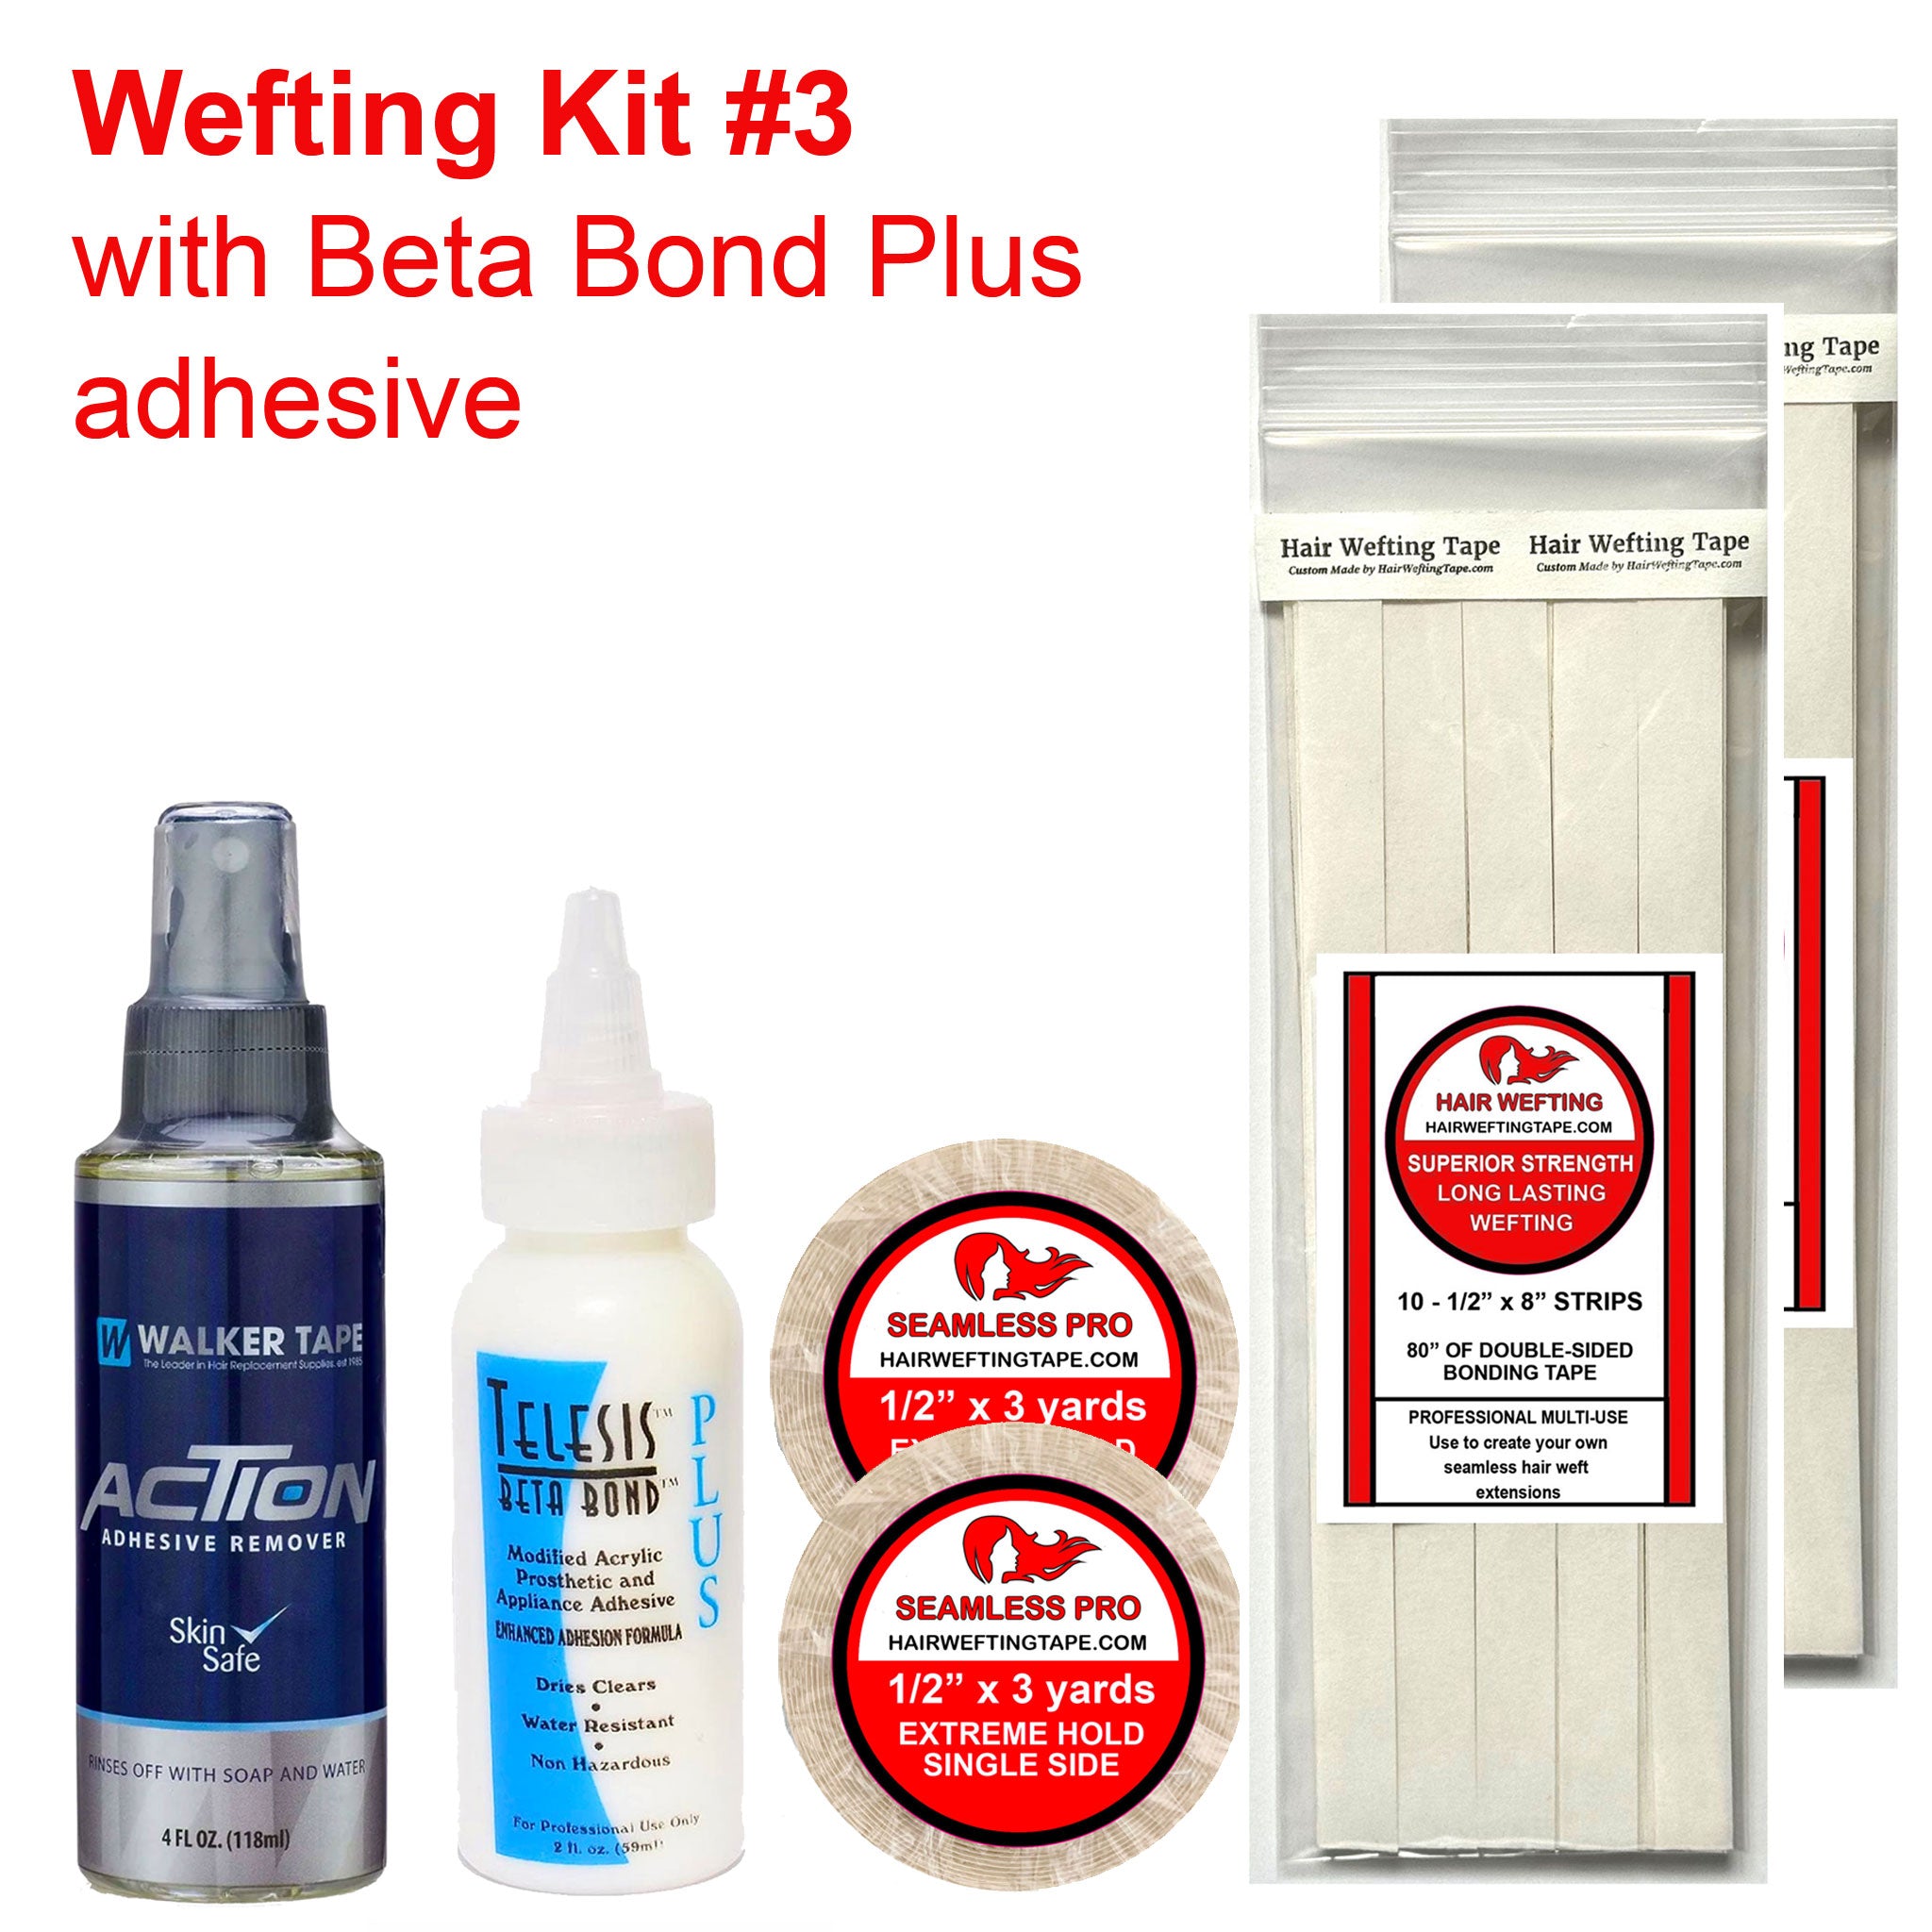
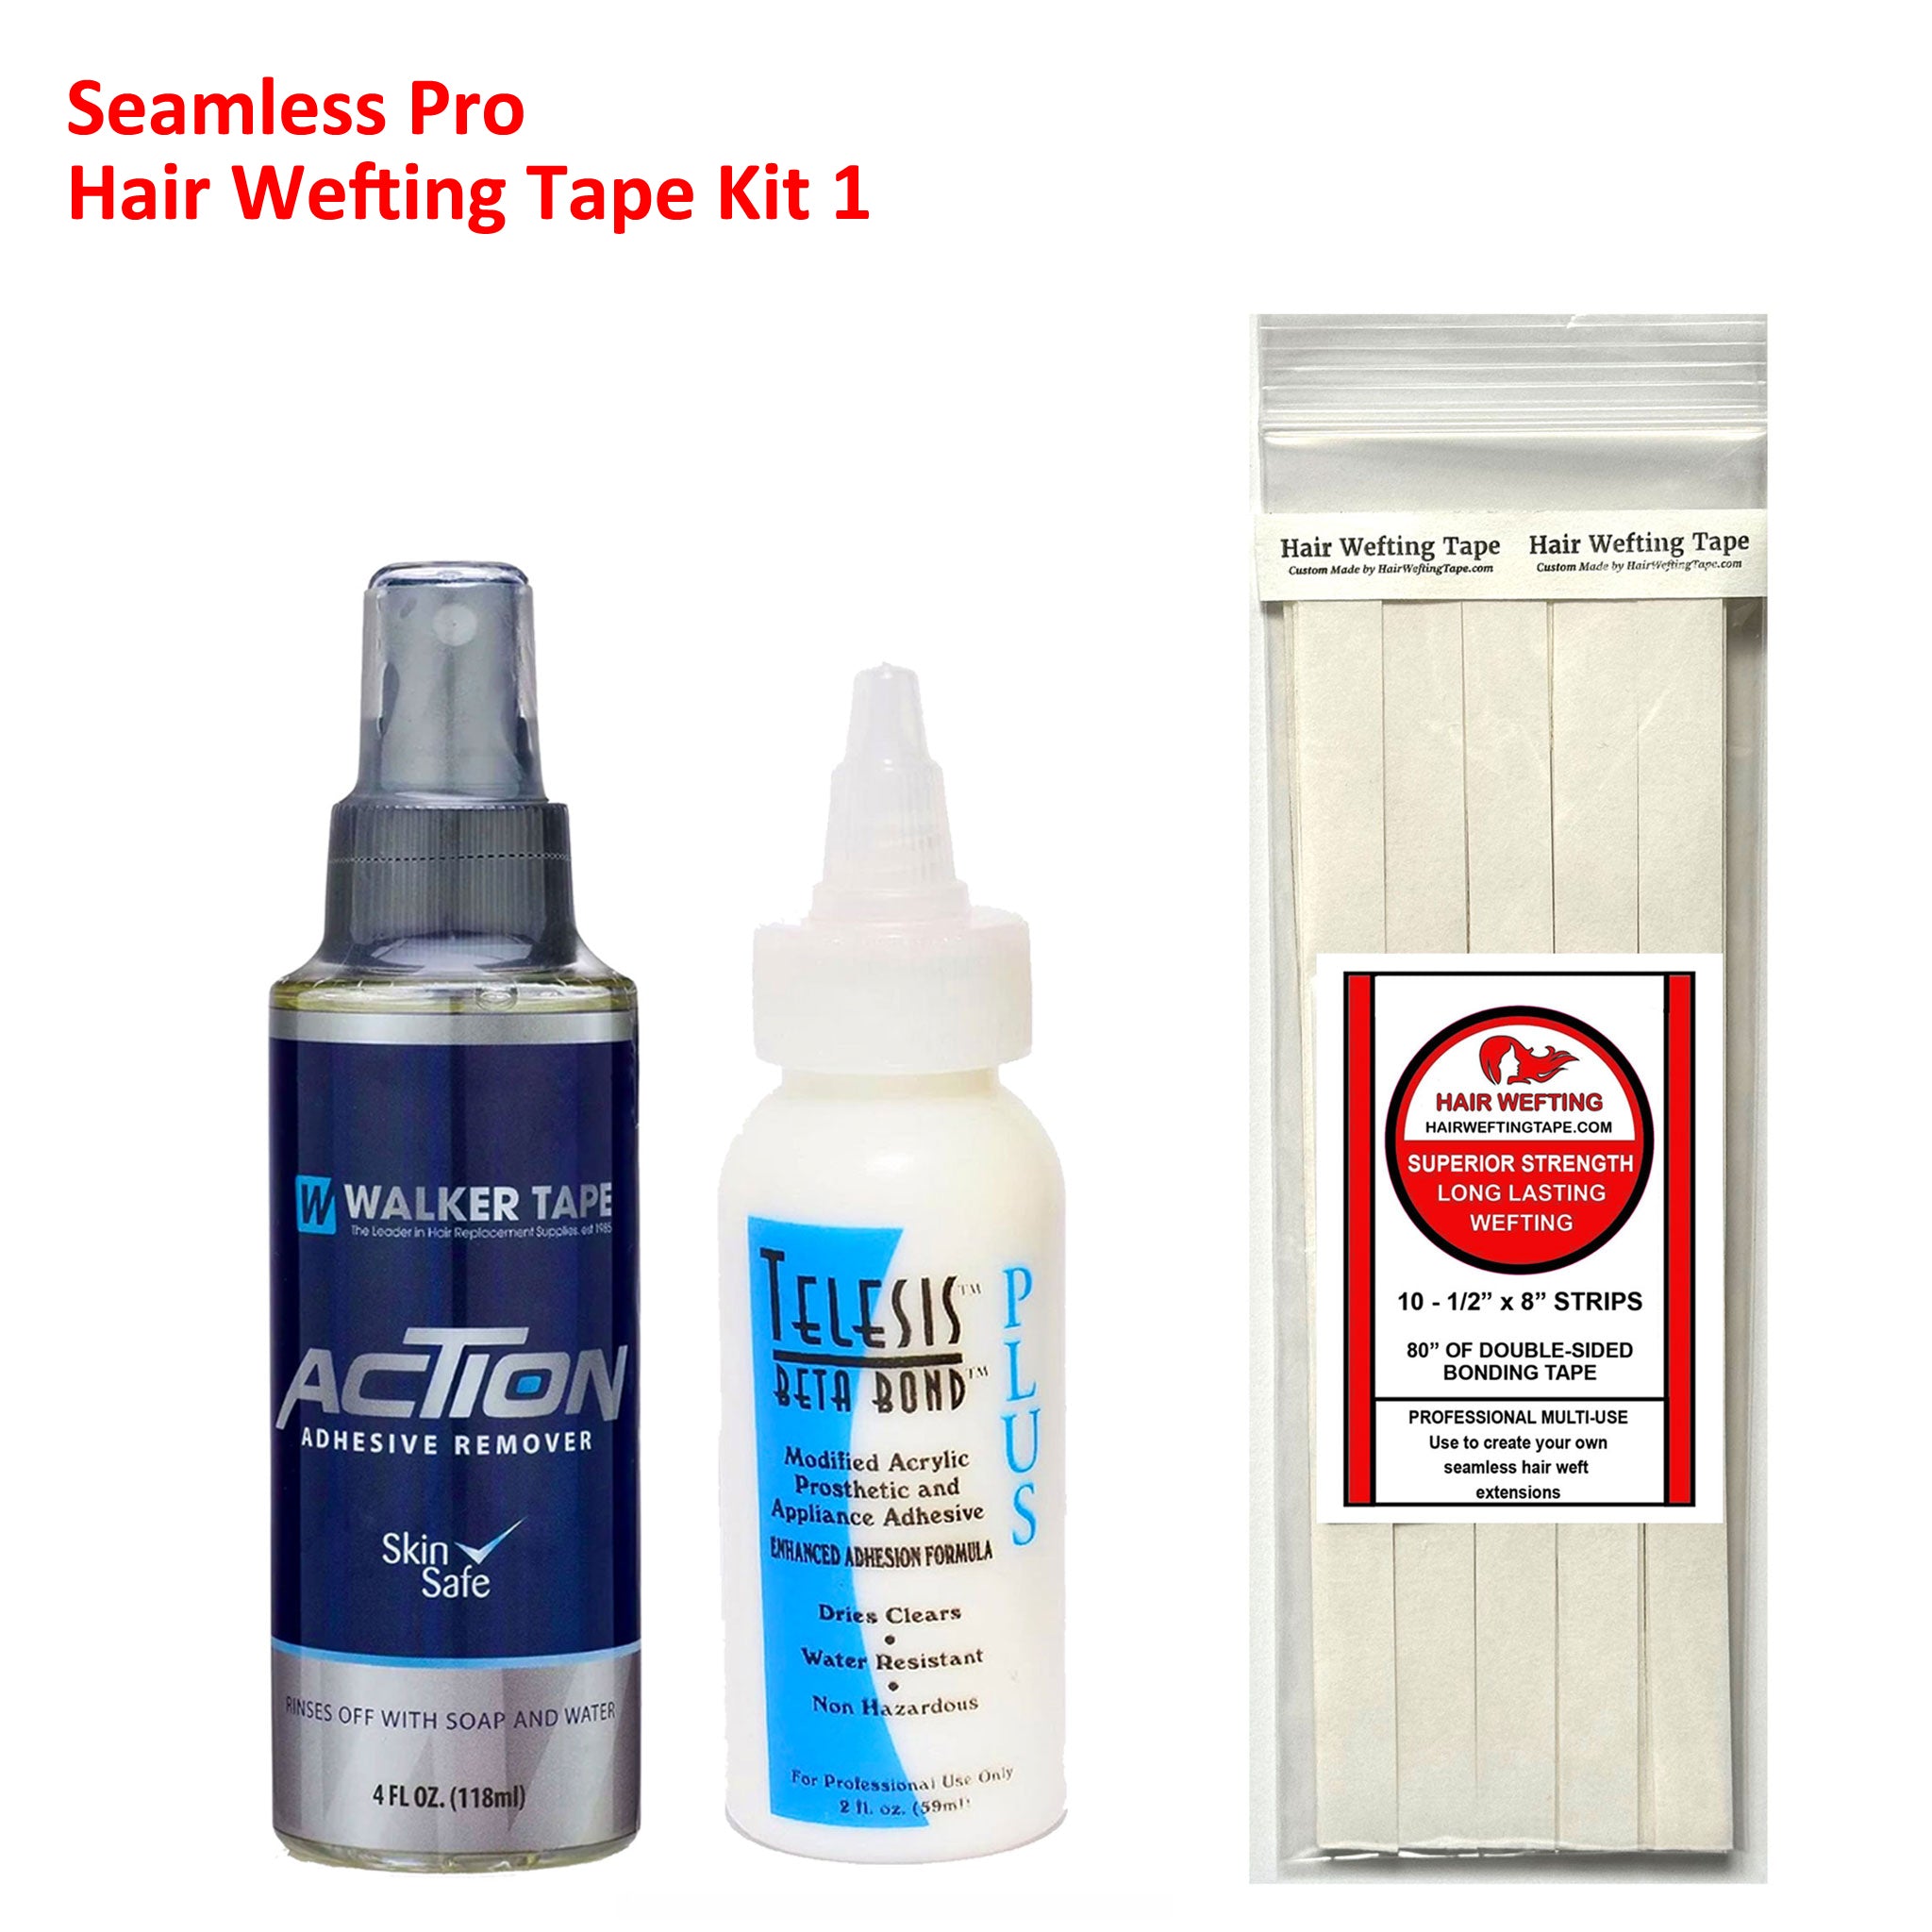
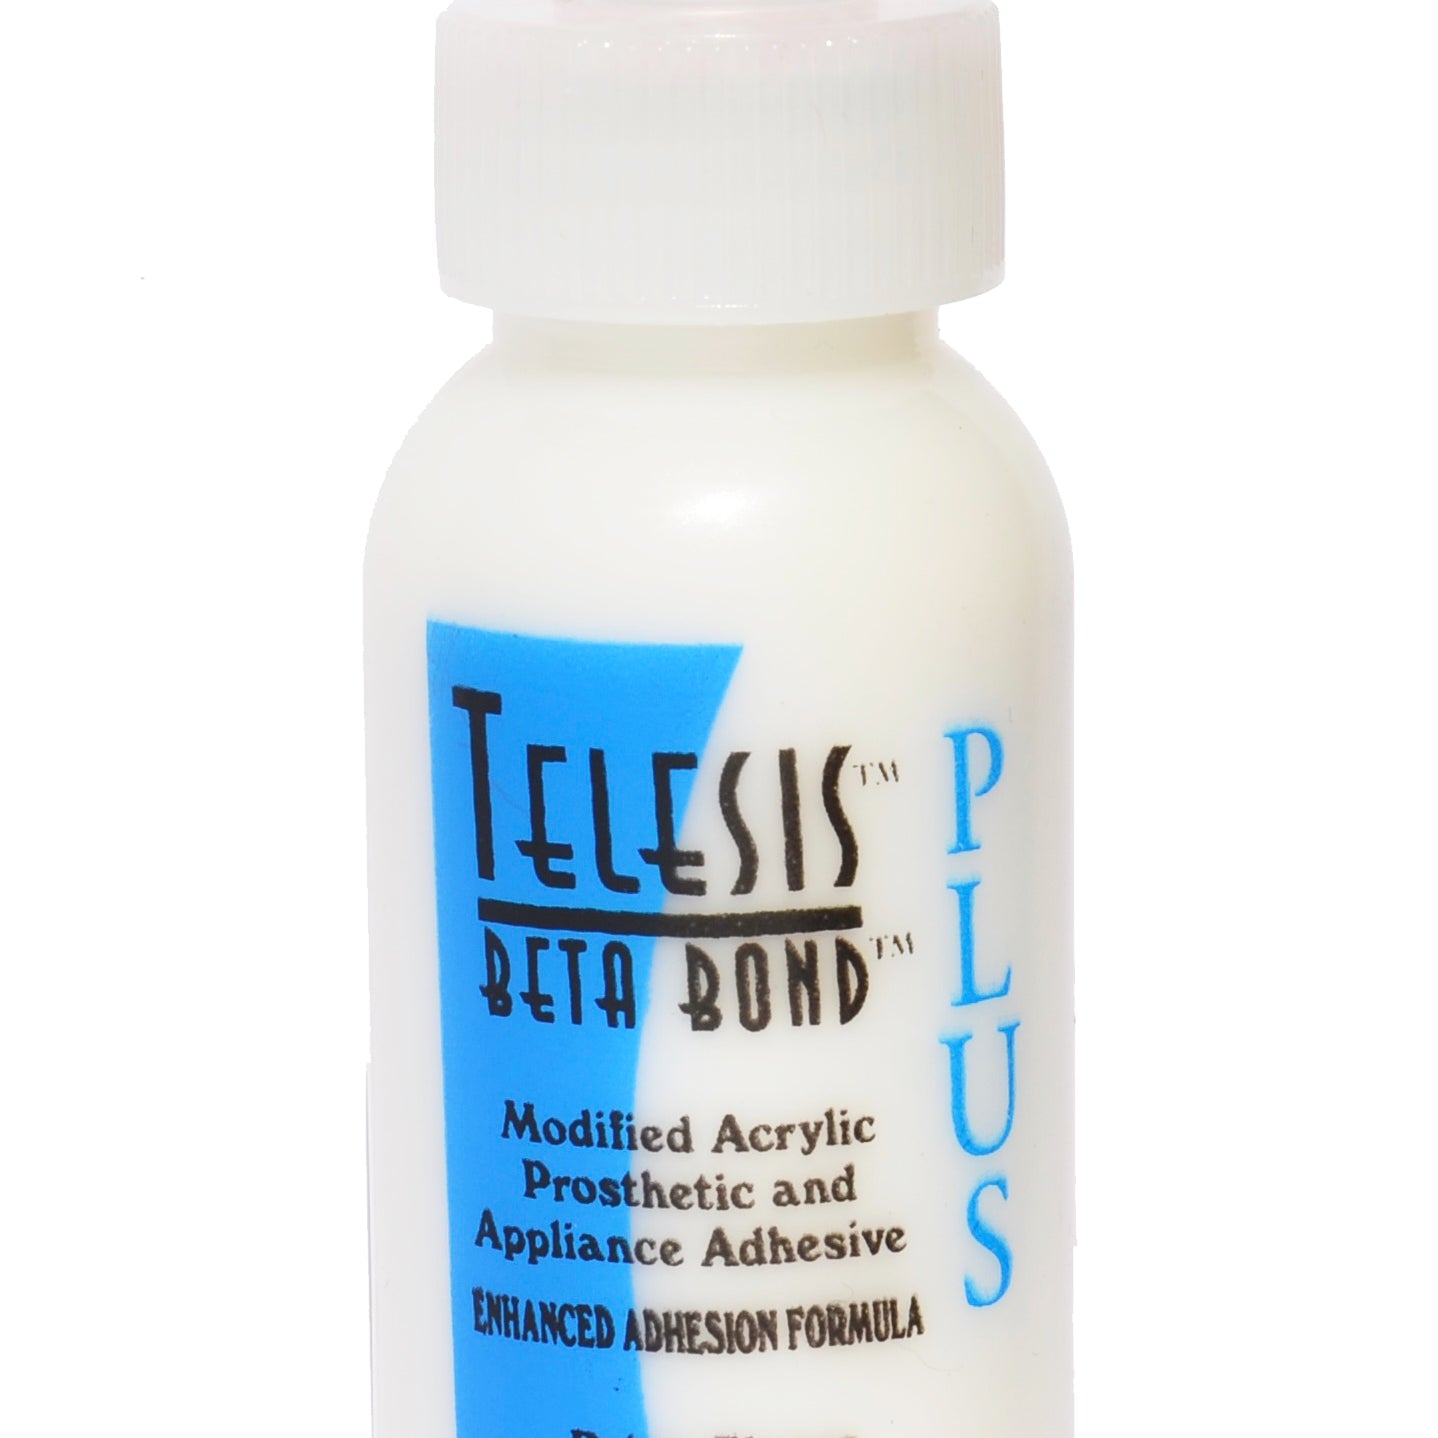
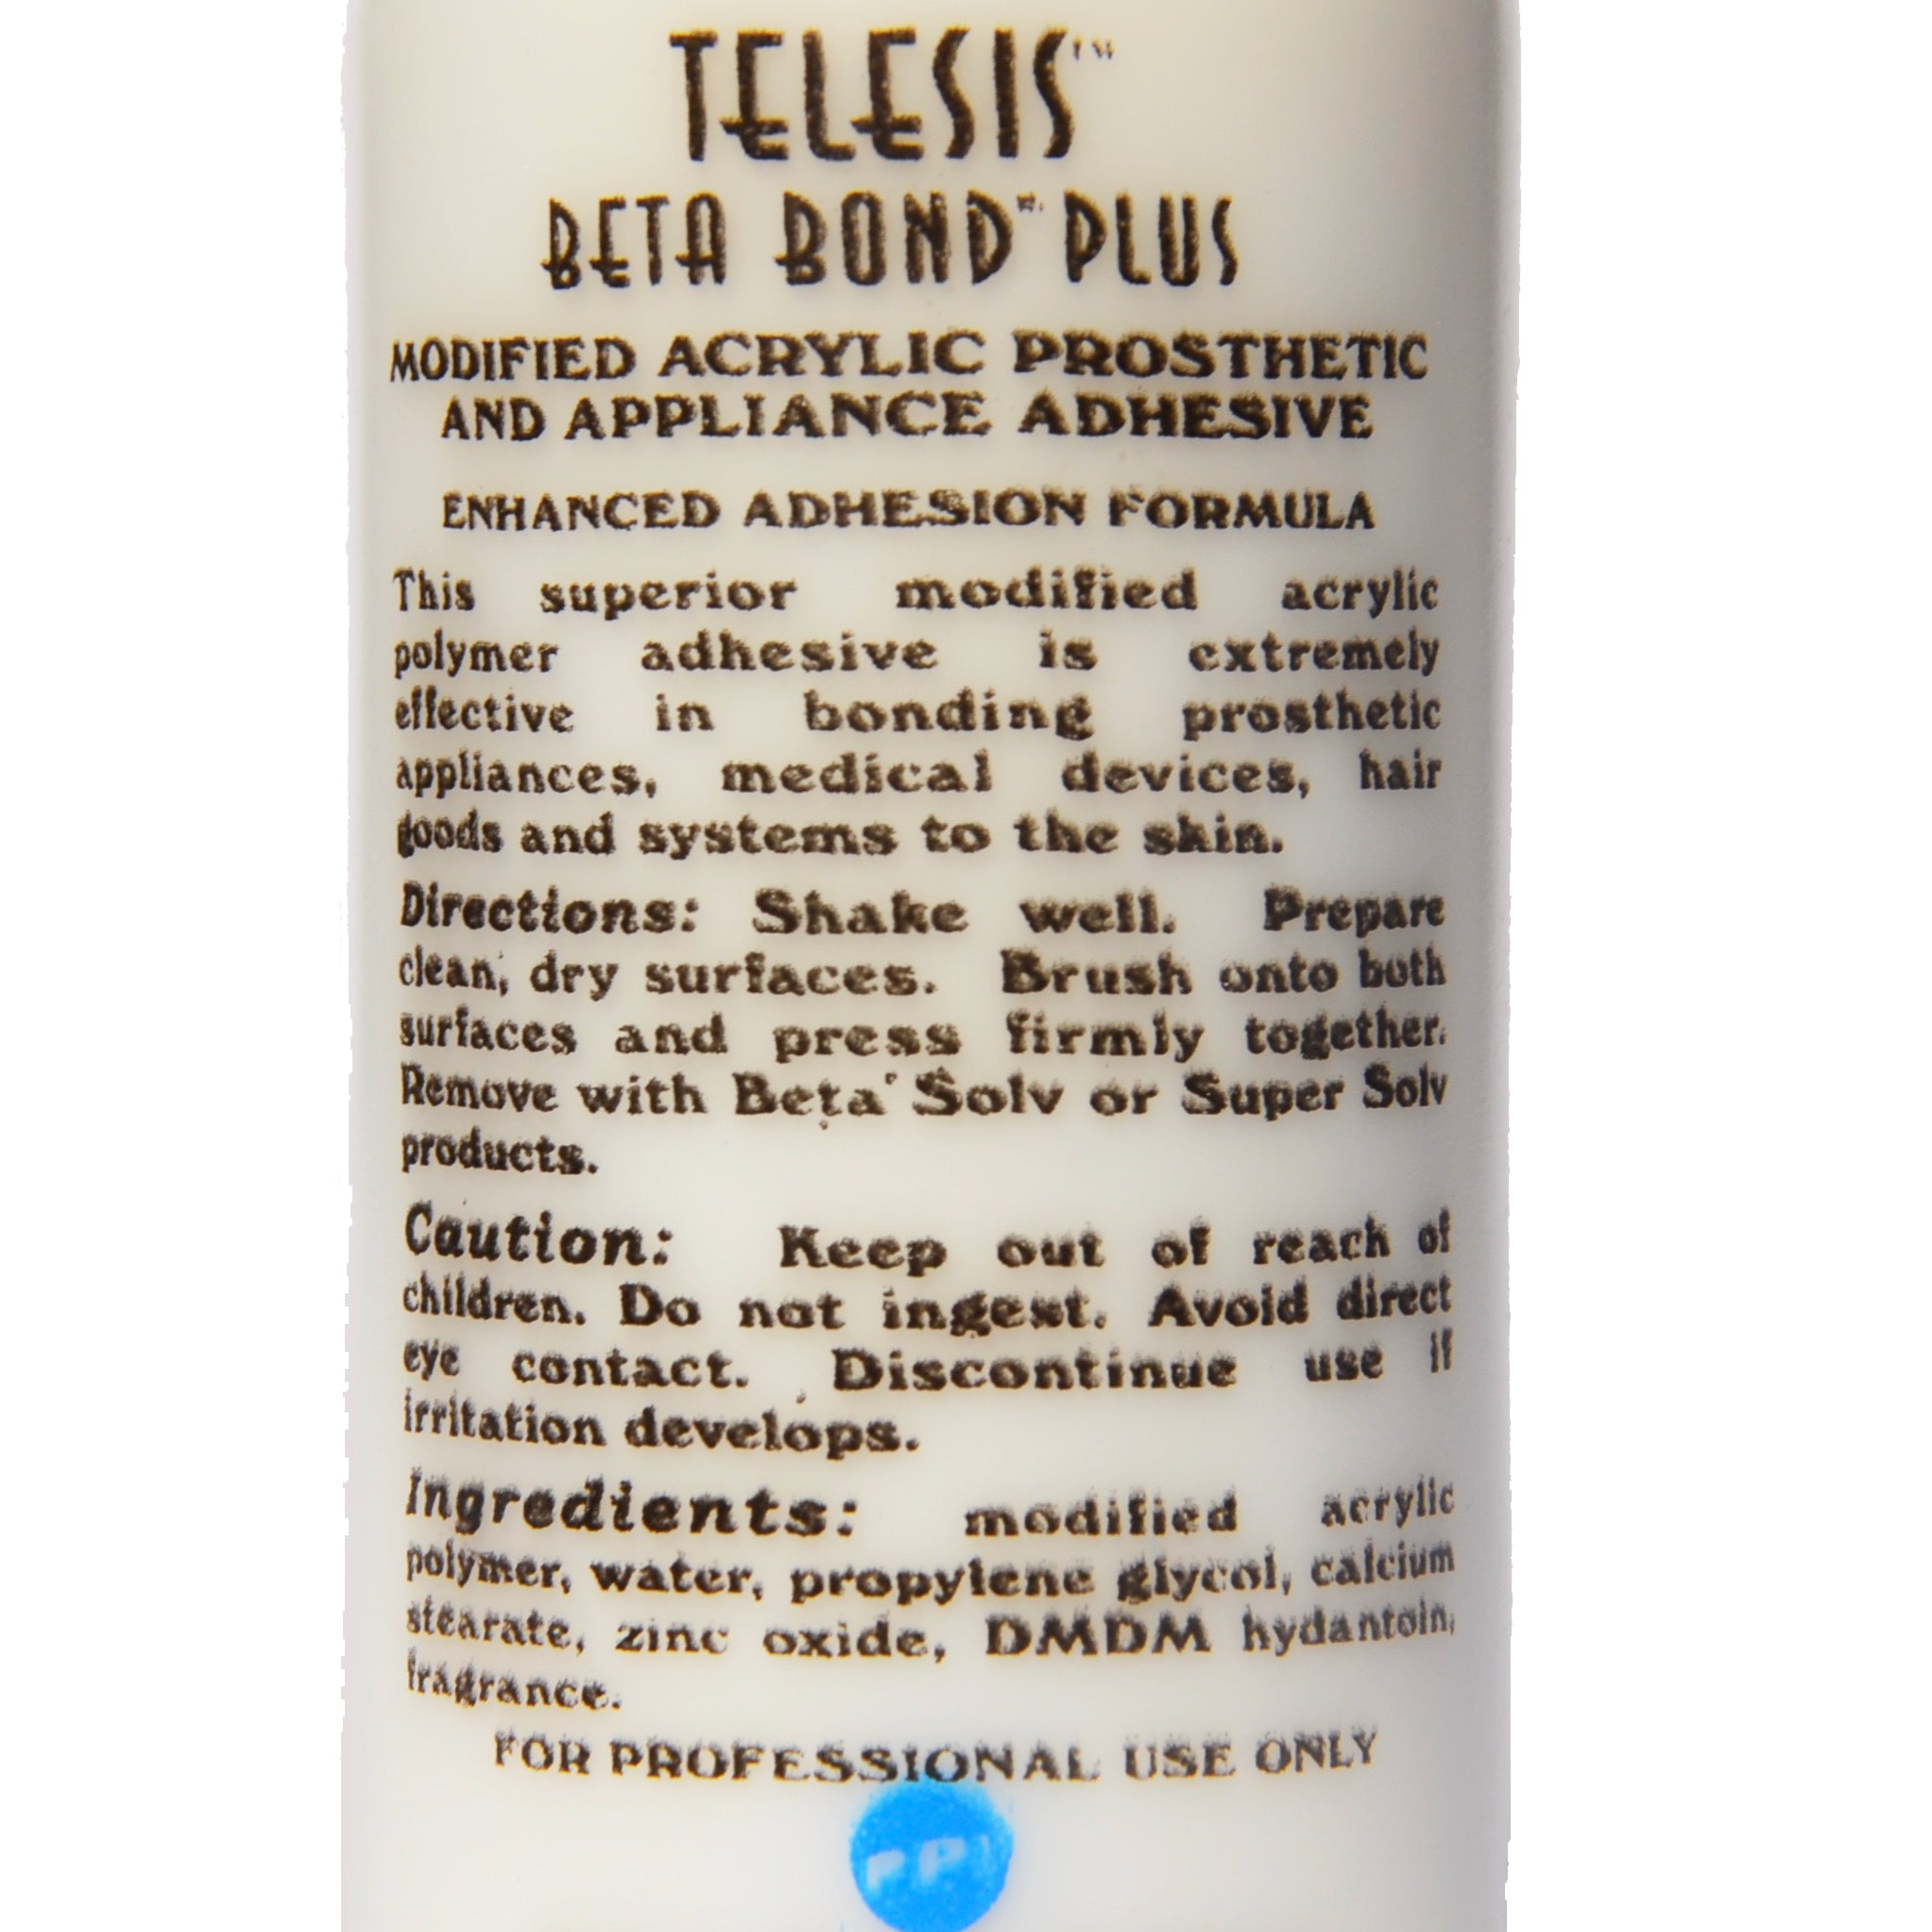
- Beta Bond Plus Acrylic Adhesive: This is a medical-grade, non-toxic acrylic glue. It is identical to the specialized adhesives used daily in hospitals and across the Hollywood movie industry to secure prosthetic appliances directly onto sensitive human skin. Available in our Seamless Pro Extreme Hold Hair Wefting Tape Kit Two.
By incorporating this advanced, skin-safe acrylic glue into our kits, we ensure you get a salon-strength hold through a completely DIY, lung-safe process. Your health is worth it! Whether you are using this premium glue at your table to manufacture a brand-new custom seamless weft, or for those that have a hard time with the sandwich method and hair installs not staying long enough, adding a thin layer of it directly to the tape backing during your installation locks the weft securely to your natural hair.
⚠️ The Critical "Turn-Clear" Blow Dryer Rule:
When using this specialized liquid glue for an installation, you must follow the directions exactly. Because this acrylic glue applies white, you cannot simply add it to the weft and immediately press it into your hair. You must use a blow dryer on the adhesive first. Watch the glue closely as you dry it—you must wait until it changes from white to completely clear before application. If you try to stick the weft in while the glue is still wet and white, the bond will fail and the extension will slide right out.
When using this specialized liquid glue for an installation, you must follow the directions exactly. Because this acrylic glue applies white, you cannot simply add it to the weft and immediately press it into your hair. You must use a blow dryer on the adhesive first. Watch the glue closely as you dry it—you must wait until it changes from white to completely clear before application. If you try to stick the weft in while the glue is still wet and white, the bond will fail and the extension will slide right out.
Please Note: We are not claiming that using liquid glue on a taped double-sided hair weft is the single best or only installation method available. This is simply one of many highly effective, time-tested installation techniques designed to give you an elite, long-lasting hold without ever compromising your lungs.
🚨 The #1 Golden Rule of DIY Hair Wefting: Wash Before You Craft
Before you touch a single strip of tape, glue, or scissors, there is one non-negotiable step that determines whether your custom wefts last for months or slip out immediately: You must wash the hair with a clarifying shampoo exactly where you plan to apply the adhesive.
It does not matter if you are using brand-new loose bulk hair, a salon-cut ponytail, or a factory machine-wefted bundle—you must strip the hair completely clean first.
- The Factory Grease Trap: Hair manufacturers use industrial sewing machines to sew machine wefts. These machines drop mechanical grease and lubricating oils right onto the top thread track. If you do not wash this grease off, your specialized hair wefting glue and tape will slide right off the bundle.
- The Prep Process: Scrub the top root area of the hair bundle thoroughly with a heavy-duty clarifying shampoo to remove all factory coatings, styling silicones, and machine oils. Never use regular shampoo or conditioner.
- The Dry Test: The hair must be allowed to dry completely before you begin your weft-making process. Any trapped moisture will ruin the chemical bond of the adhesive.
🪮 Preparing Your Hair After Washing It (Hackling Your Hair)
Once your hair extension bundle or ponytail is completely dry, you must execute this crucial preparation technique before starting the assembly line:
- Comb out the short baby hairs (Hackling): If you are using raw bulk hair, a loose cut ponytail, or any old hair extension, always run a fine-tooth comb through the bundle first to remove all the short baby hairs. This process is also professionally known as hackling the hair. Short baby hairs serve zero purpose in a long extension—they will only make your track bulky, thick, and incredibly difficult to conceal if your custom weft is built too thick.
- The Flat Finish Advantage: By hackling those tiny hairs out before gluing, you ensure that your tracks consist purely of long, premium hair strands, resulting in more of the long hair that is needed for your weft and an incredibly flat look.
- Pro Tip on Short Hair: Don't throw those short filler strands away! You can always keep and save that short hair to create lightweight, short-layering weft tracks later if desired, but for building a premium long weft, they are just extra bulk.
🧠 The Real Truth About Hair & Adhesives (The Density Rule)
When you are crafting your own seamless wefts at home, you need to understand the realities of working with hair fibers:
- The Quality Reality Check: It is important to know that any hair you purchase online may not be 100% real human hair. Synthetic fibers resist adhesives completely. Furthermore, even 100% genuine human hair varies wildly—some textures simply have a harder time adhering to adhesive glue no matter what preparation you do. It is just a biological fact.
- The Inevitable Loose Hairs: No matter how perfectly you follow the instructions, there will always be a few loose hairs that simply will not stick to the bond.
- The "Tad Bit Thicker" Solution: Because of this natural variation, we always recommend making your custom wefts a tad bit thicker than your final target density. By intentionally building a slight cushion into the top of the weft, you protect yourself. If your weft experiences any minor shedding after it is fully cured and trimmed, you will still have plenty of rich hair density left to work with, rather than being left with a thin, unwearable piece.
- 💡 The Custom Art of DIY Extensions: The absolute most beautiful thing about manufacturing your own seamless wefts is total creative freedom. You are no longer restricted to factory standards. You can combine different colored bundles to create custom highlighted piano wefts, mix textures, or layer multiple tones yourself to get a perfect multi-dimensional blend you could never buy off a store shelf!
🧰 Station Setup & Tool Prep: The Secrets to a Frustration-Free Workspace
Before you squeeze out a single drop of glue, you must set up your workstation. Having all your hair and tools ready at hand prevents you from scrambling with sticky fingers, which is the quickest way to ruin your materials and get frustrated.
- The Multi-Scissors Rule: Keep a few clean pairs of scissors on your table. Once a pair of scissors cuts through sticky extension tape, the adhesive residue builds up on the blades, making them dull and impossible to work with. Switch to a fresh, clean pair as you go.
- The Finger-Cleaning Station: Keep a washcloth nearby alongside a small cup containing a tad bit of rubbing alcohol, window cleaner, or plain water. Dipping and wiping your fingers throughout the process keeps your hands completely glue-free so you don't accidentally pull stray hairs out of your work.
- Pre-Cut Your Weft Pieces: Always measure and pre-cut all your intended tape strips and hair sections before you open your glue.
- The Putty Knife & Sponge Trick: To drive the liquid adhesive deep down into the hair fibers, use the specialty foam sponge with a handle included in our kits, or use a small, clean flat putty knife. Pro Tip: Never use the bottom of your liquid glue tube to press down the hair. Once hair gets stuck to the bottom of the tube, it transfers mess everywhere. Keep every tool completely clean as you go!
💨 Ventilation & Safety: Managing Your Airflow
Before you begin assembling your wefts, you must properly prep the air in your room to ensure a comfortable and flawless crafting experience:
- Keep it Well-Ventilated: Always work in a well-ventilated room with open windows or an exhaust fan running. No matter if the hair extension glue is easy for you to breathe or if you find the scent very strong and hard to breathe, clean airflow is essential for a safe workspace.
- The Sensitivity Solution: If you are highly sensitive to chemical smells or strong odors, simply wear a standard face mask during the gluing process to block the fumes and prevent any respiratory irritation.
- The Cross-Fan Mistake: While you want a fan going to clear the air, NEVER point a fan directly at your workspace. Strong, direct air currents will blow the loose hair strands in directions you don't want them to go, ruining your layout and trapping stray hairs permanently inside your curing adhesive. Keep the fan angled away from your table to circulate the air safely.
🪜 The Assembly Process: Step-by-Step
Step 1: Secure Your Foundation & Expose the Adhesive
- 💡 The Low-Cost Workspace Trick: Always work on a smooth, easy-to-clean surface like glass or smooth faux marble. If you only have a wood table or another surface that you don't want to ruin with glue, go to a local hardware store and buy a single cheap piece of smooth tile for about two dollars. It gives you just enough physical room to work with, protects your furniture completely, and makes cleanup incredibly easy.
- 🧼 The Instant Cleanup Hack: Always keep a bottle of window cleaner and some old washcloths or rags around your station. Both of our specialty glues clean up incredibly well with window cleaner if you wipe it away immediately after you are done—do not let the glue dry completely on your tools or workspace!
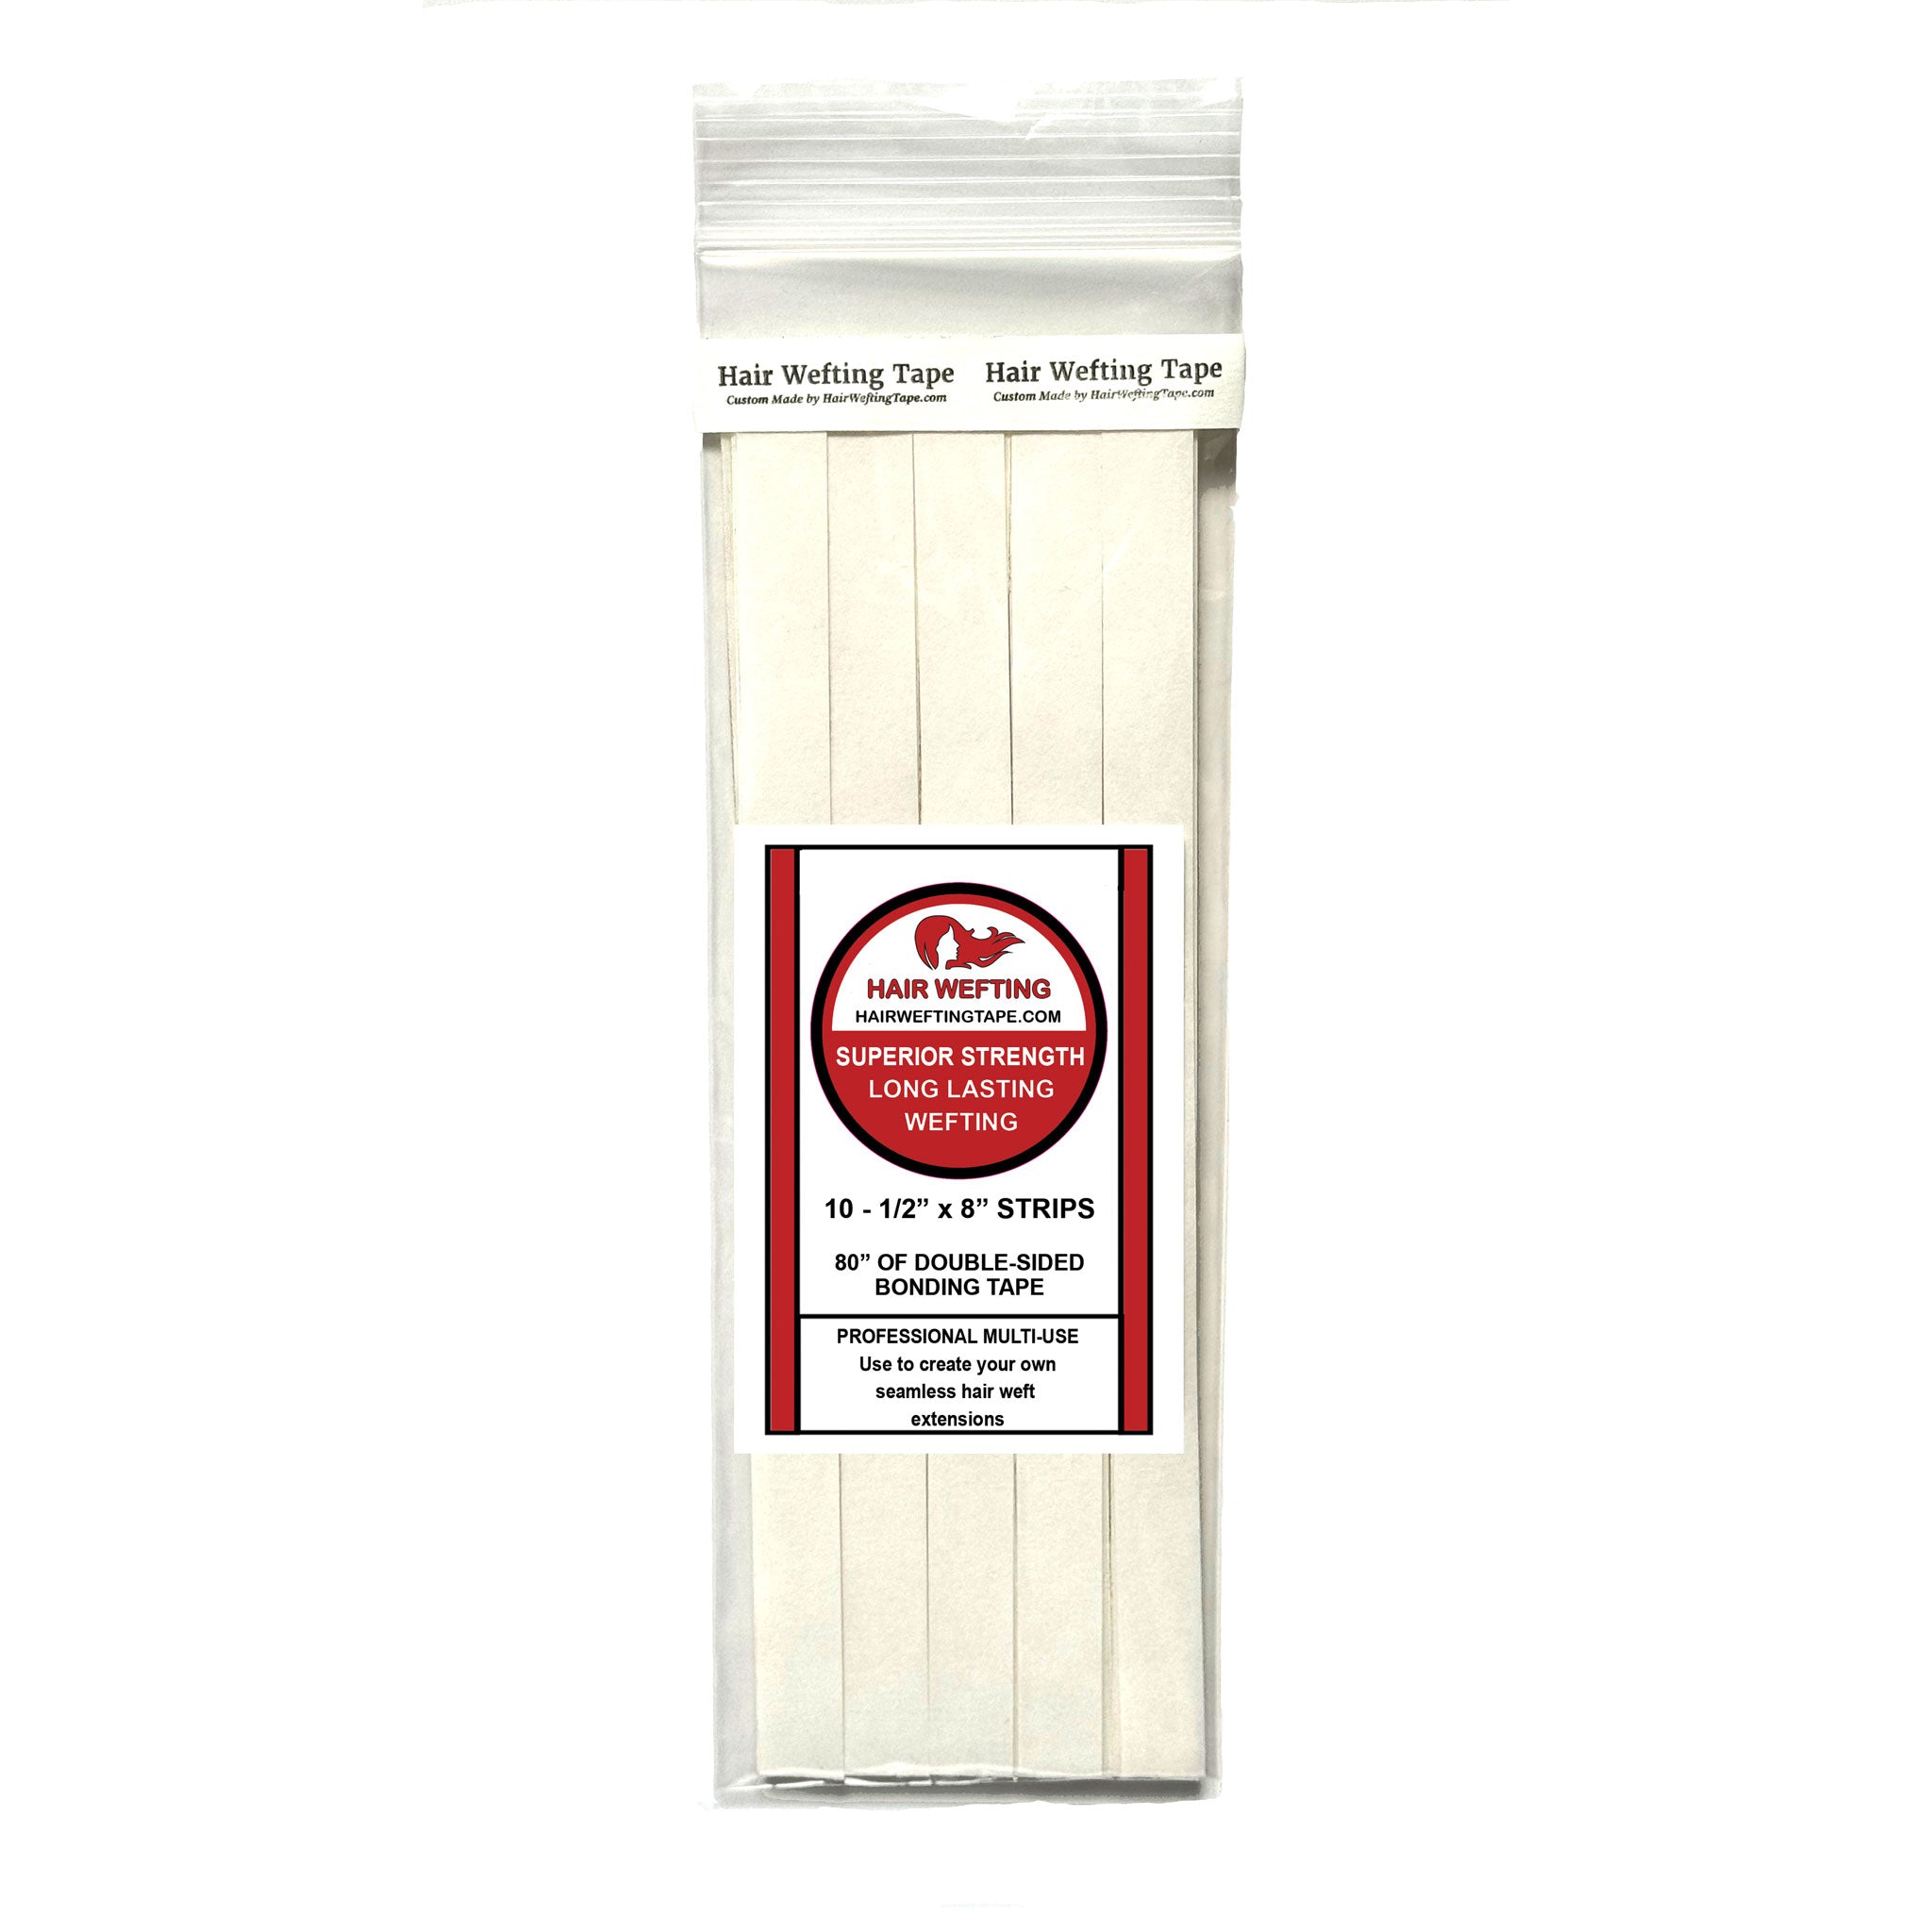
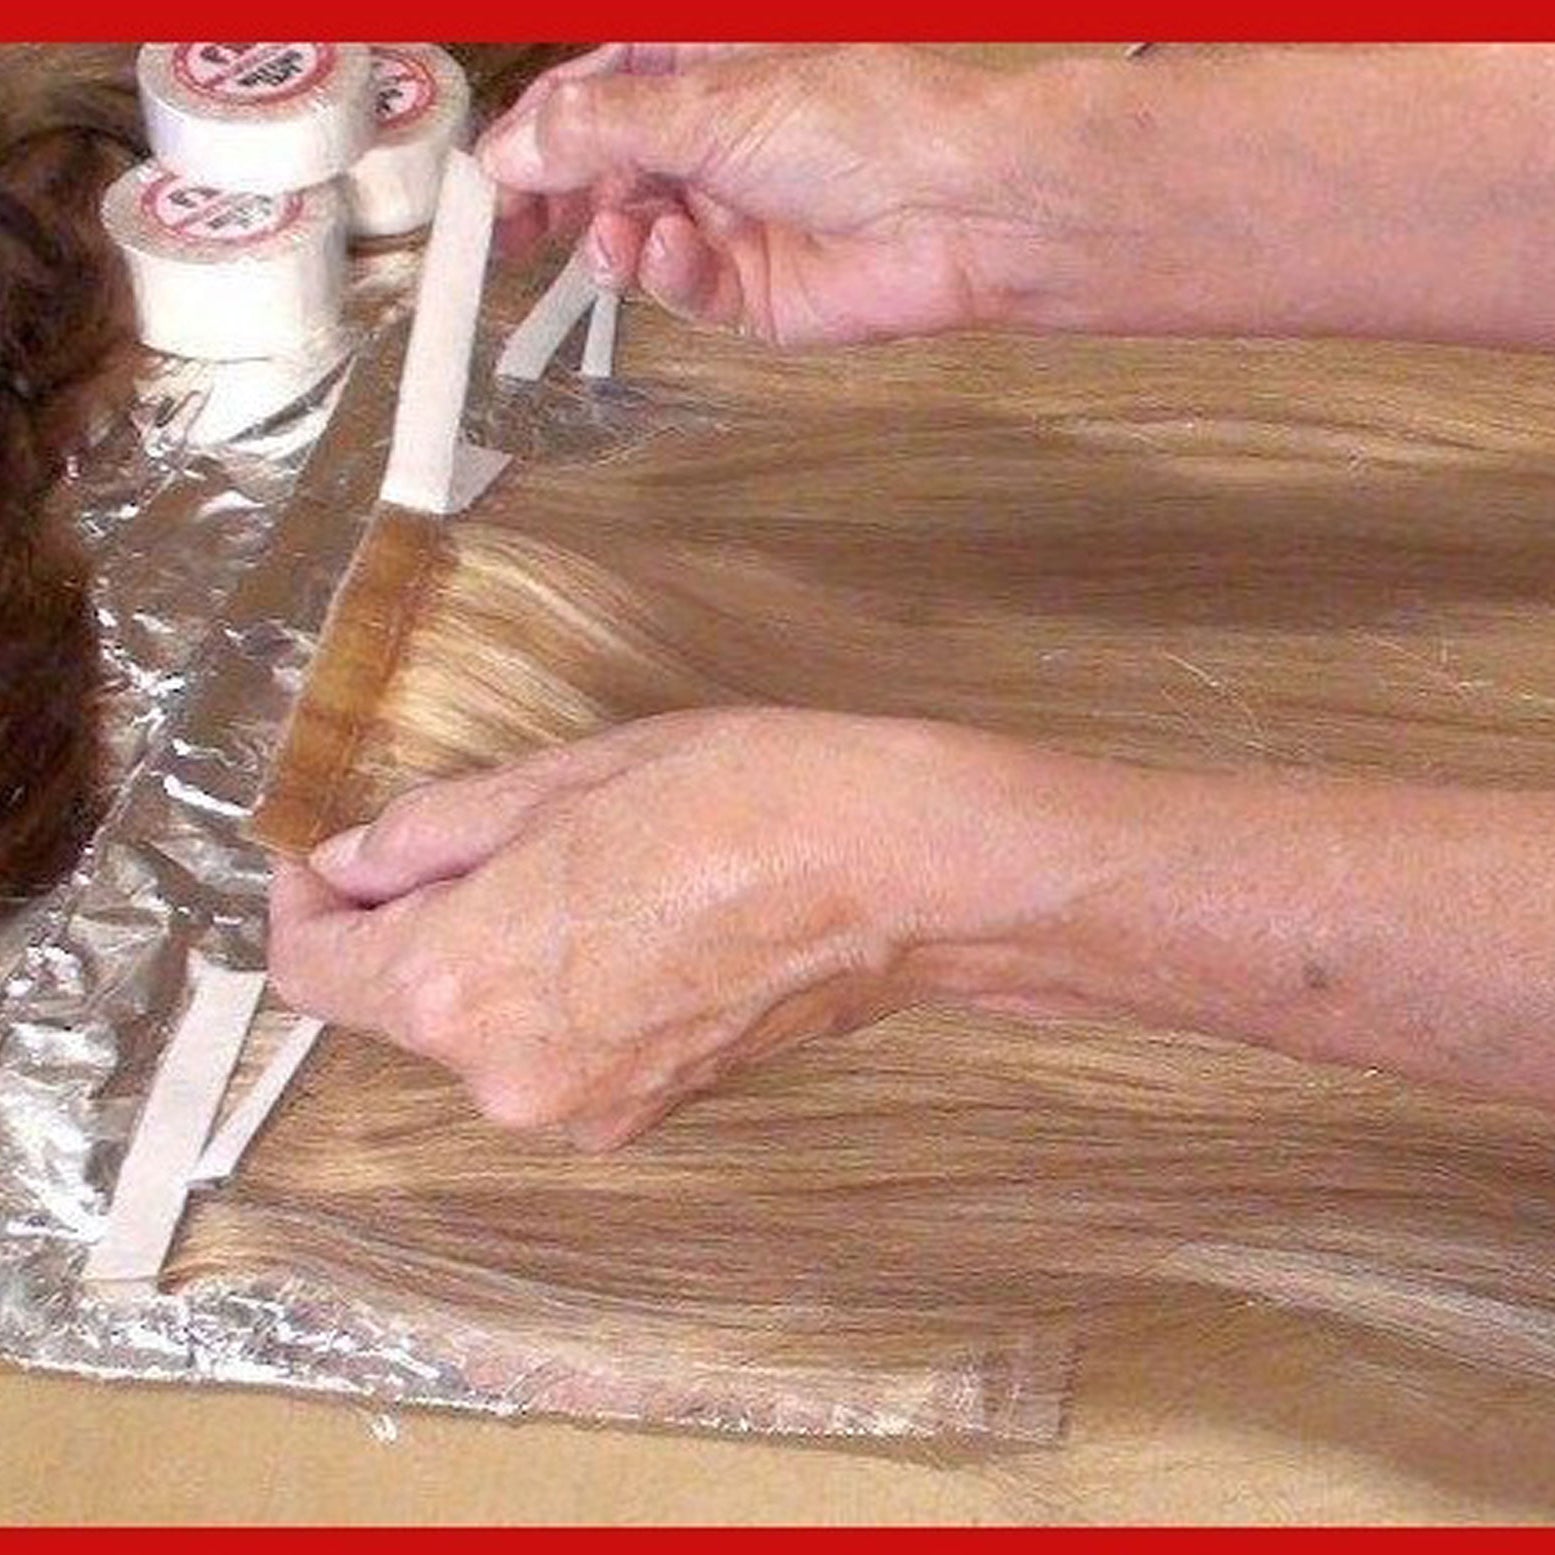
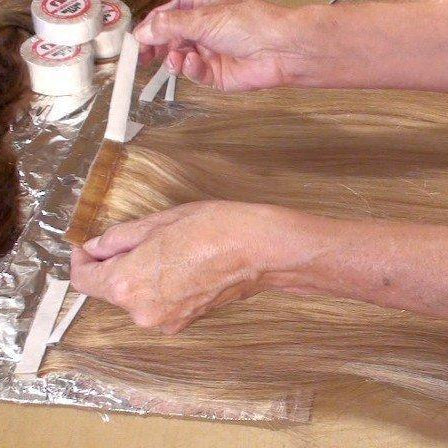
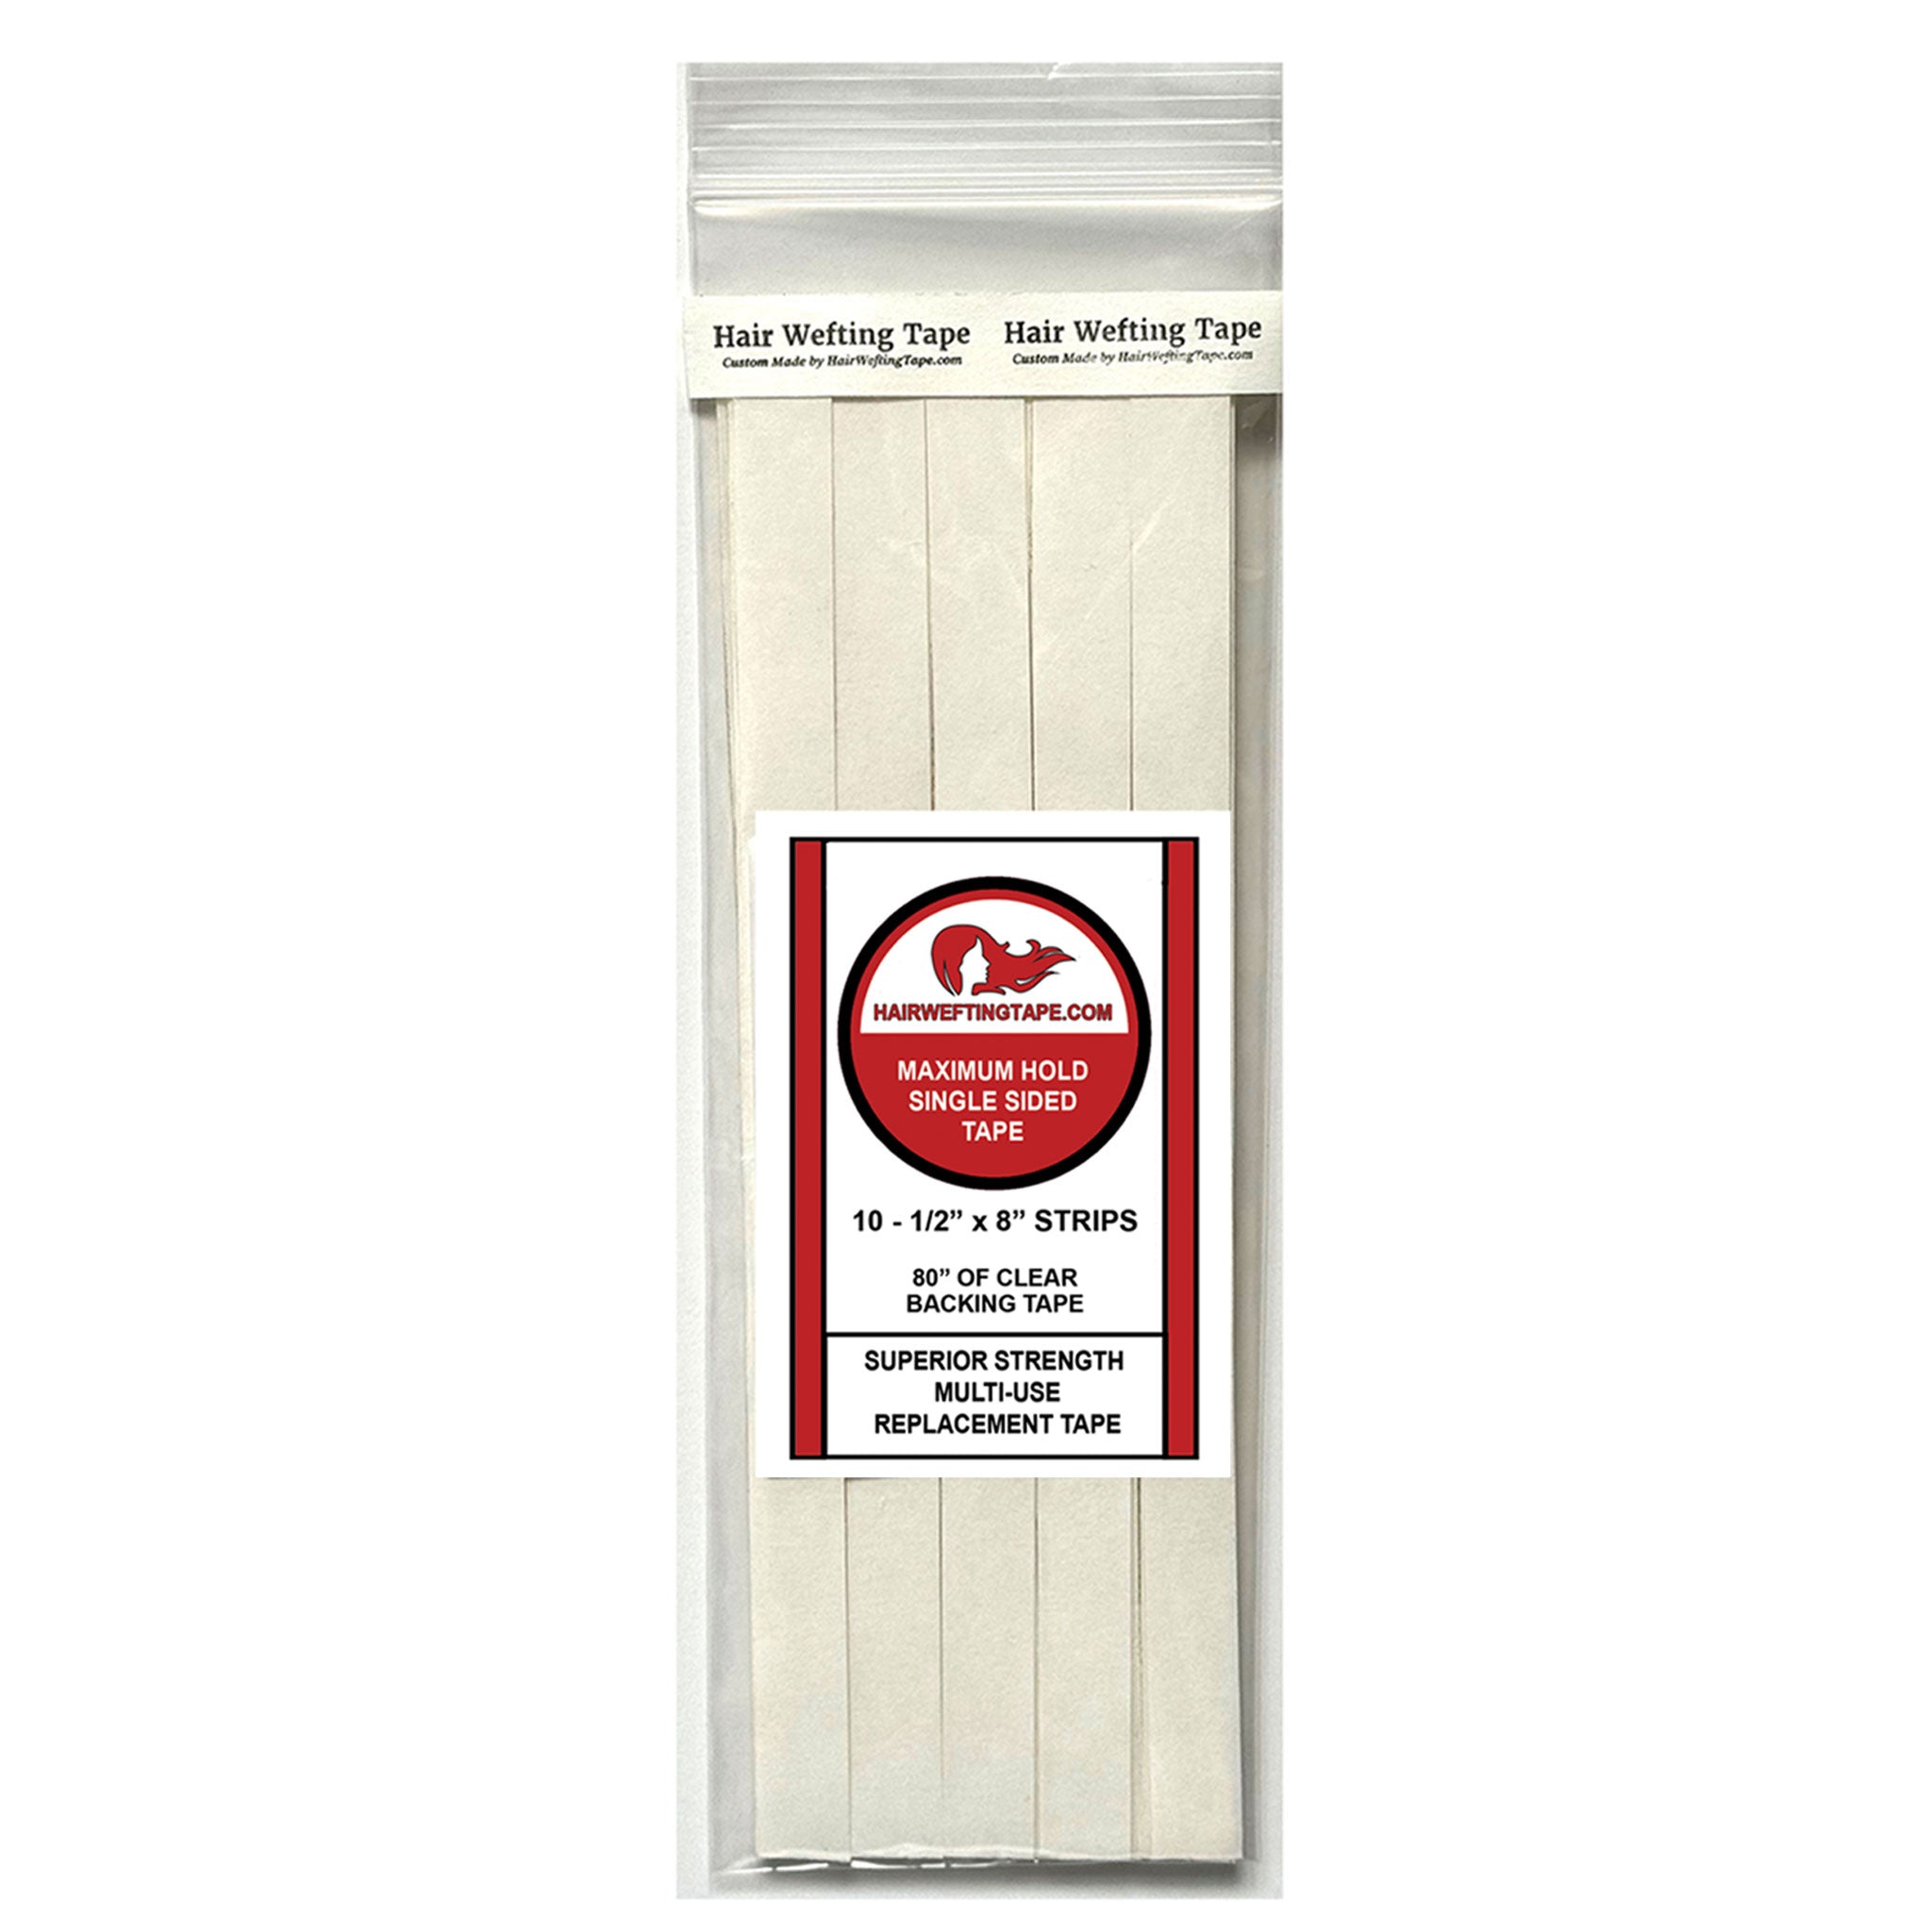
- Lay it flat: Take your pre-cut strip of our double-sided hair wefting tape—with both sides still fully covered by the white protective backing—and place it down flat on your workspace surface exactly where you want it.
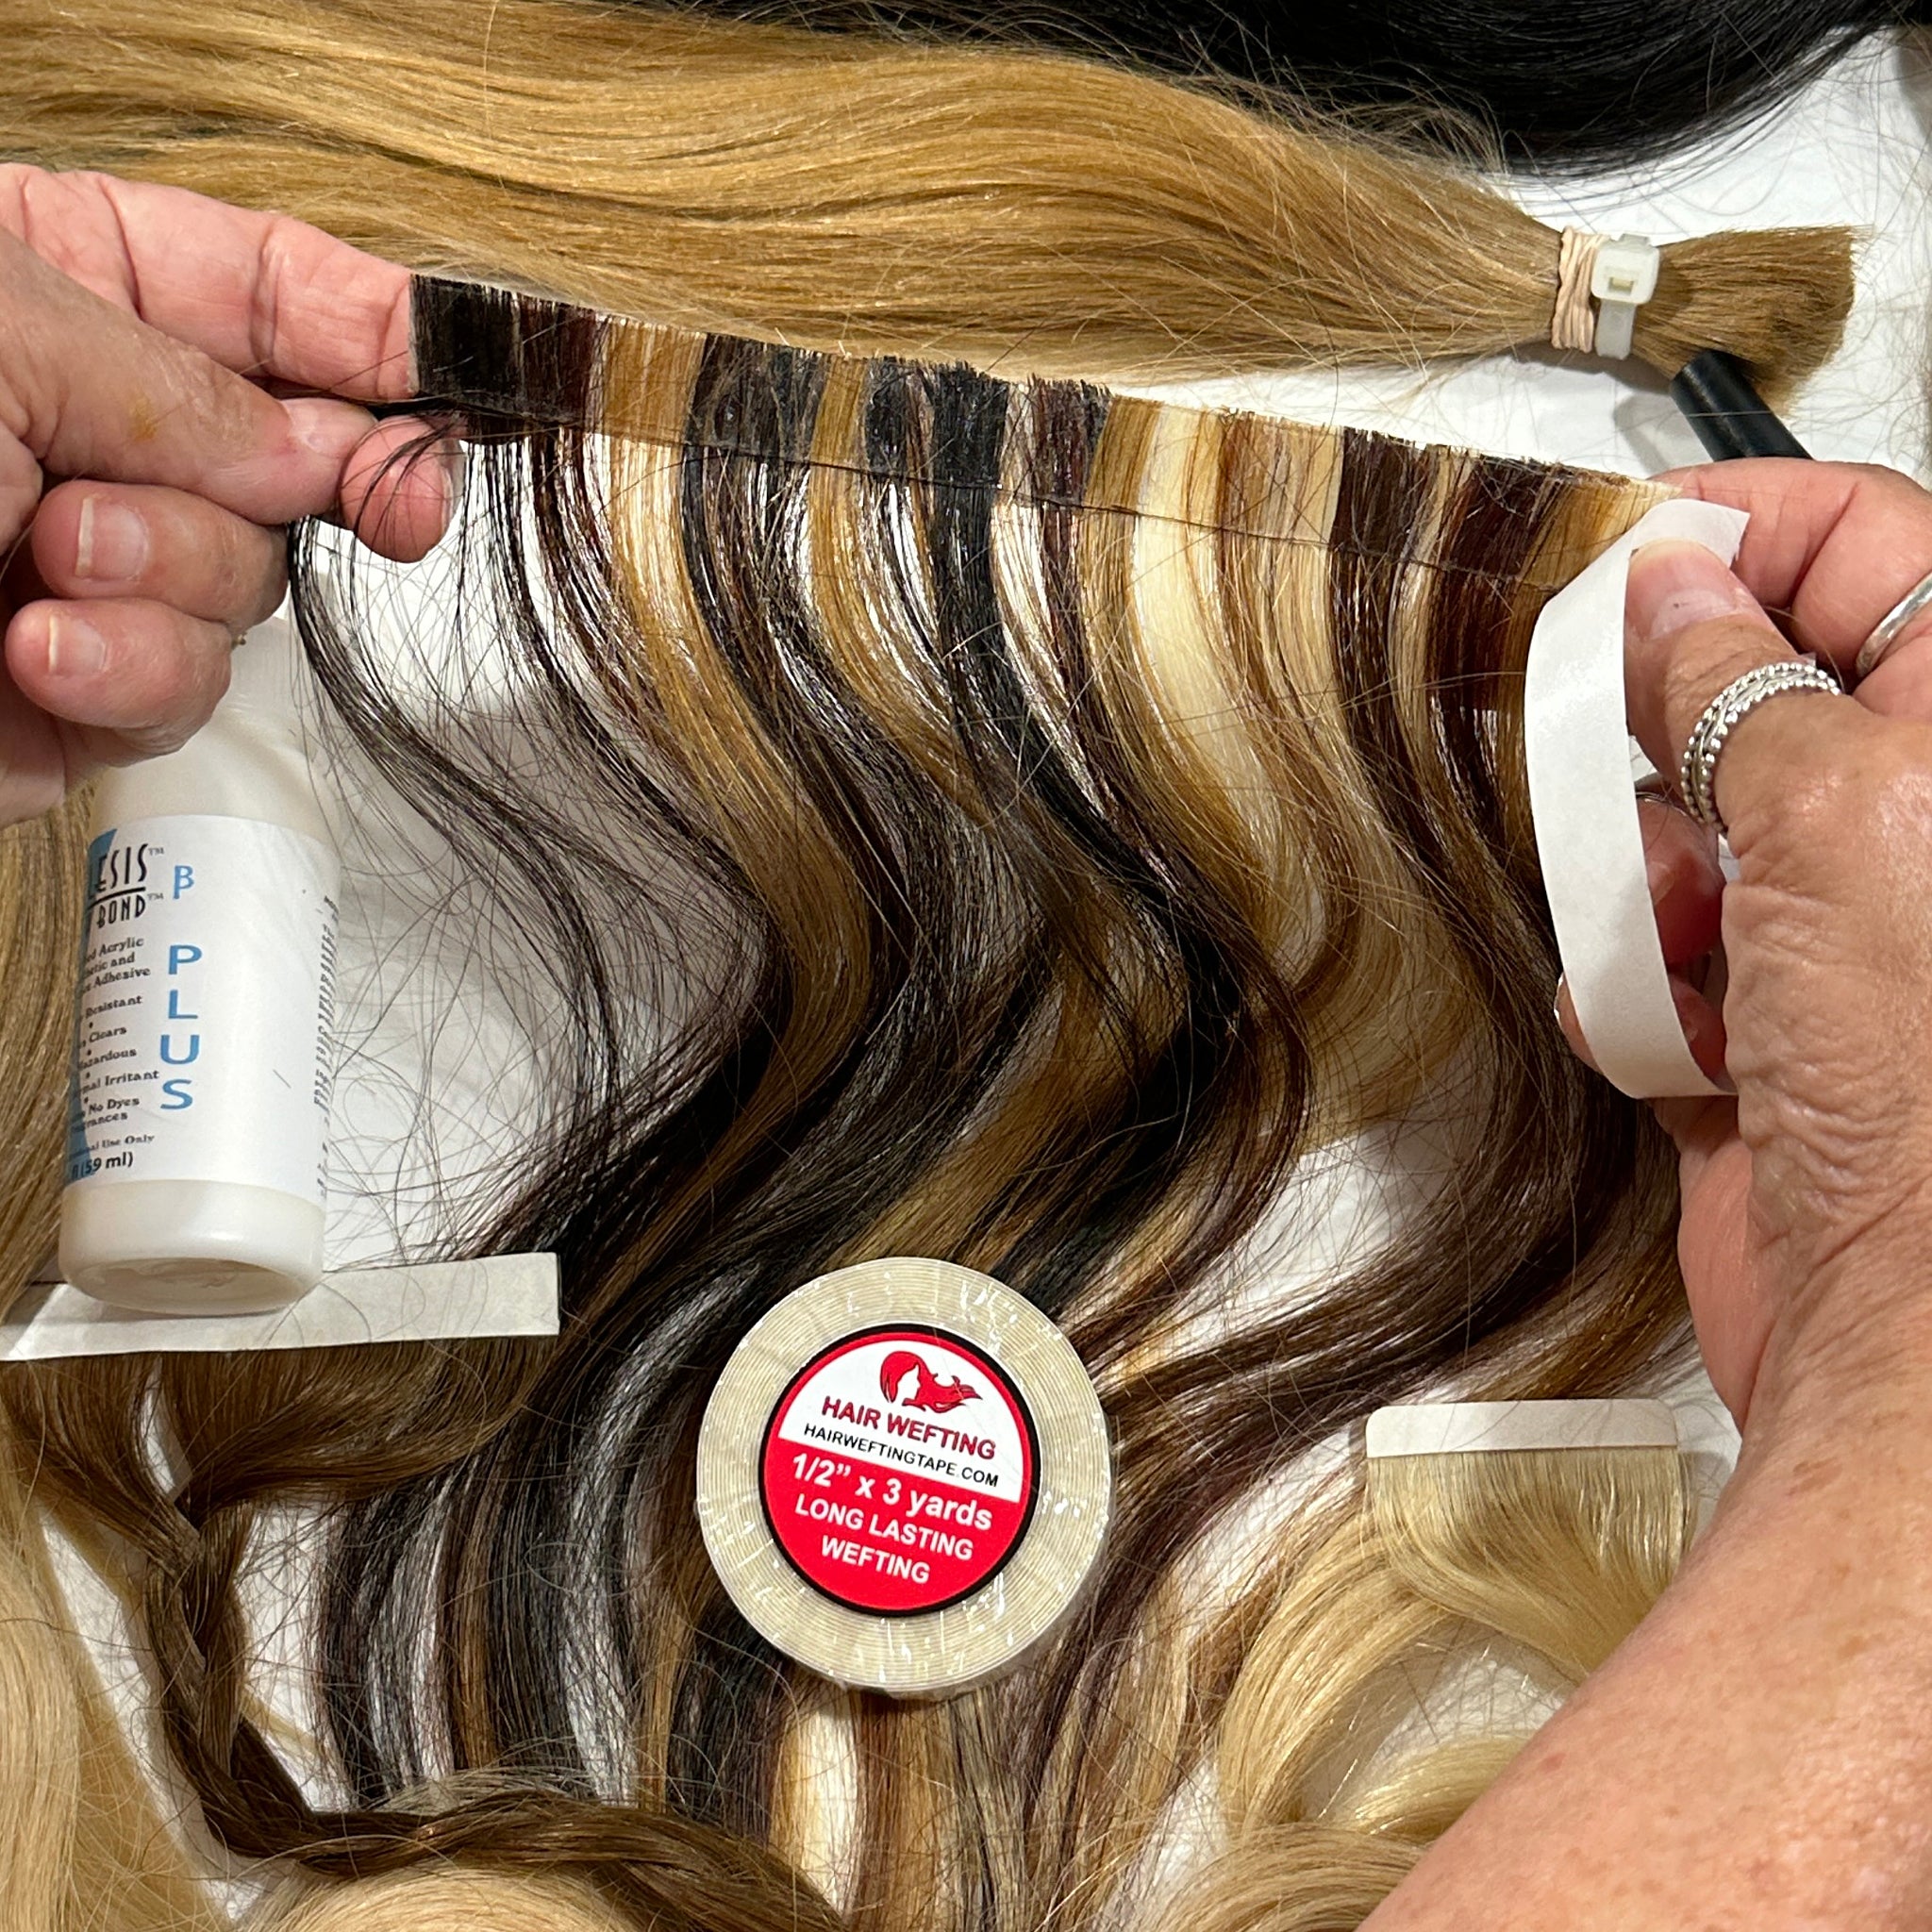
- Expose the sticky side: Carefully peel off the top white backing layer that is facing you. This exposes the premium, sticky double-sided hair wefting tape adhesive, creating your perfect foundation.
- 💡 The Non-Stick Finger Tab Trick: Take that white backing strip you just peeled off, rip it in half, and press one half onto each far end of the sticky tape strip. This creates safe handles so you can move the tape around without ever touching the adhesive with your bare fingers. Never get finger oils on the tape, as the oils will make your glue fail to stick.
- Anchor it down: Lay something heavy on each side over those backing strips to anchor the tape down flat so it cannot move at all while you work.
🛠️ Method A: Crafting with Liquid Gold Bond A Weave Glue
- Run your glue line: Run a nice, clean line of Liquid Gold Bond A Weave glue completely across your tape from end to end.
- Lay the hair evenly: Take a fingers-worth of your clean, dry hair and spread it out nicely and evenly across that glue line.
- 💡 The Re-Wefting Layering Hack: If you are remaking an old weft because your hair extensions were trimmed too short during your last install, you can easily restore your favorite length without throwing the hair away! Cut the old tape tracking off completely and treat the bundle like raw hair. When laying the fibers down, always lay your long new hair strands down first. This long foundation hair will sit directly against your head. Once set, you can lay your old, shorter hair right on top, allowing you to create beautiful layered lengths and textured dimensions while recycling the hair you've been wearing!
- The "Press Up" Rule: As you lay and work the hair, always press up and out toward the top of the weft. You want to force the hair and glue upward, ensuring no messy glue leaks downward past the bottom edge of the tape line.
-
Build your density: Repeat this precise process—adding thin, even layers of hair—until you have achieved your desired density and thickness for the custom weft.
- The Curing Truth: To be completely honest, Liquid Gold glue will successfully cure inside a closed sandwich. While it benefits from air during the initial open application, it does not require a completely clear open-air dry like acrylic formulas do.
- 💡 The Fast Result Secret: You can absolutely use a blow dryer on this open layout if you want faster results. However, use a low to slow medium power setting on the blow dryer—never top power, or you will blow the hair all over the place. Also, do not dry it up completely before you close it. You need the adhesive to remain tacky and wet enough so it will stick completely to your second tape strip when you seal the sandwich.
🛠️ Method B: Crafting with Beta Bond Plus Adhesive
- Prepare for the timeline: Beta Bond Plus is a medical-grade acrylic adhesive that is much easier to breathe, but it requires a completely different, more time-consuming application method due to its unique drying time.
- Run your glue line: Run a nice, clean line of the white Beta Bond Plus glue completely across your exposed tape strip from end to end.
- Lay the hair evenly: Spread your fingers-worth of hair evenly across the white glue line, keeping it perfectly flat. (Feel free to use our Re-Wefting Layering Hack here too if blending short hair with long base hair!)
- Press with your tool: Take the specialized foam sponge tool provided in our kits (or whatever tool/flat putty knife you prefer to use) and press the hair firmly down into the glue line.
- Layer and build: Keep adding your thin lines of glue and layers of hair to reach your desired density cushion.
-
💨 The Mandatory Open-Air Blow Dryer Step: Once your hair and glue layers are fully built, you must leave the weft open and use a blow dryer on it before closing. Acrylic glue strictly requires direct air exposure to cure. If you get impatient and close the weft while the glue is still white, it will trap the moisture, block the air, and the adhesive will never cure. It must dry open first!
- 💨 Air Power Warning: Always use a low to slow medium power setting on your blow dryer. Never use top power, or you will blow the loose hair all over the place.
- 💡 The Temperature & Climate Trick: When using your blow dryer, move it back-and-forth across the open weft using warm air and then hot or cool air—whatever temperature works best for your specific local climate—until it really starts to get clear and tacky.
- 💡 How to Check the Tack: The exact drying time always depends entirely on your climate. Sometimes it can take 4 to 5 minutes, or it can be much longer, or even shorter if it is really hot outside. Always touch only the very edge sides to check the tackiness—never touch the middle of the weft. Just make sure the glue is not all white when you close it!
🔒 Step 3: The Critical Overnight Air-Dry & "Waterproof Closing" of the Weft
- Let it dry open overnight: People always ask why you shouldn't close a bulk loose weft immediately after you are done making it (0:00). The absolute truth is that your weft needs open air to breathe and dry completely (0:25). Leave your weft unclosed overnight to let the top track dry safely (0:12).
- Trim your custom weft: The next morning, once the adhesive track is thoroughly set, take your scissors and neatly trim down the hair track to your exact desired shape and width (0:19).
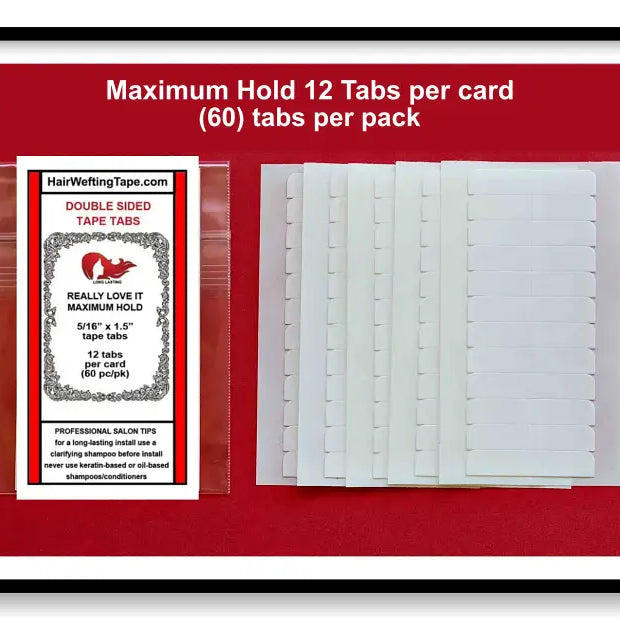
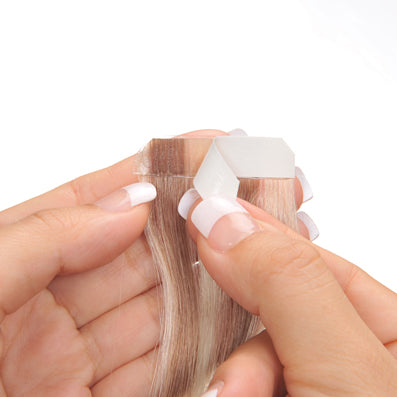
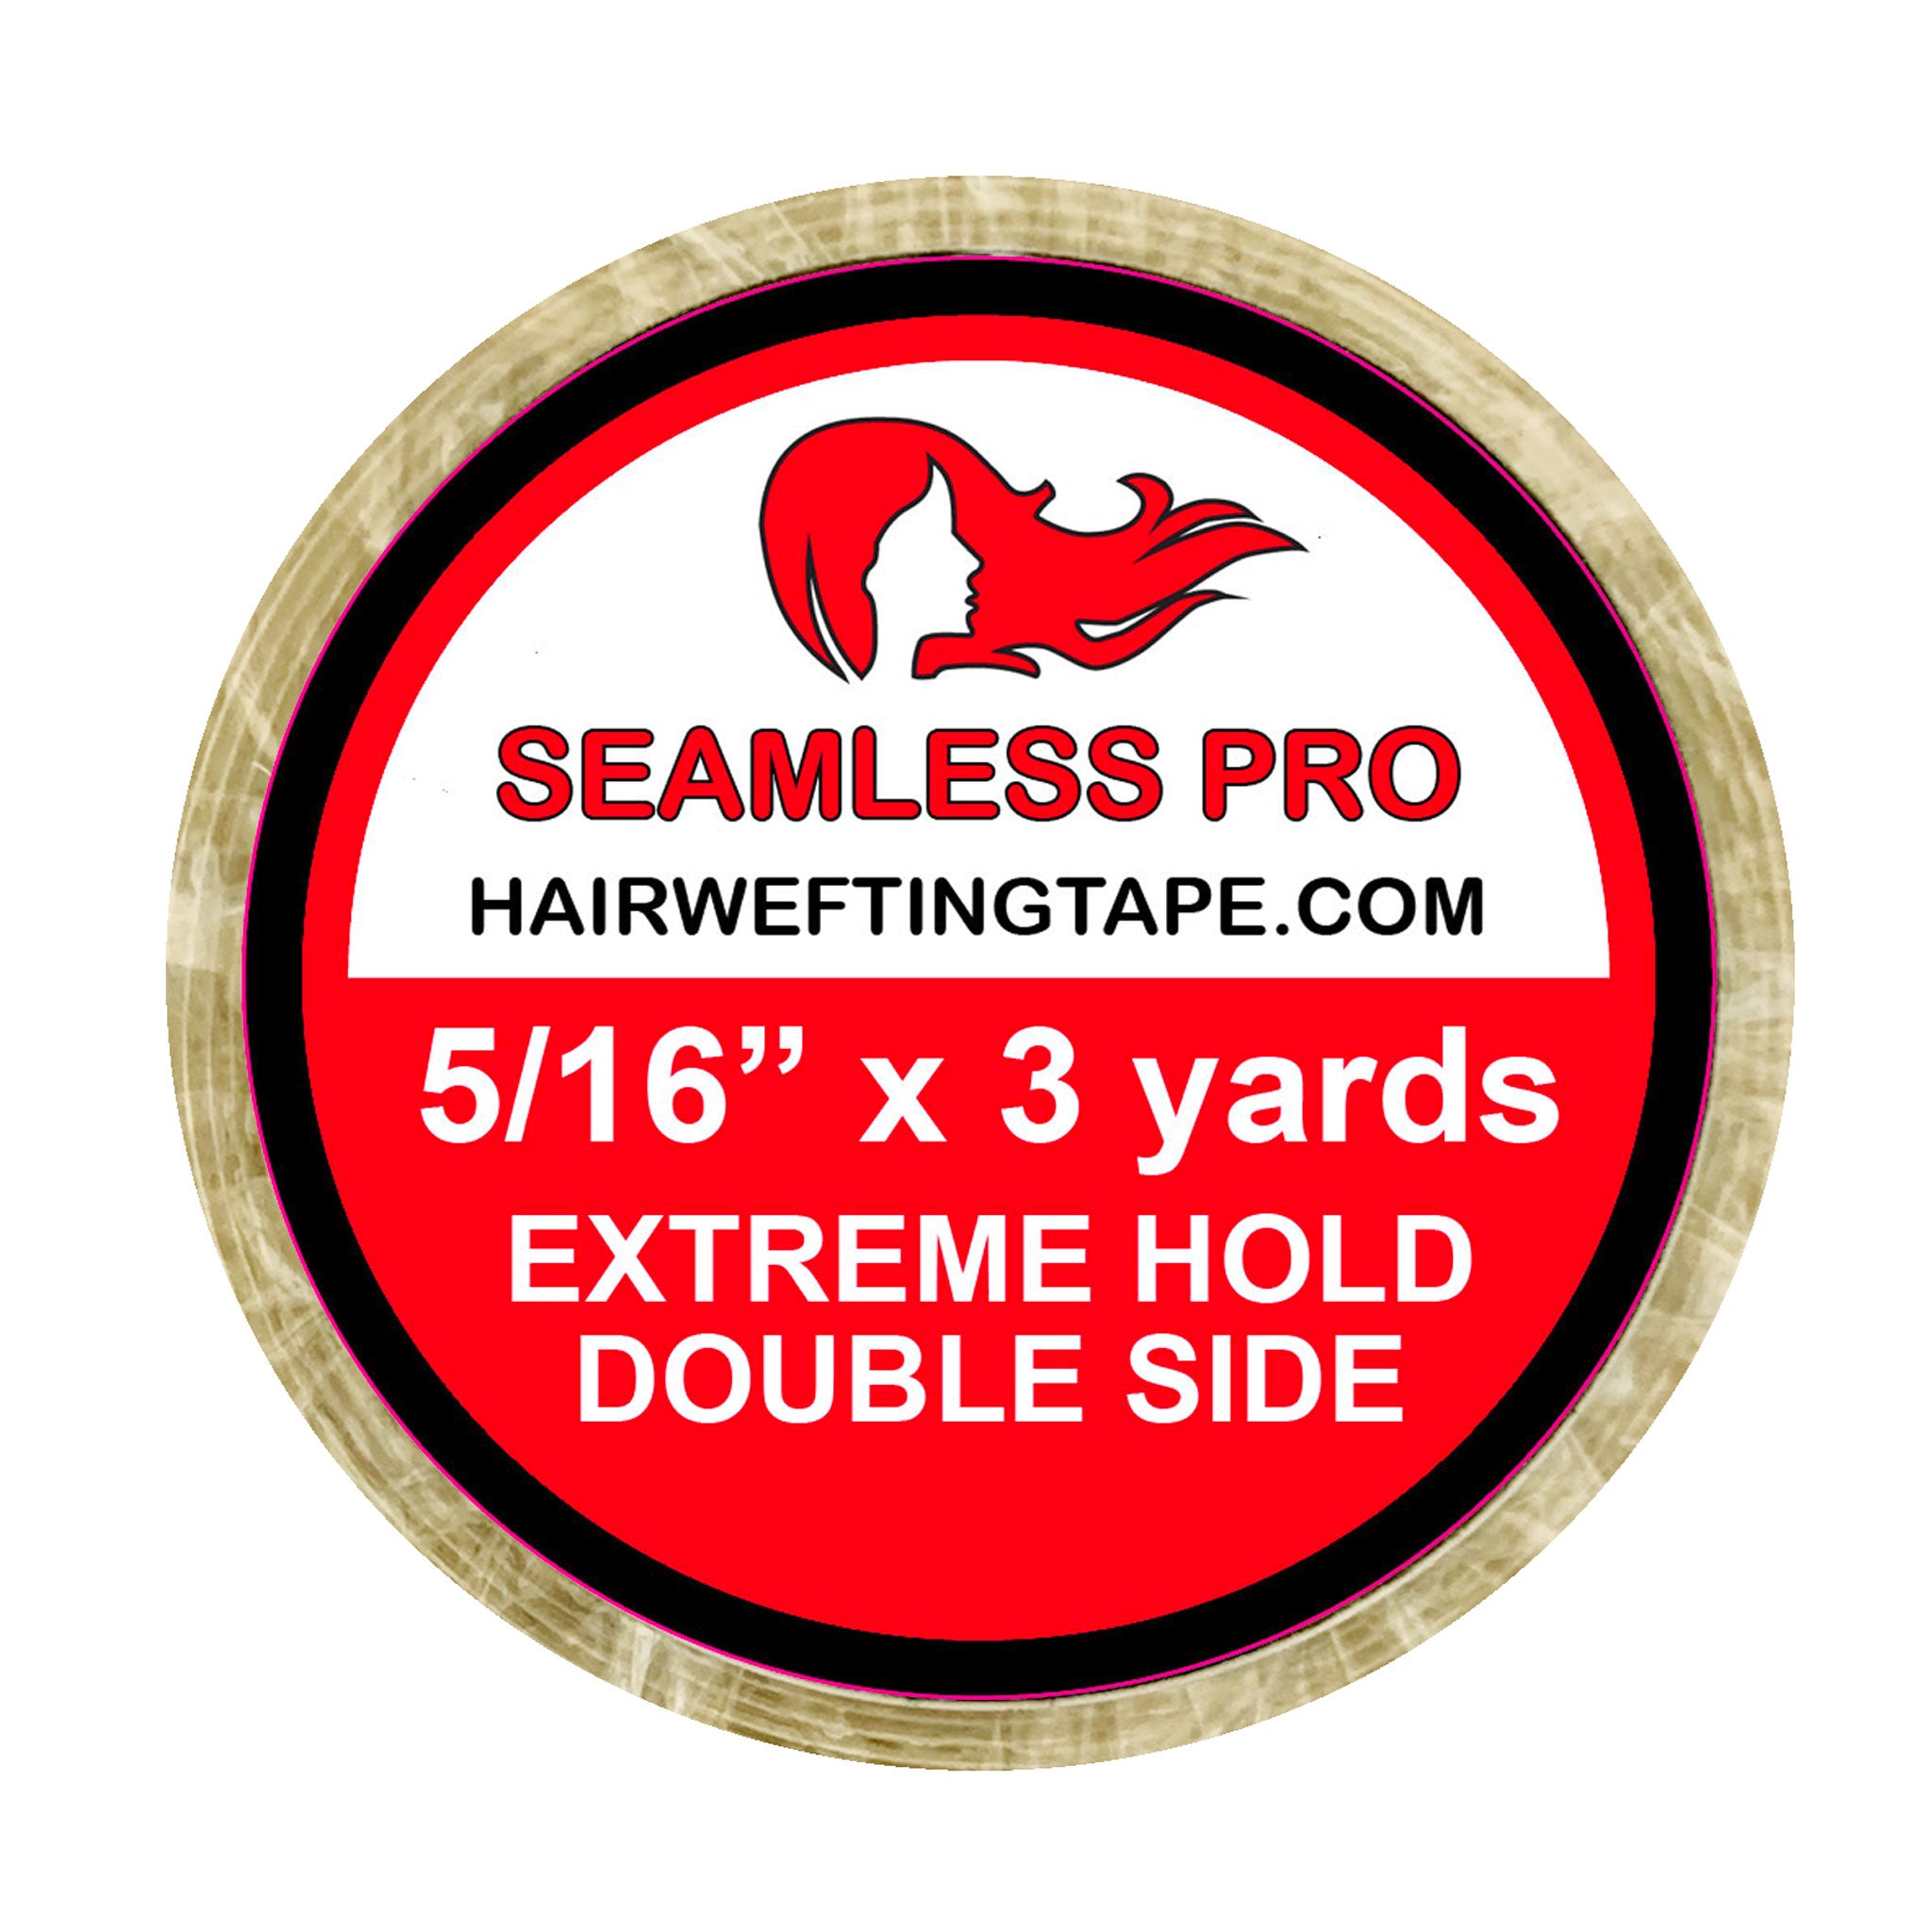
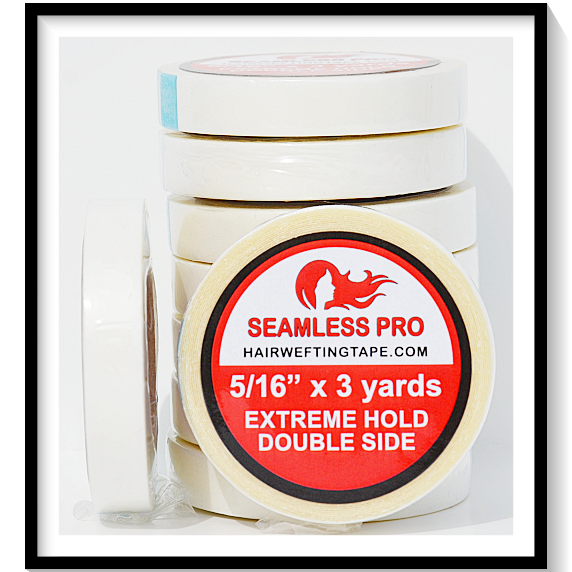
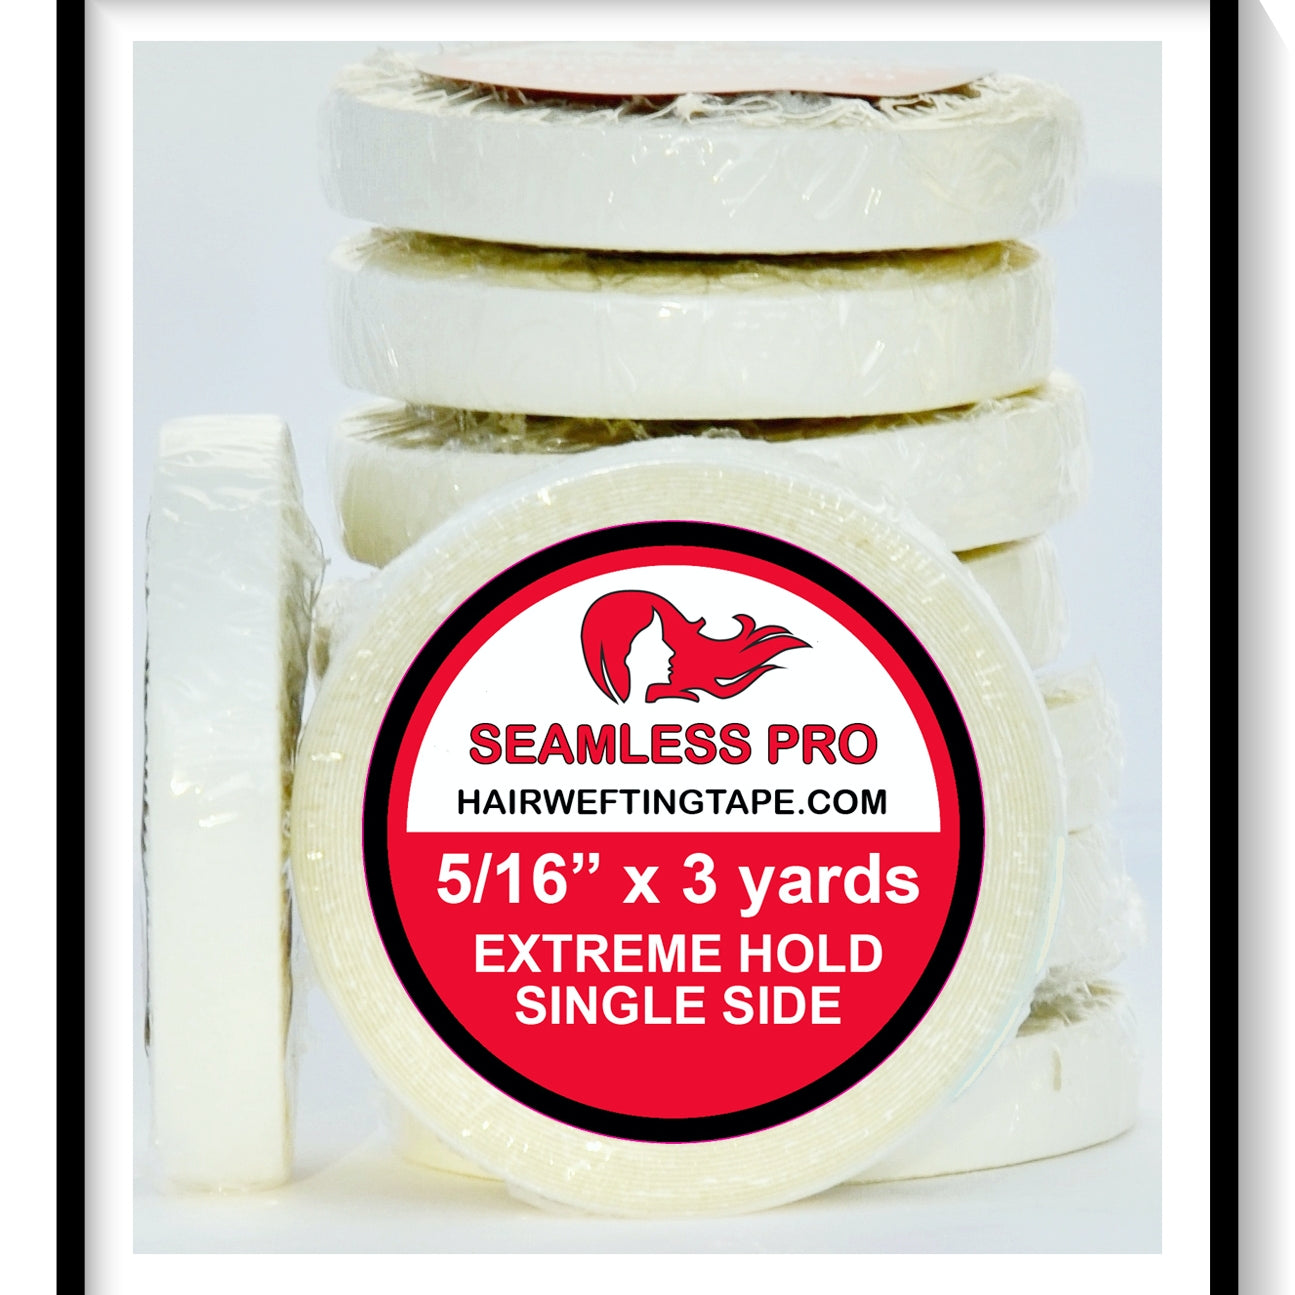
- The 5/16" Waterproof Closing Method: Now it is time to officially close and seal the weft so no water can enter the track when you shower. Take our specialty Seamless Pro 5/16" Double-Sided Tape. Peel back the protective white backing paper just a little bit to expose the sticky track.
- Sealing without finger oils: To keep your destructive finger oils completely off the adhesive, bring the backing down slightly and line up just half of the 5/16" tape strip directly onto your weft track (0:19), pressing it firmly into place.
- Turn and repeat: Once anchored, bring up the lower white backing layer, turn your weft over to the other side, and repeat the exact same process on the back. Press down firmly across the entire strip to keep the finished weft completely flat, watertight, and perfectly sealed!
- Final Cure Time: Once your weft is closed with the 5/16" tape (0:19), let the completed extension dry and cure completely for 24 hours before attempting to install it on a head. [1]
🚿 The Golden Post-Install Rule: The 3-4 Day Wash Window
Once your custom seamless wefts are fully installed on your head, you must follow this final rule to protect your hard work:
- NEVER wash your hair for at least 3 to 4 days after your installation. The longer you can wait to get your head wet, the better!
- Why it matters: Both the adhesive inside your manufactured wefts and the tape bonds holding them to your head require an extended curing time to reach maximum strength. If you introduce water, steam, or shampoo oils too early, you will interrupt the chemical curing process, weaken the bond, and cause the extensions to slip right out. Give it a few days to fully set and lock in!
📺 Watch the Step-by-Step Video Tutorials on YouTube!
Want to see exactly how these methods are done in real-time? We have full video demonstrations showing you how to prep, tape, glue, and install your own custom extensions perfectly at home!
- Subscribe to our channel for more insider secrets: Click here to visit and follow the Hair Wefting Tape YouTube Channel.