📐 ARTICLE 1: How to Install Tape-In Extensions at Home: The Complete DIY Placement Guide for Beginners or Just Do-It-Yourselfers
Want gorgeous, long hair without spending hundreds of dollars at a salon? This step-by-step beginner's guide walks you through the ultimate hands-free layout strategy to achieve a flawless, perfectly hidden tape-in installation right at home.
⚠️ Important Note & Liability Disclaimer
Every individual's hair density, head shape, and installation needs are completely different. Your natural hair must be at least 4 inches long all around your head before attempting this; any shorter, and you will not have enough density to cover the bonds, making tape-ins a poor choice.
Professionally, we always recommend having extensions installed by a licensed specialist. However, because many people choose to create and install their own extensions at home to save money, this content is provided strictly as a helpful guide of layout ideas. We are not responsible or liable for your personal placement, results, or the information read in this guide. Please experiment carefully to discover what works best for you!
🚫 The "Never Do" Rules: Critical Mistakes to Avoid
Before you touch a single piece of tape, memorize these absolute deal breakers to prevent your extensions from slipping out or permanently ruining your natural hair:
- 🚨 NUMBER 1 RULE: NEVER add extra liquid glue to a classic tape sandwich (Method A). Many DIYers think adding liquid adhesive between a sandwiched weft will make it last longer, but this is a massive, costly mistake. Liquid acrylic glue cures and gets stronger by the day. If you sandwich your natural hair between two pieces of tape and add extra glue, you are essentially manufacturing a seamless weft directly onto your own head. This bond can become so indestructible that it may never come out safely, forcing you to lose hair or even cut the extensions out with scissors. We would never, ever advise this method.
- NEVER touch the exposed tape adhesive with your bare fingers. The natural oils on your fingertips will instantly destroy the stickiness, causing the extension to slip out prematurely.
- NEVER use standard conditioner or hair oils anywhere near your roots before an install. This leaves a slick barrier on your hair shaft that blocks the adhesive from bonding securely.
- NEVER install tape-ins on damp or wet hair. The moisture will trap inside the bond, rot the adhesive, and cause bacteria growth or immediate slipping.
- NEVER make your hair section thicker than the tape bond. If you grab too much natural hair for your sandwich or single-weft method, the adhesive cannot reach through the bulk to fuse together, and the row will fall out during your first wash.
- NEVER place the weft with glue on the tape directly onto your scalp! We recommend leaving a tiny gap (about 1–2 millimeters) below the root line to avoid painful tension.
⏱️ The 20-Year Veteran Reality
To be completely honest, many advanced users do press the extra glue on the tape directly flush to their heads and let it dry/cure for 5 full days before washing. This technique truly just gives you an extra week of hold, and after a few subsequent washes, the bond naturally softens and loosens up to hang perfectly.
⚠️ The Instant Removal & Beginner Warning
However, this flush method requires professional-level removal knowledge. If you press a glued weft straight to your head and instantly realize you don't like the placement, taking it out right then is incredibly difficult without the right tools and experience.
💡 Secret DIY Bobby Pin Hint
If you are terrified of accidentally gluing the weft directly to your head, try this: Take a spare piece of tape backing paper and use two bobby pins to temporarily secure it flat against your scalp right under your part line. Pull your natural hair strands down over that backing paper, then lay your weft down. The paper acts as a shield so the tape can never touch your scalp!
🧰 Your DIY Installation Checklist (Tools You'll Need)
Before you begin your installation, make sure you have all your essential tools within arm's reach:
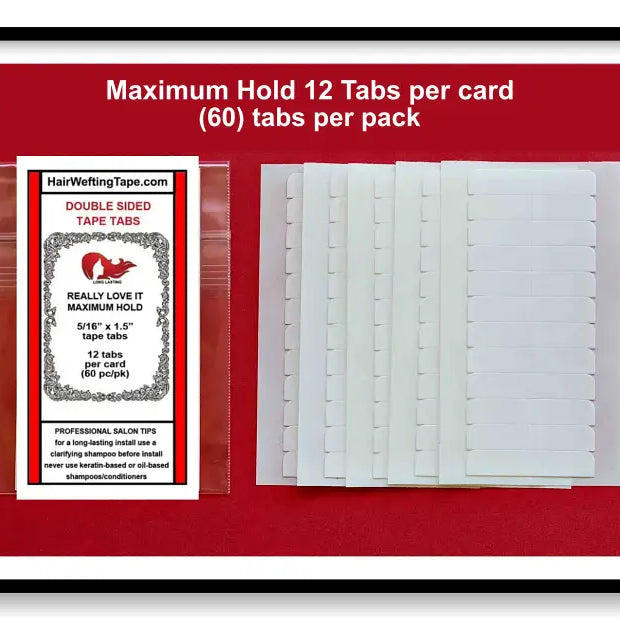
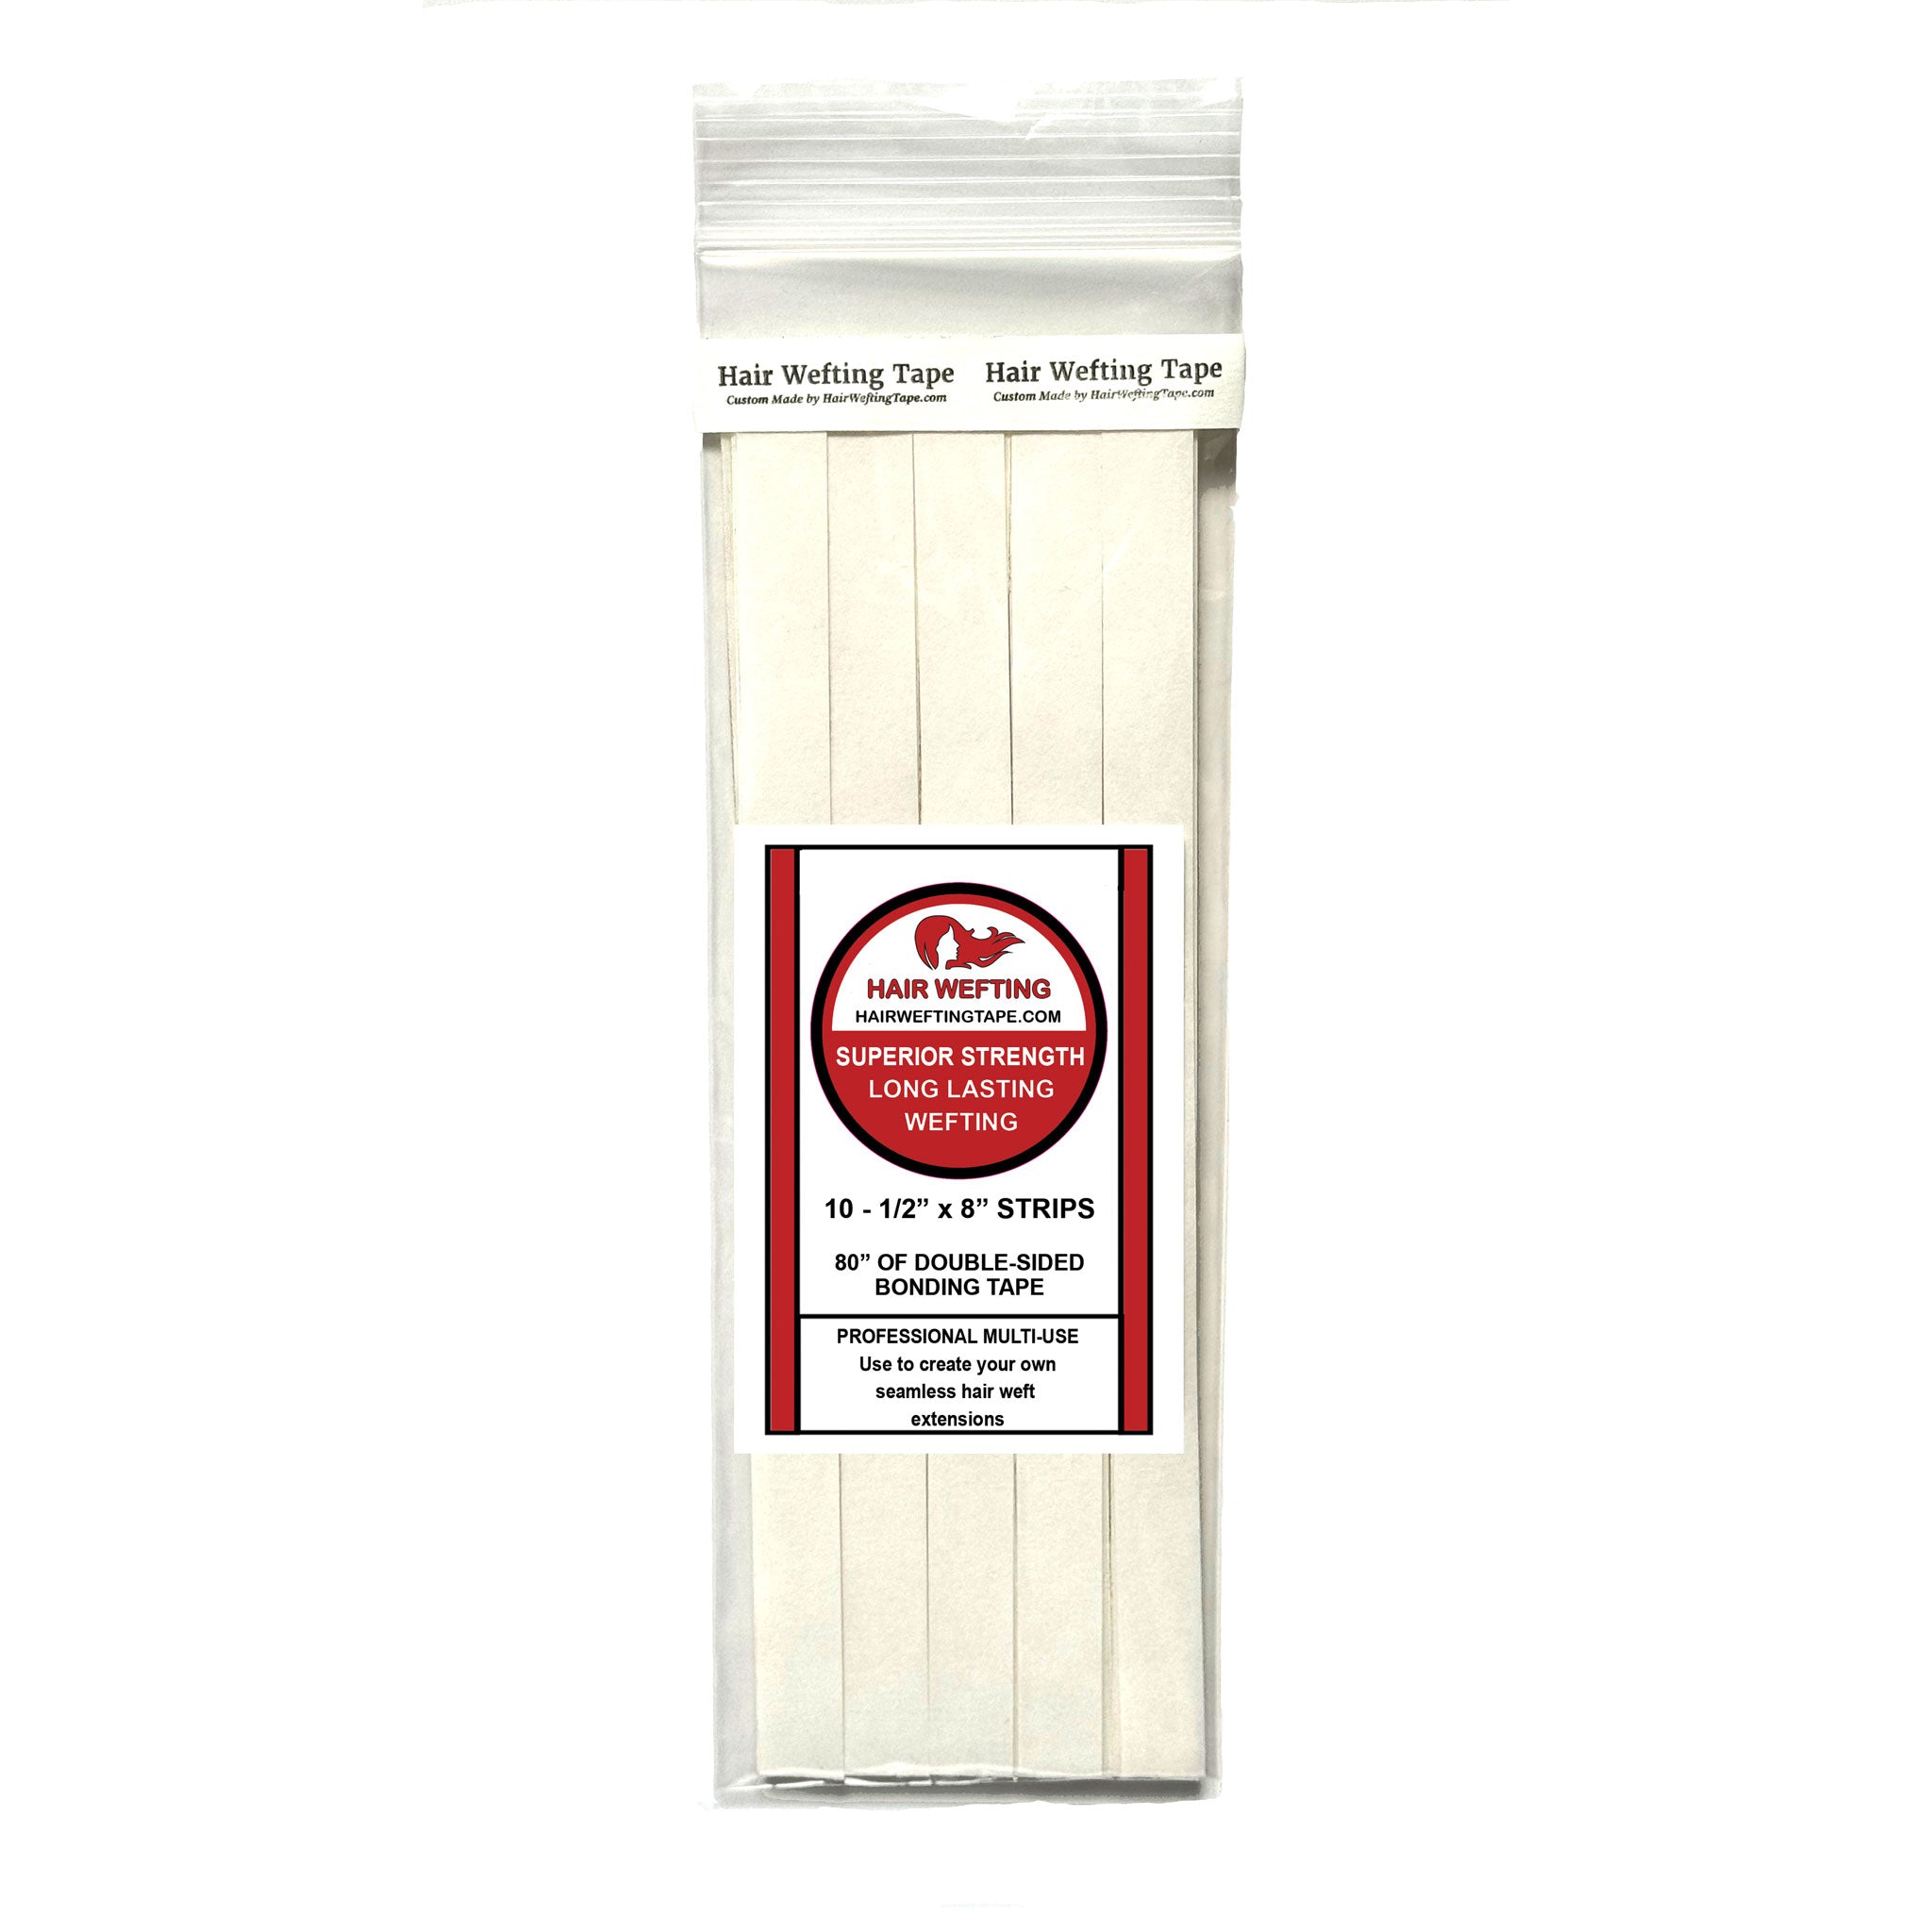
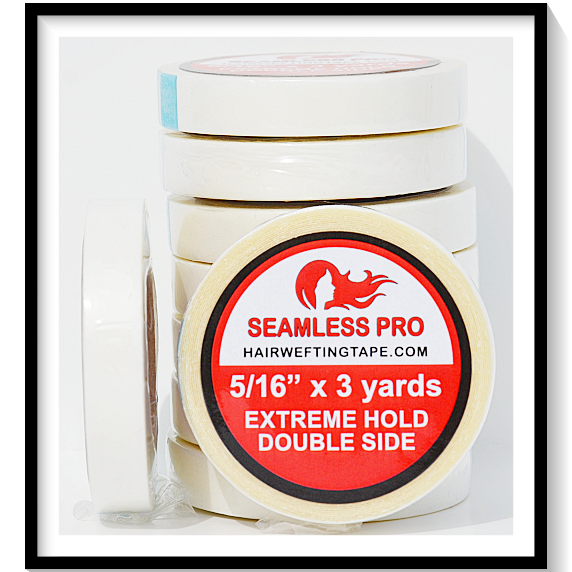
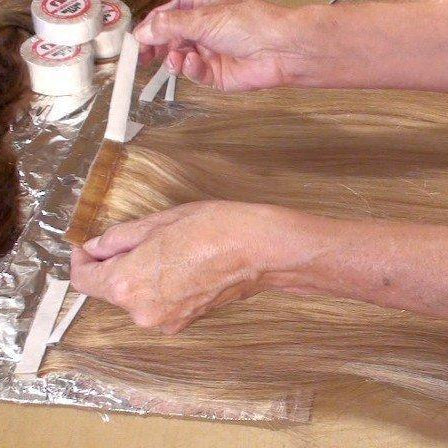
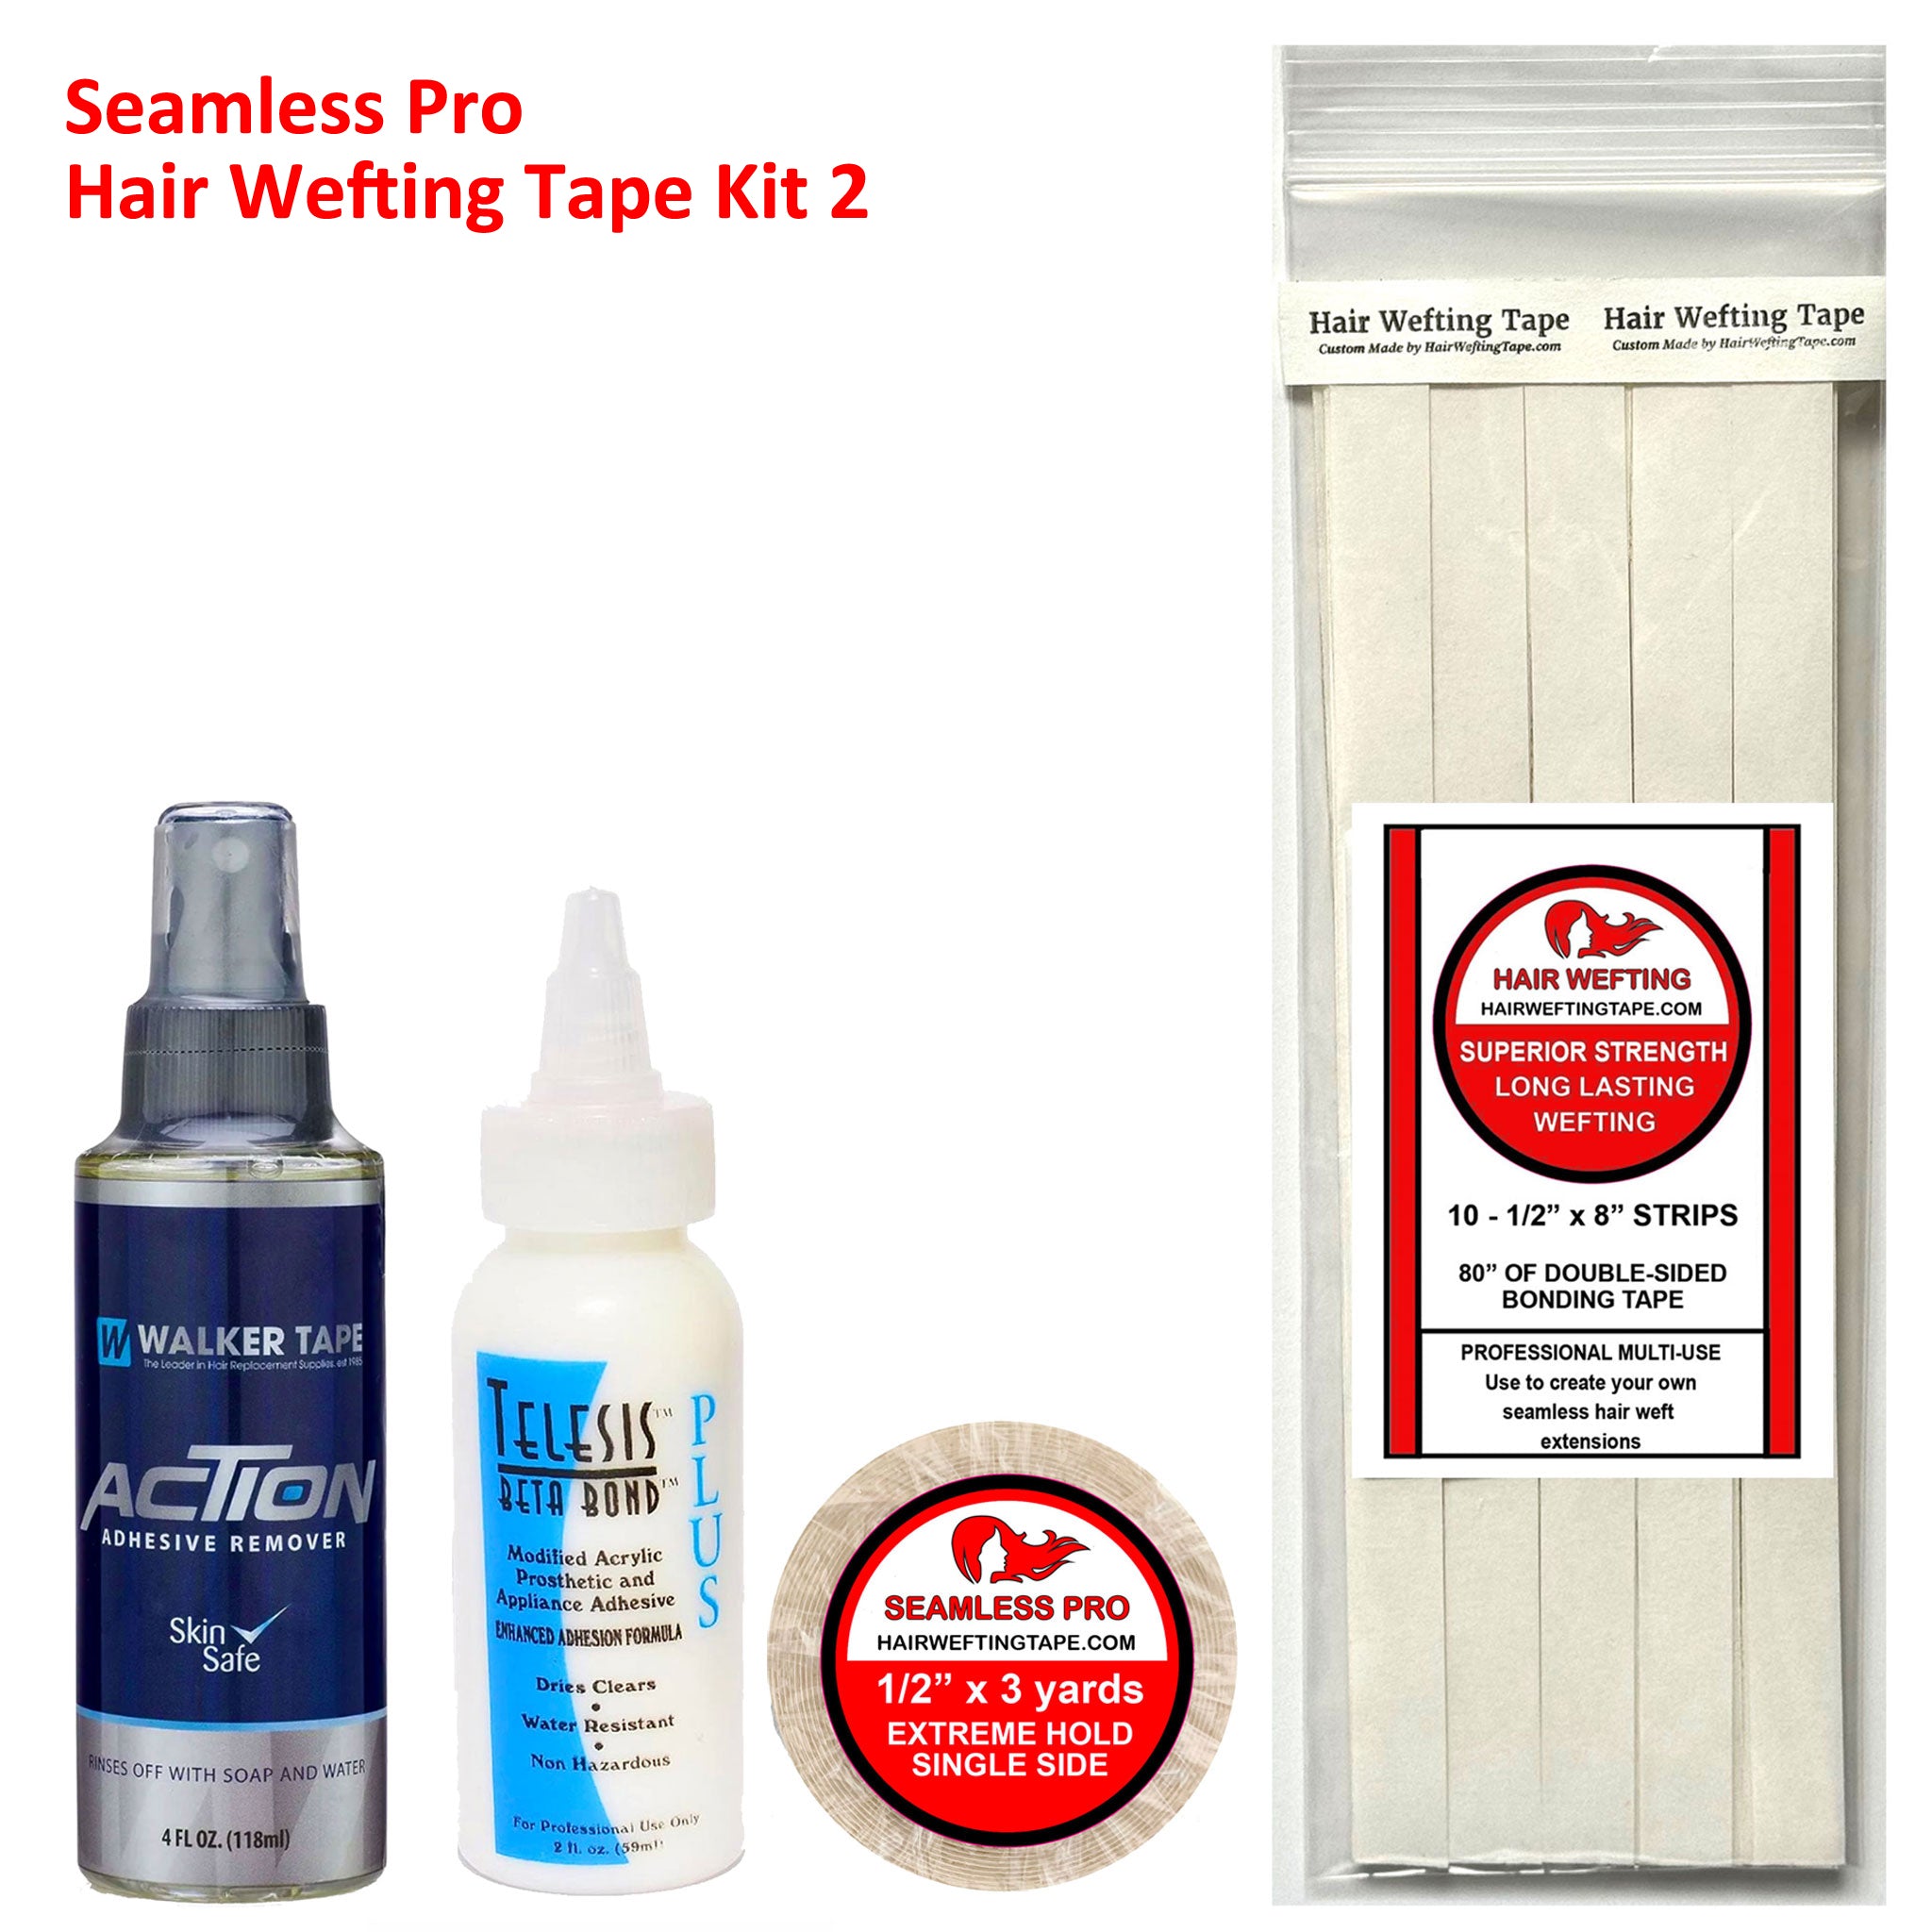
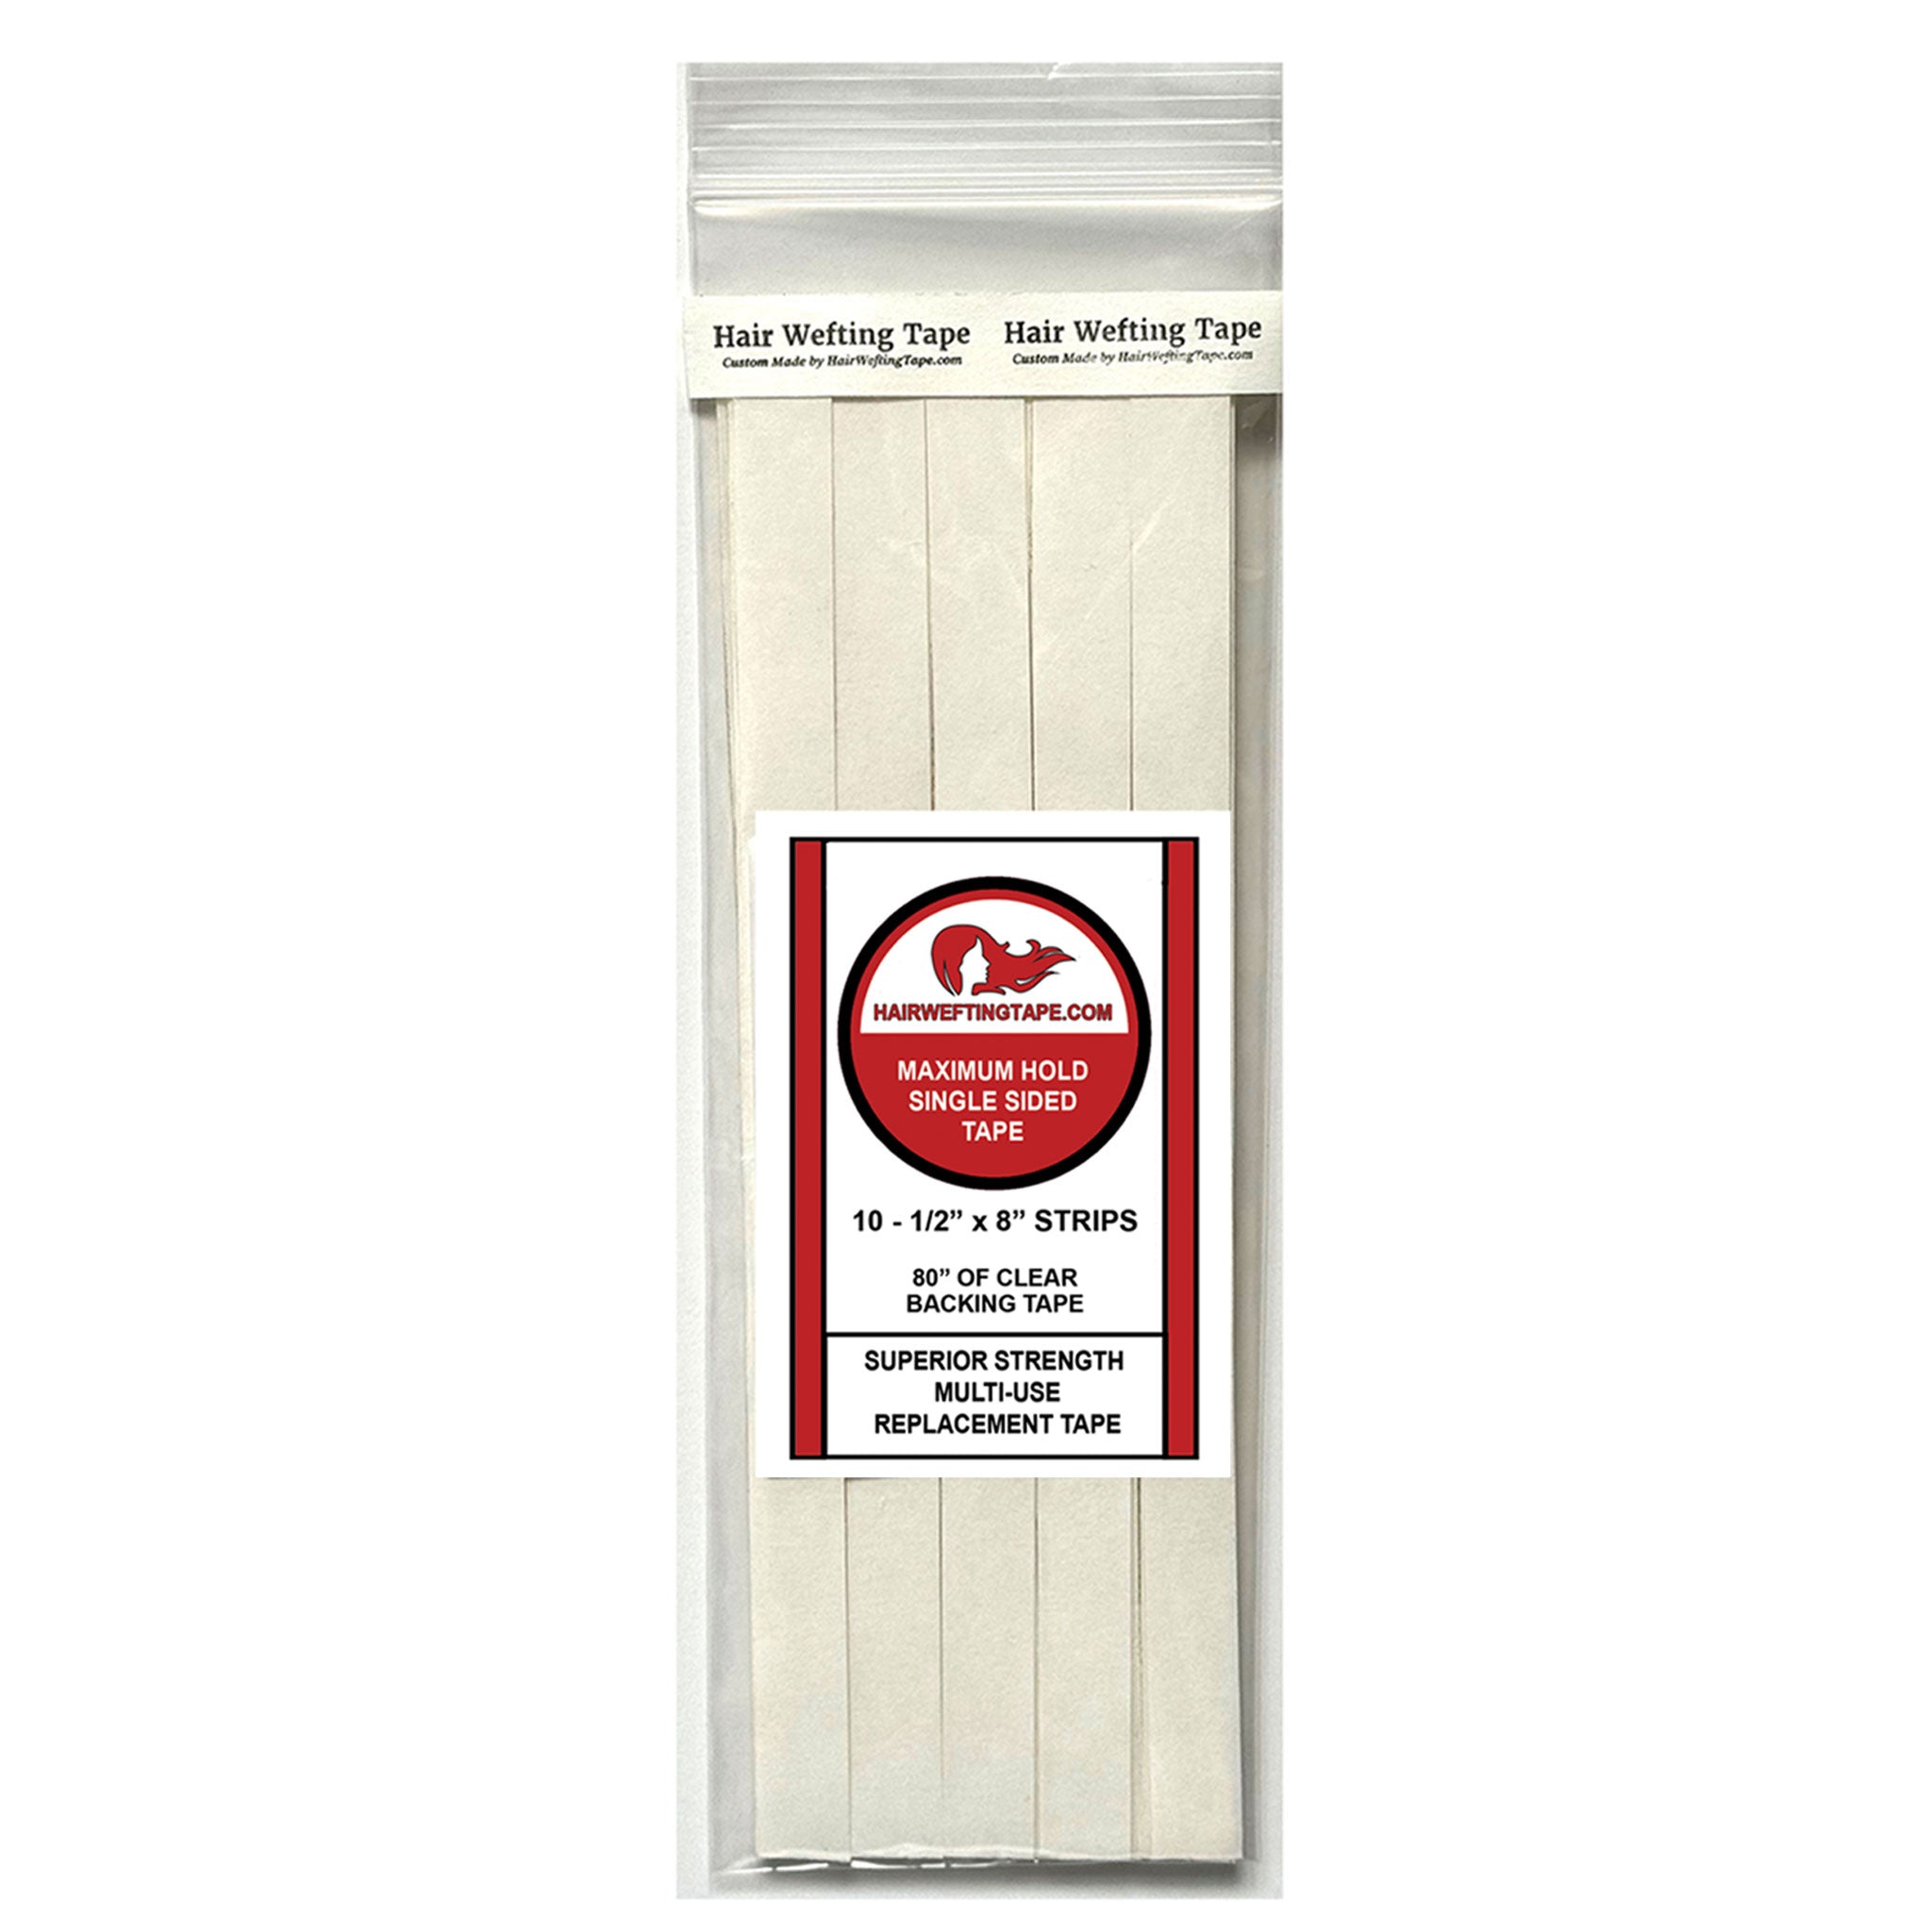
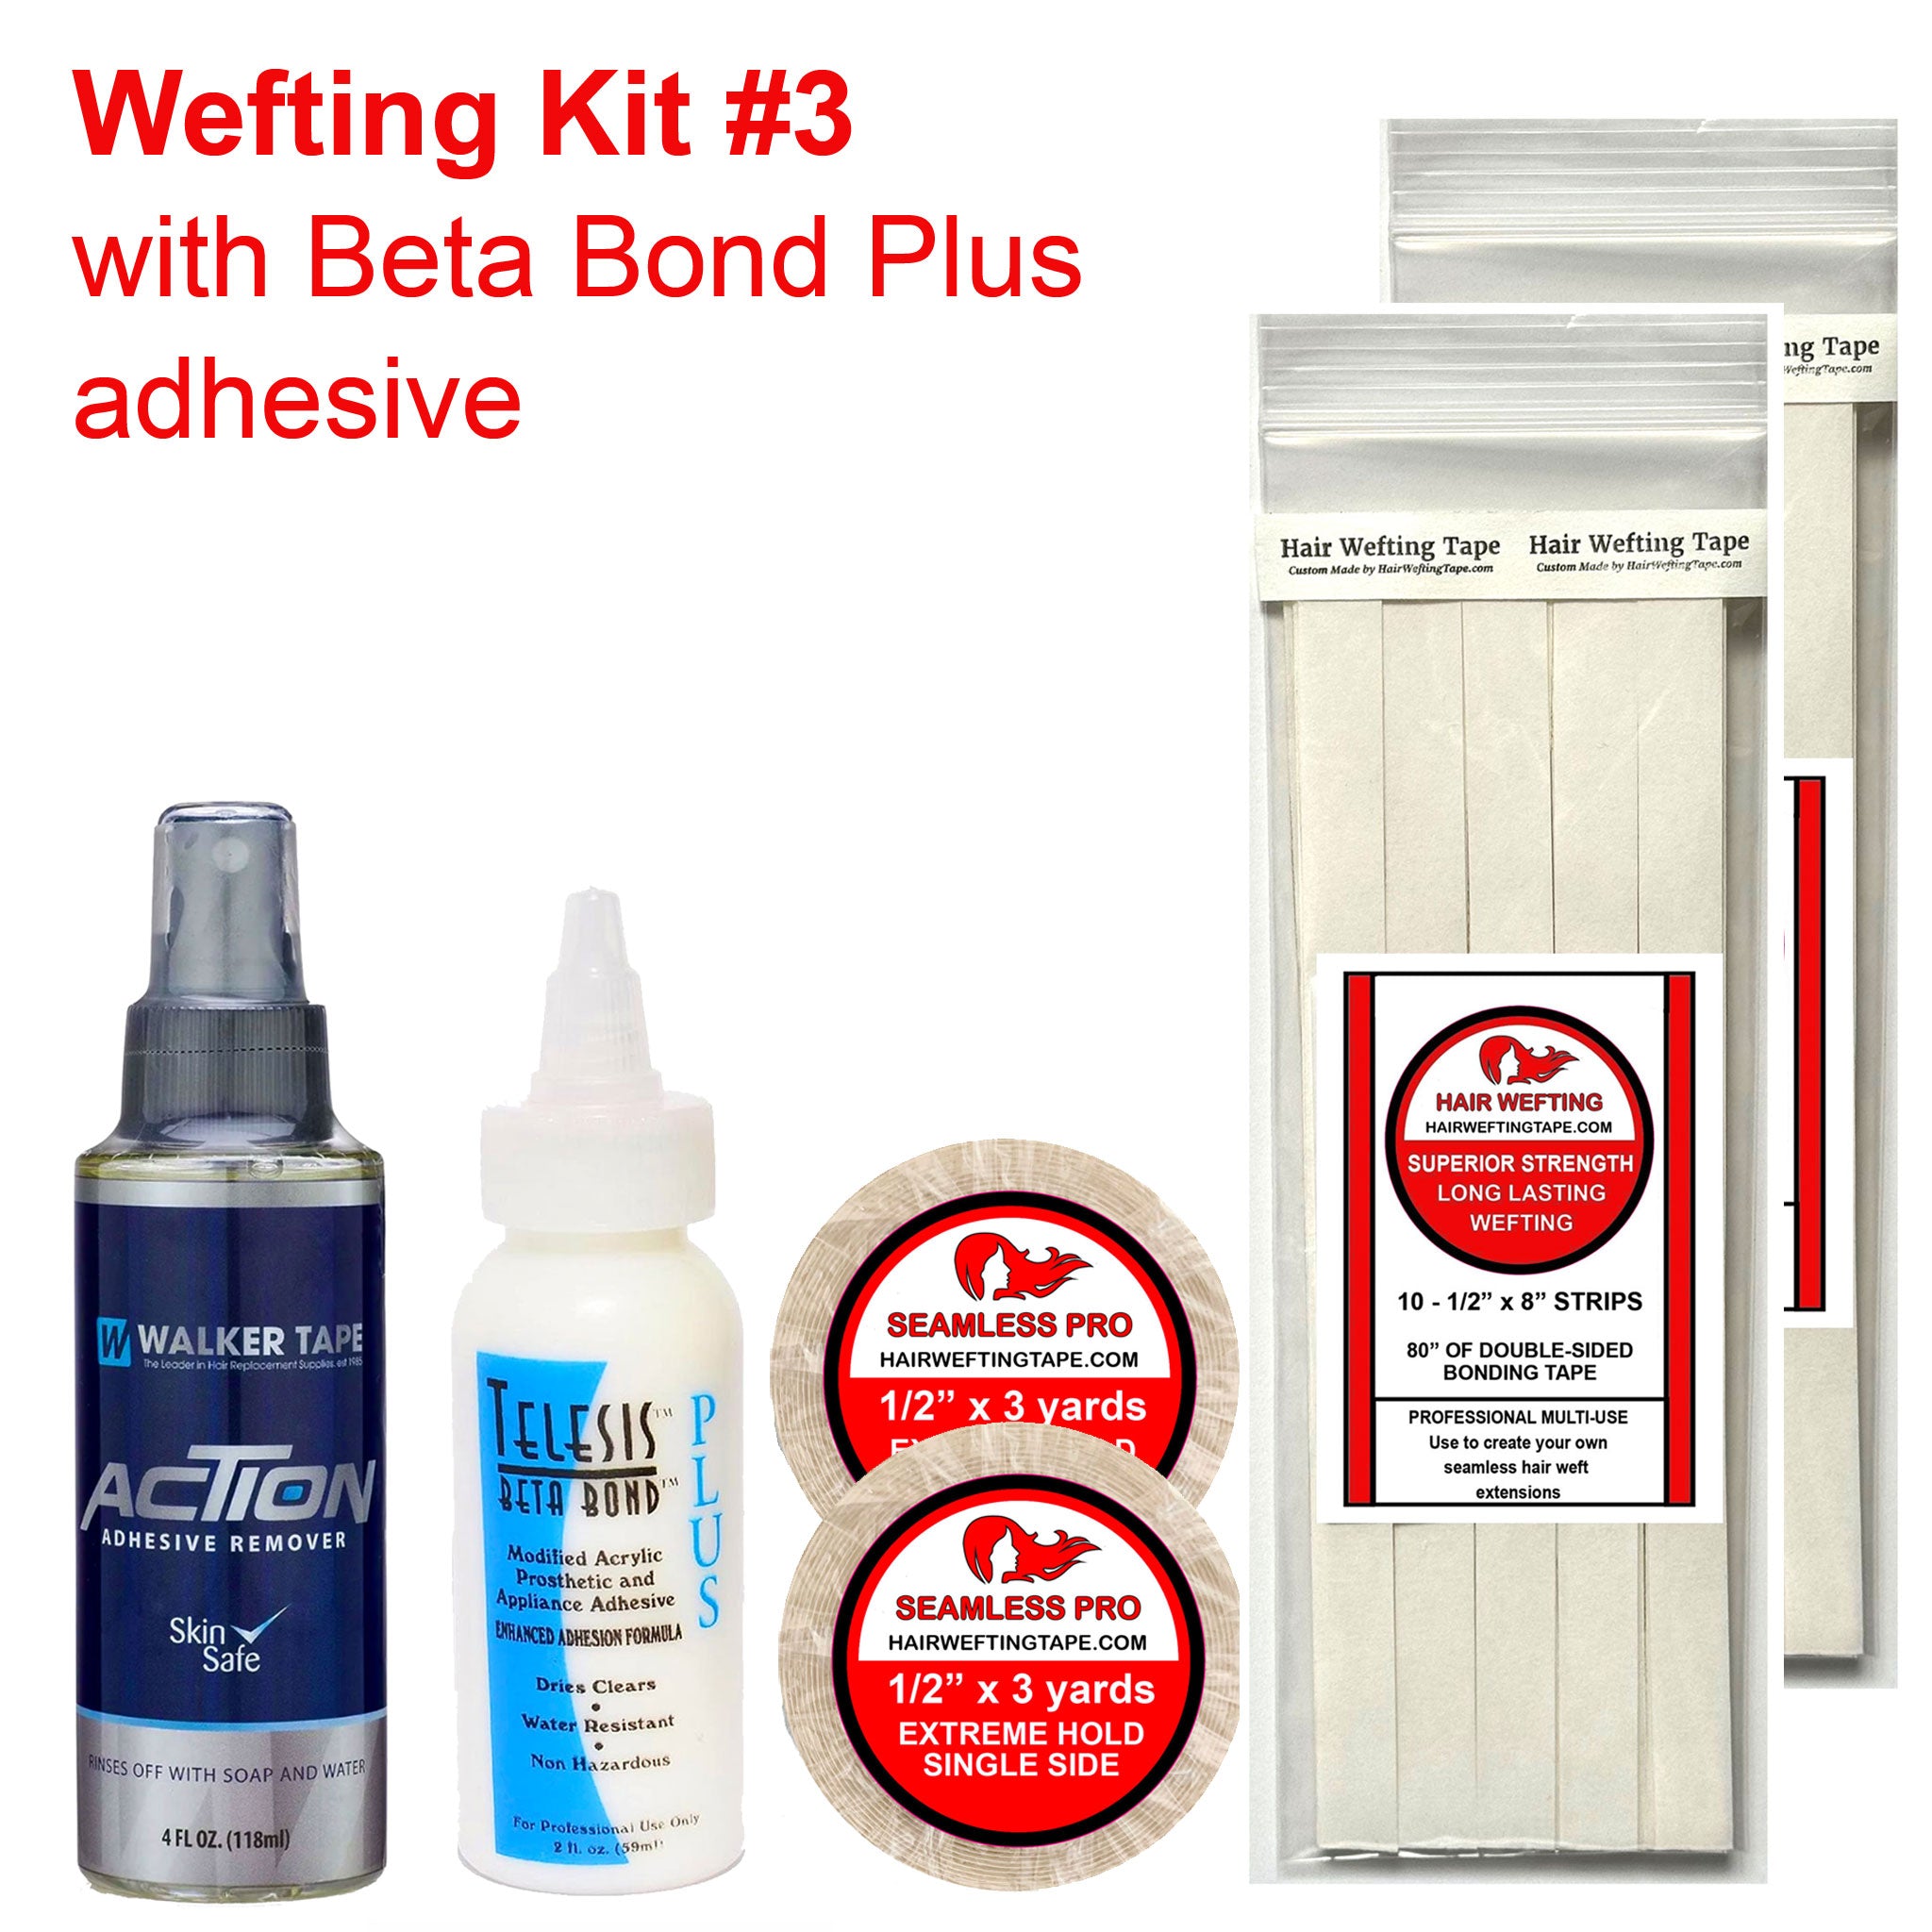
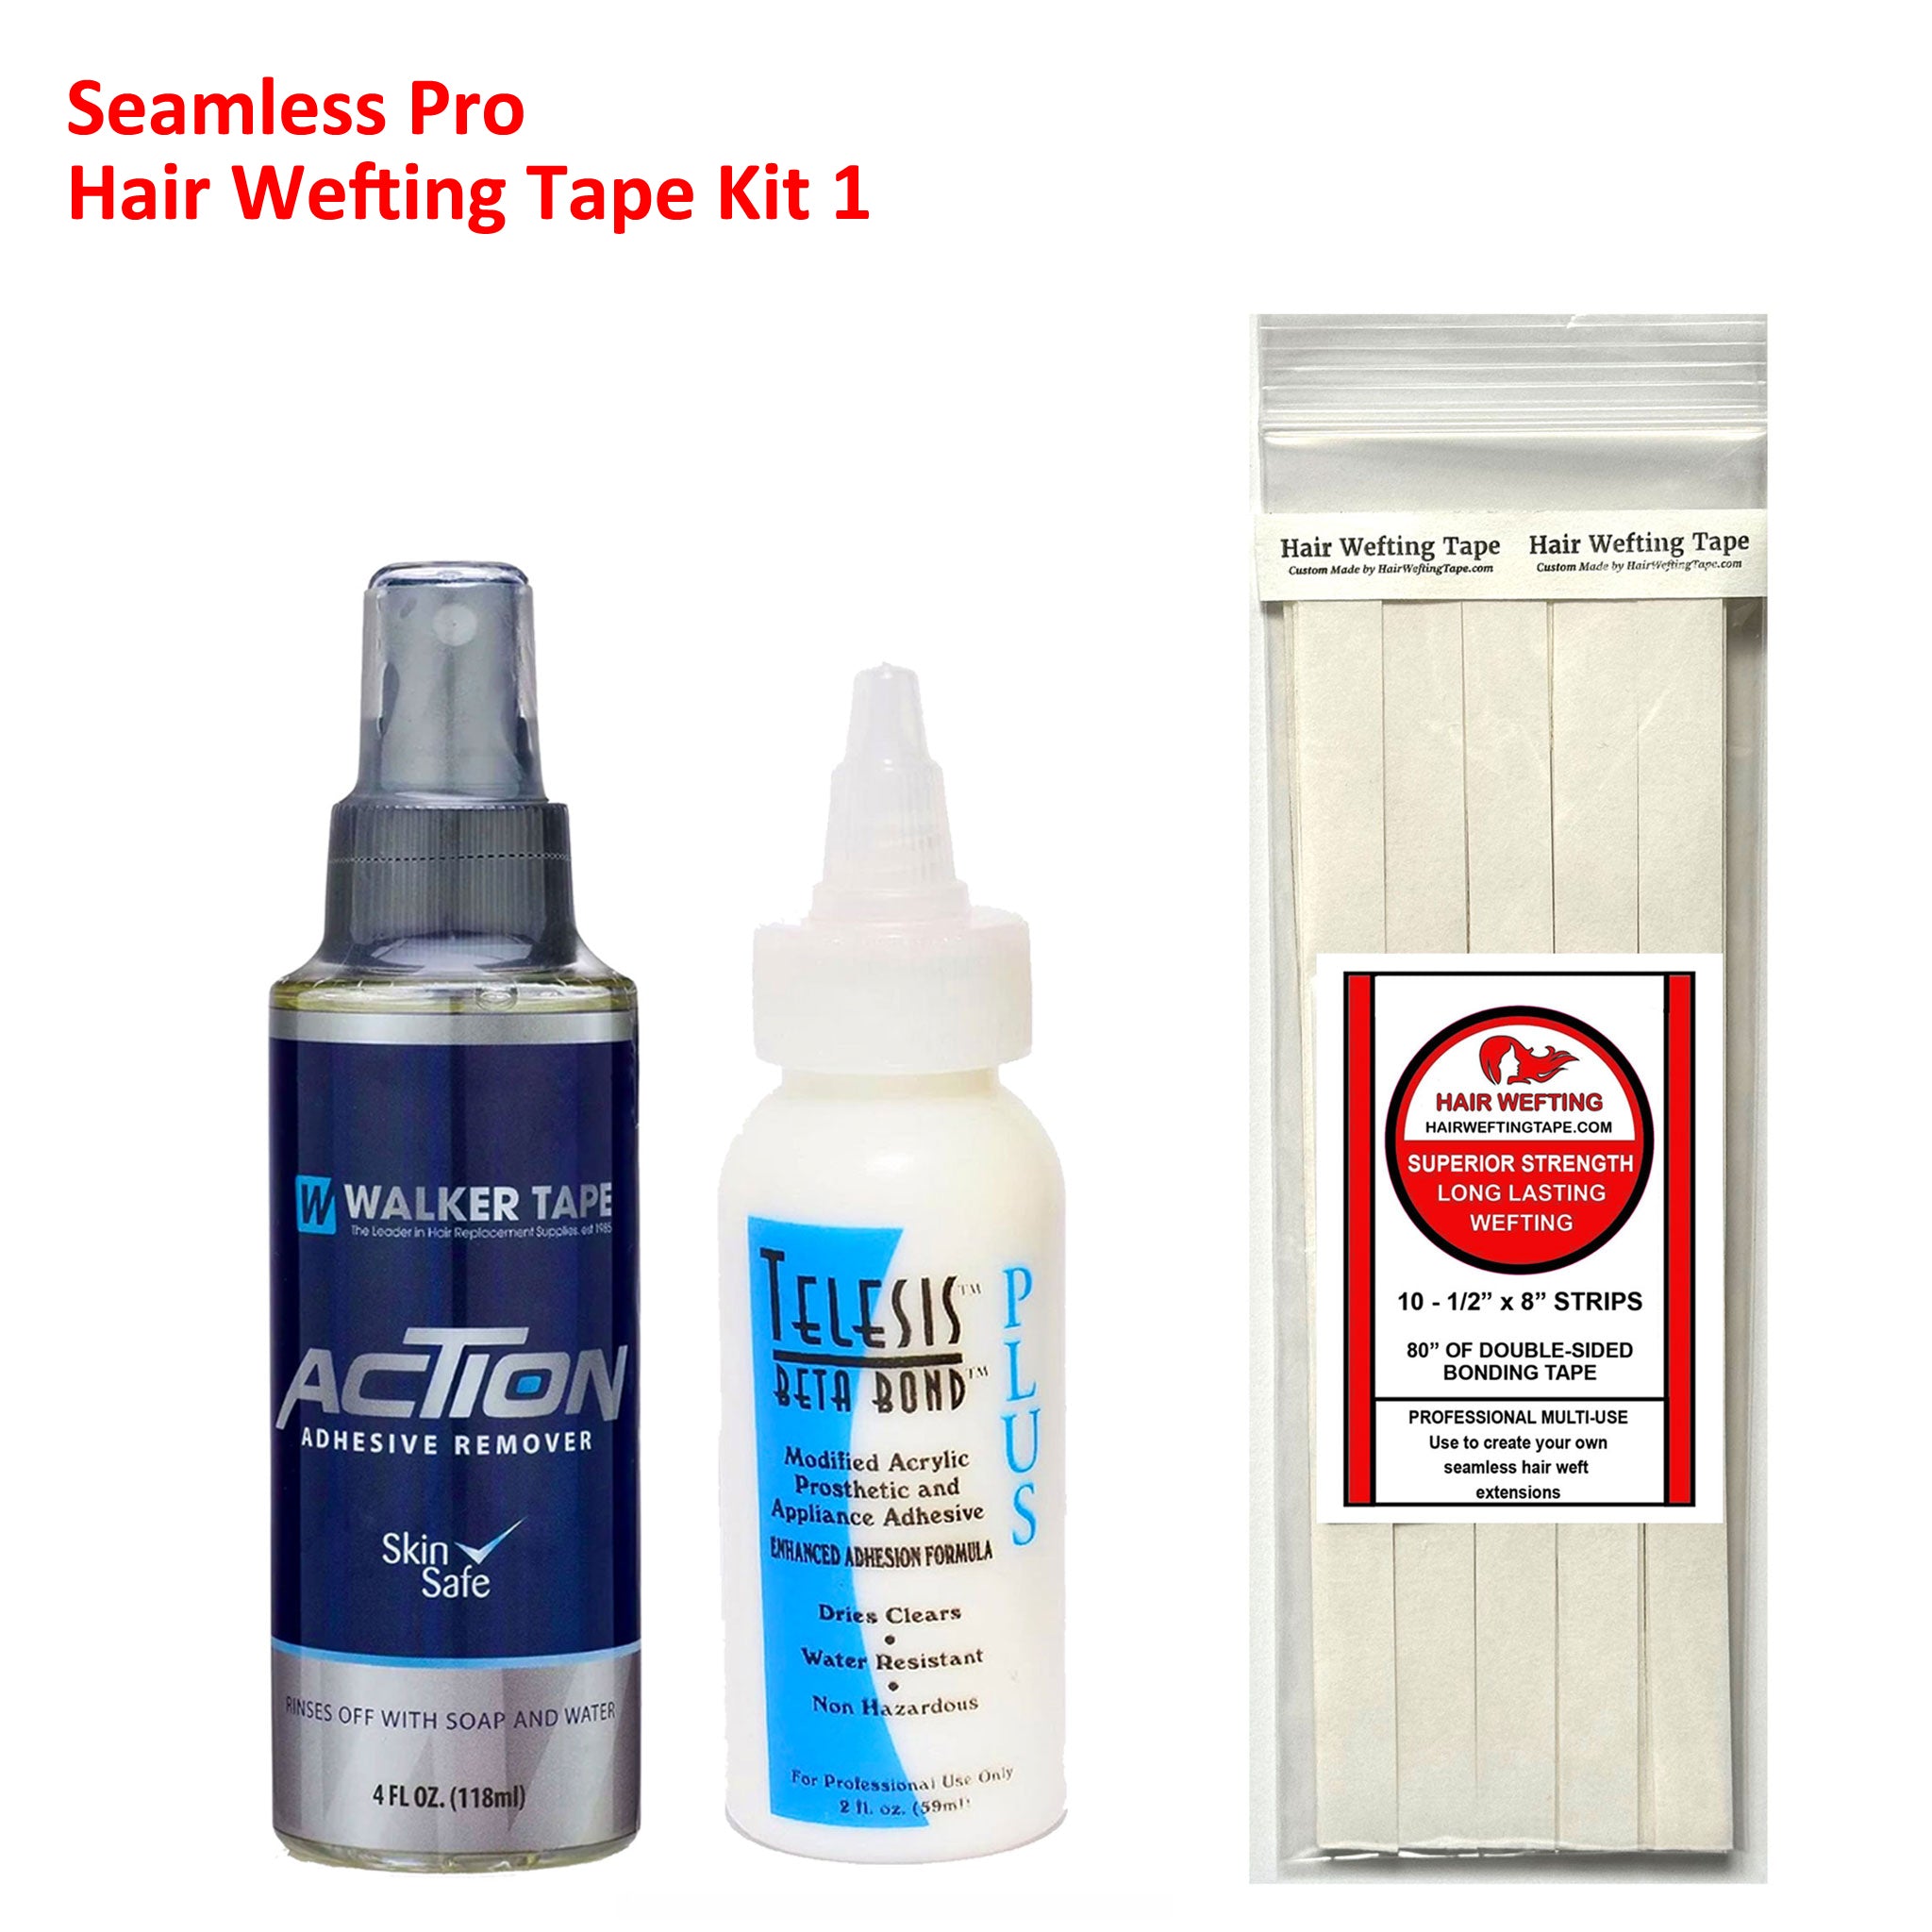
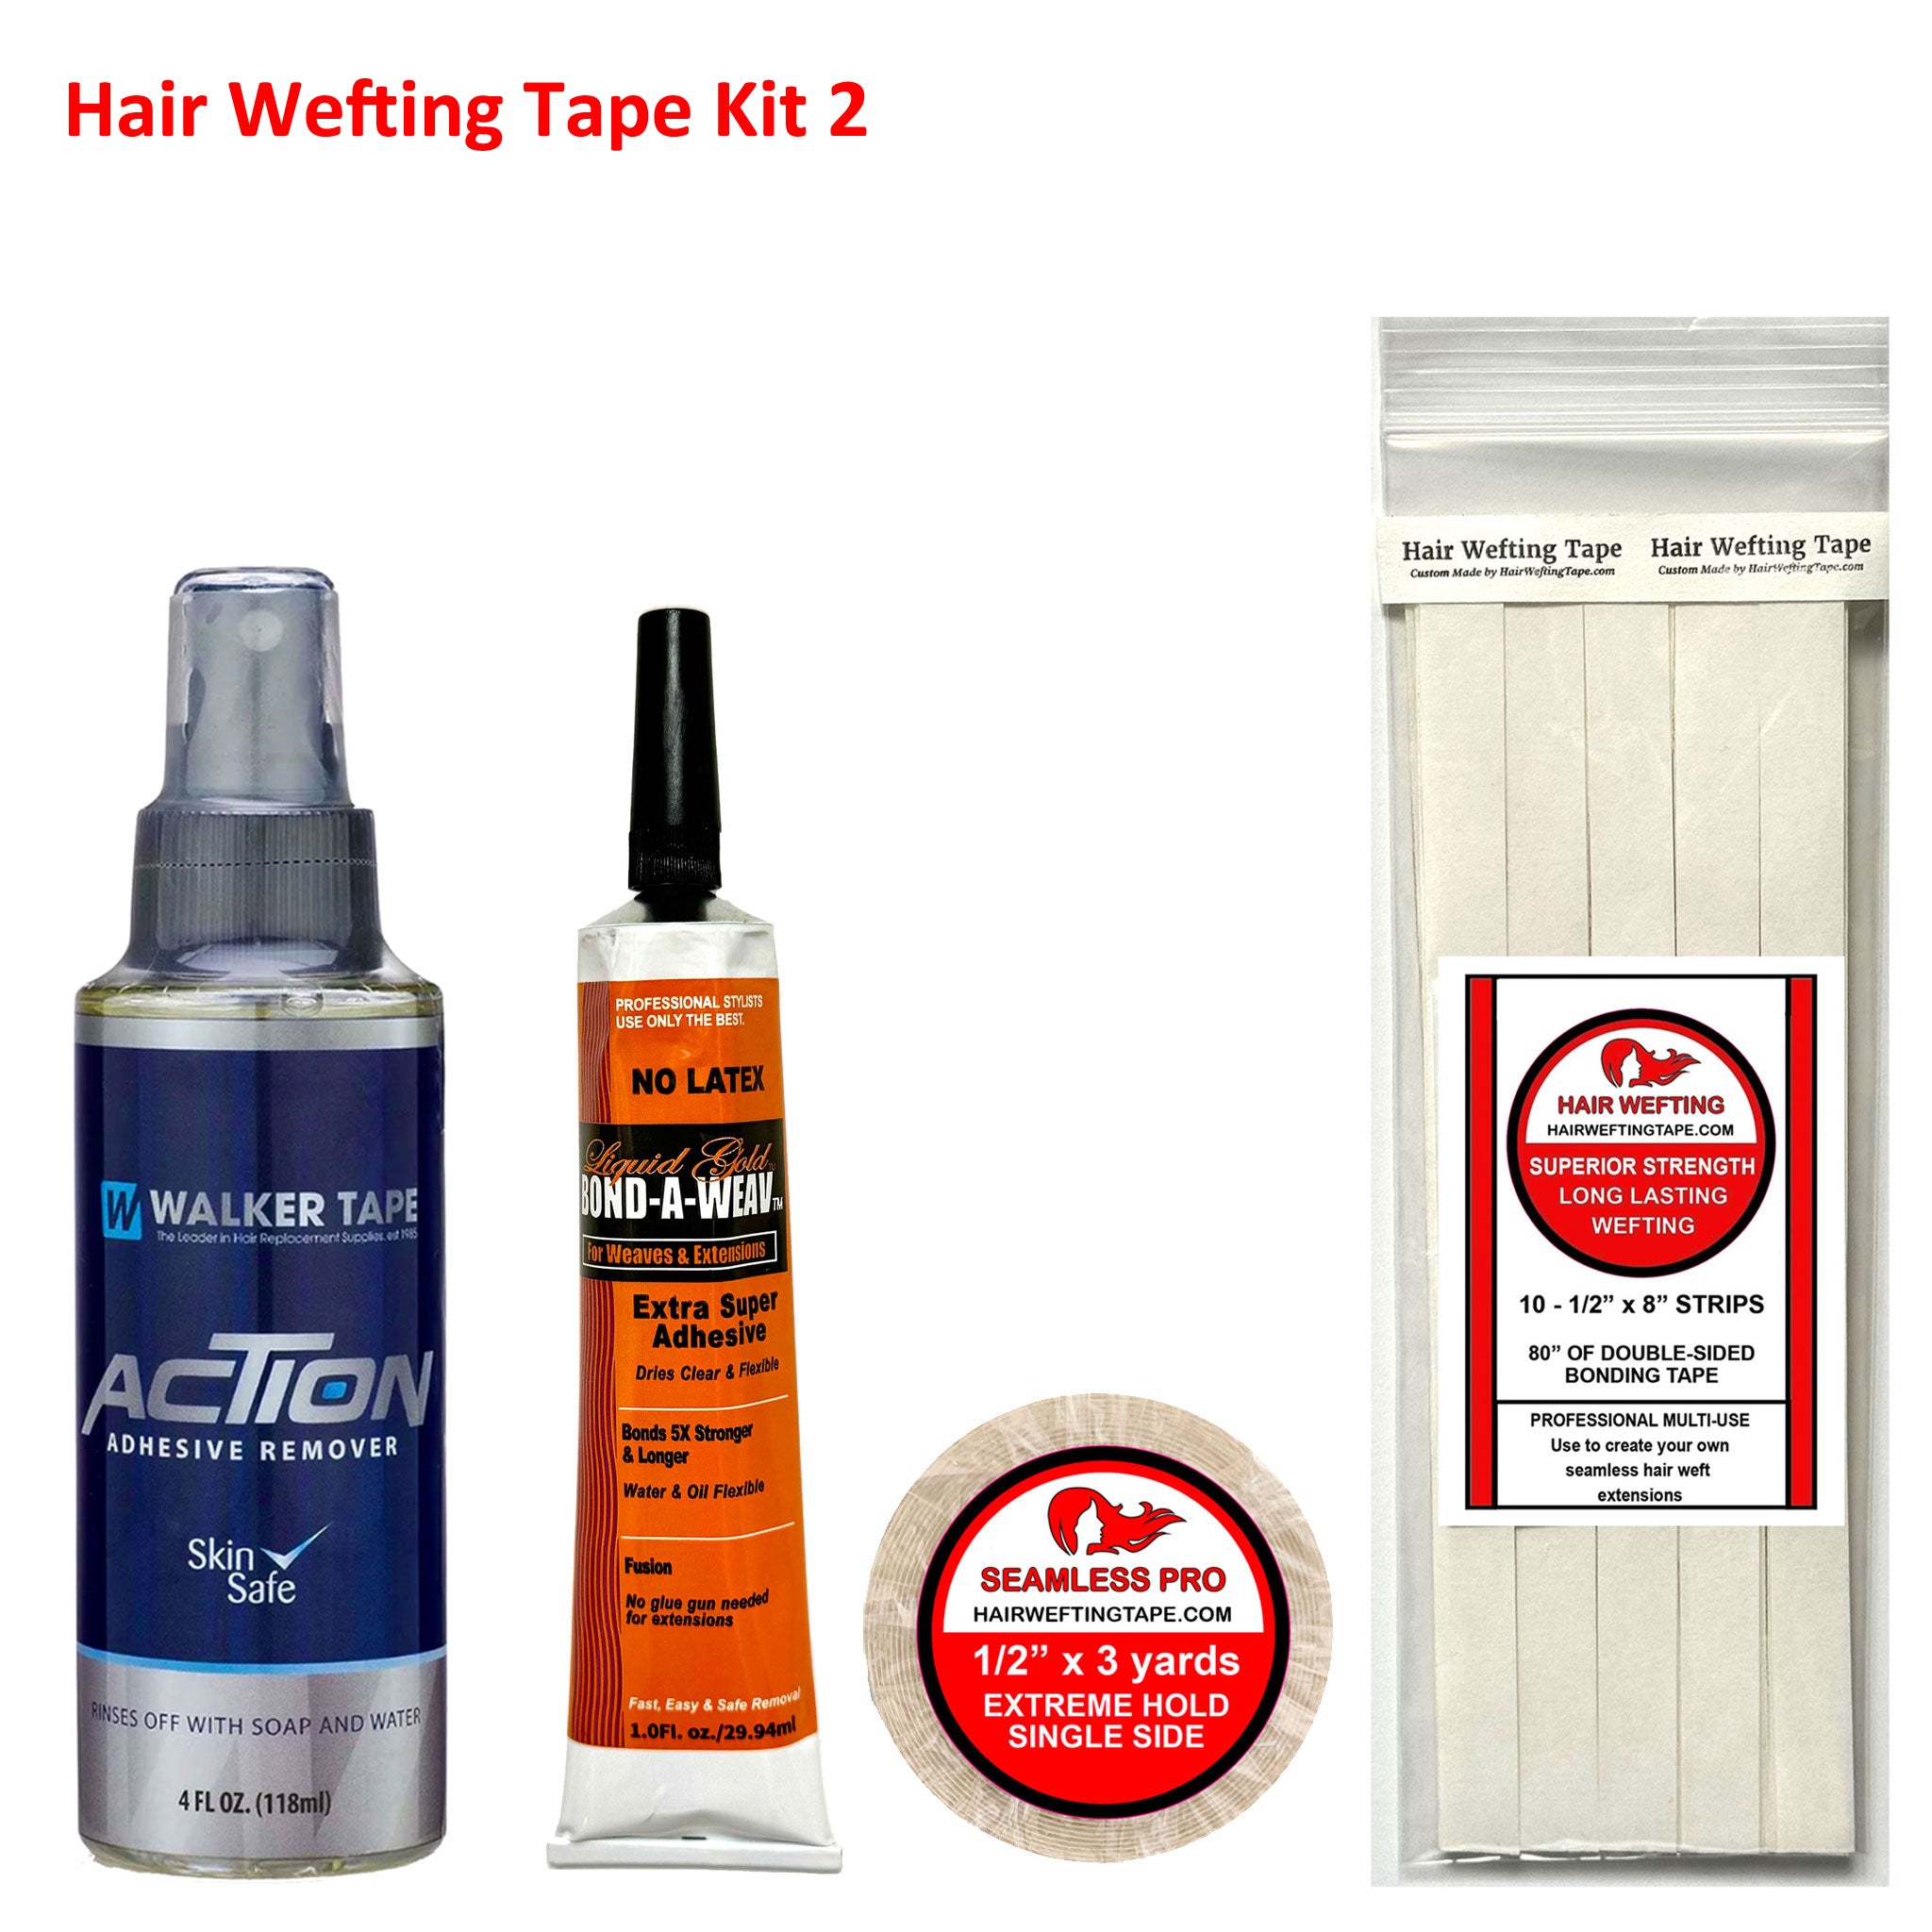
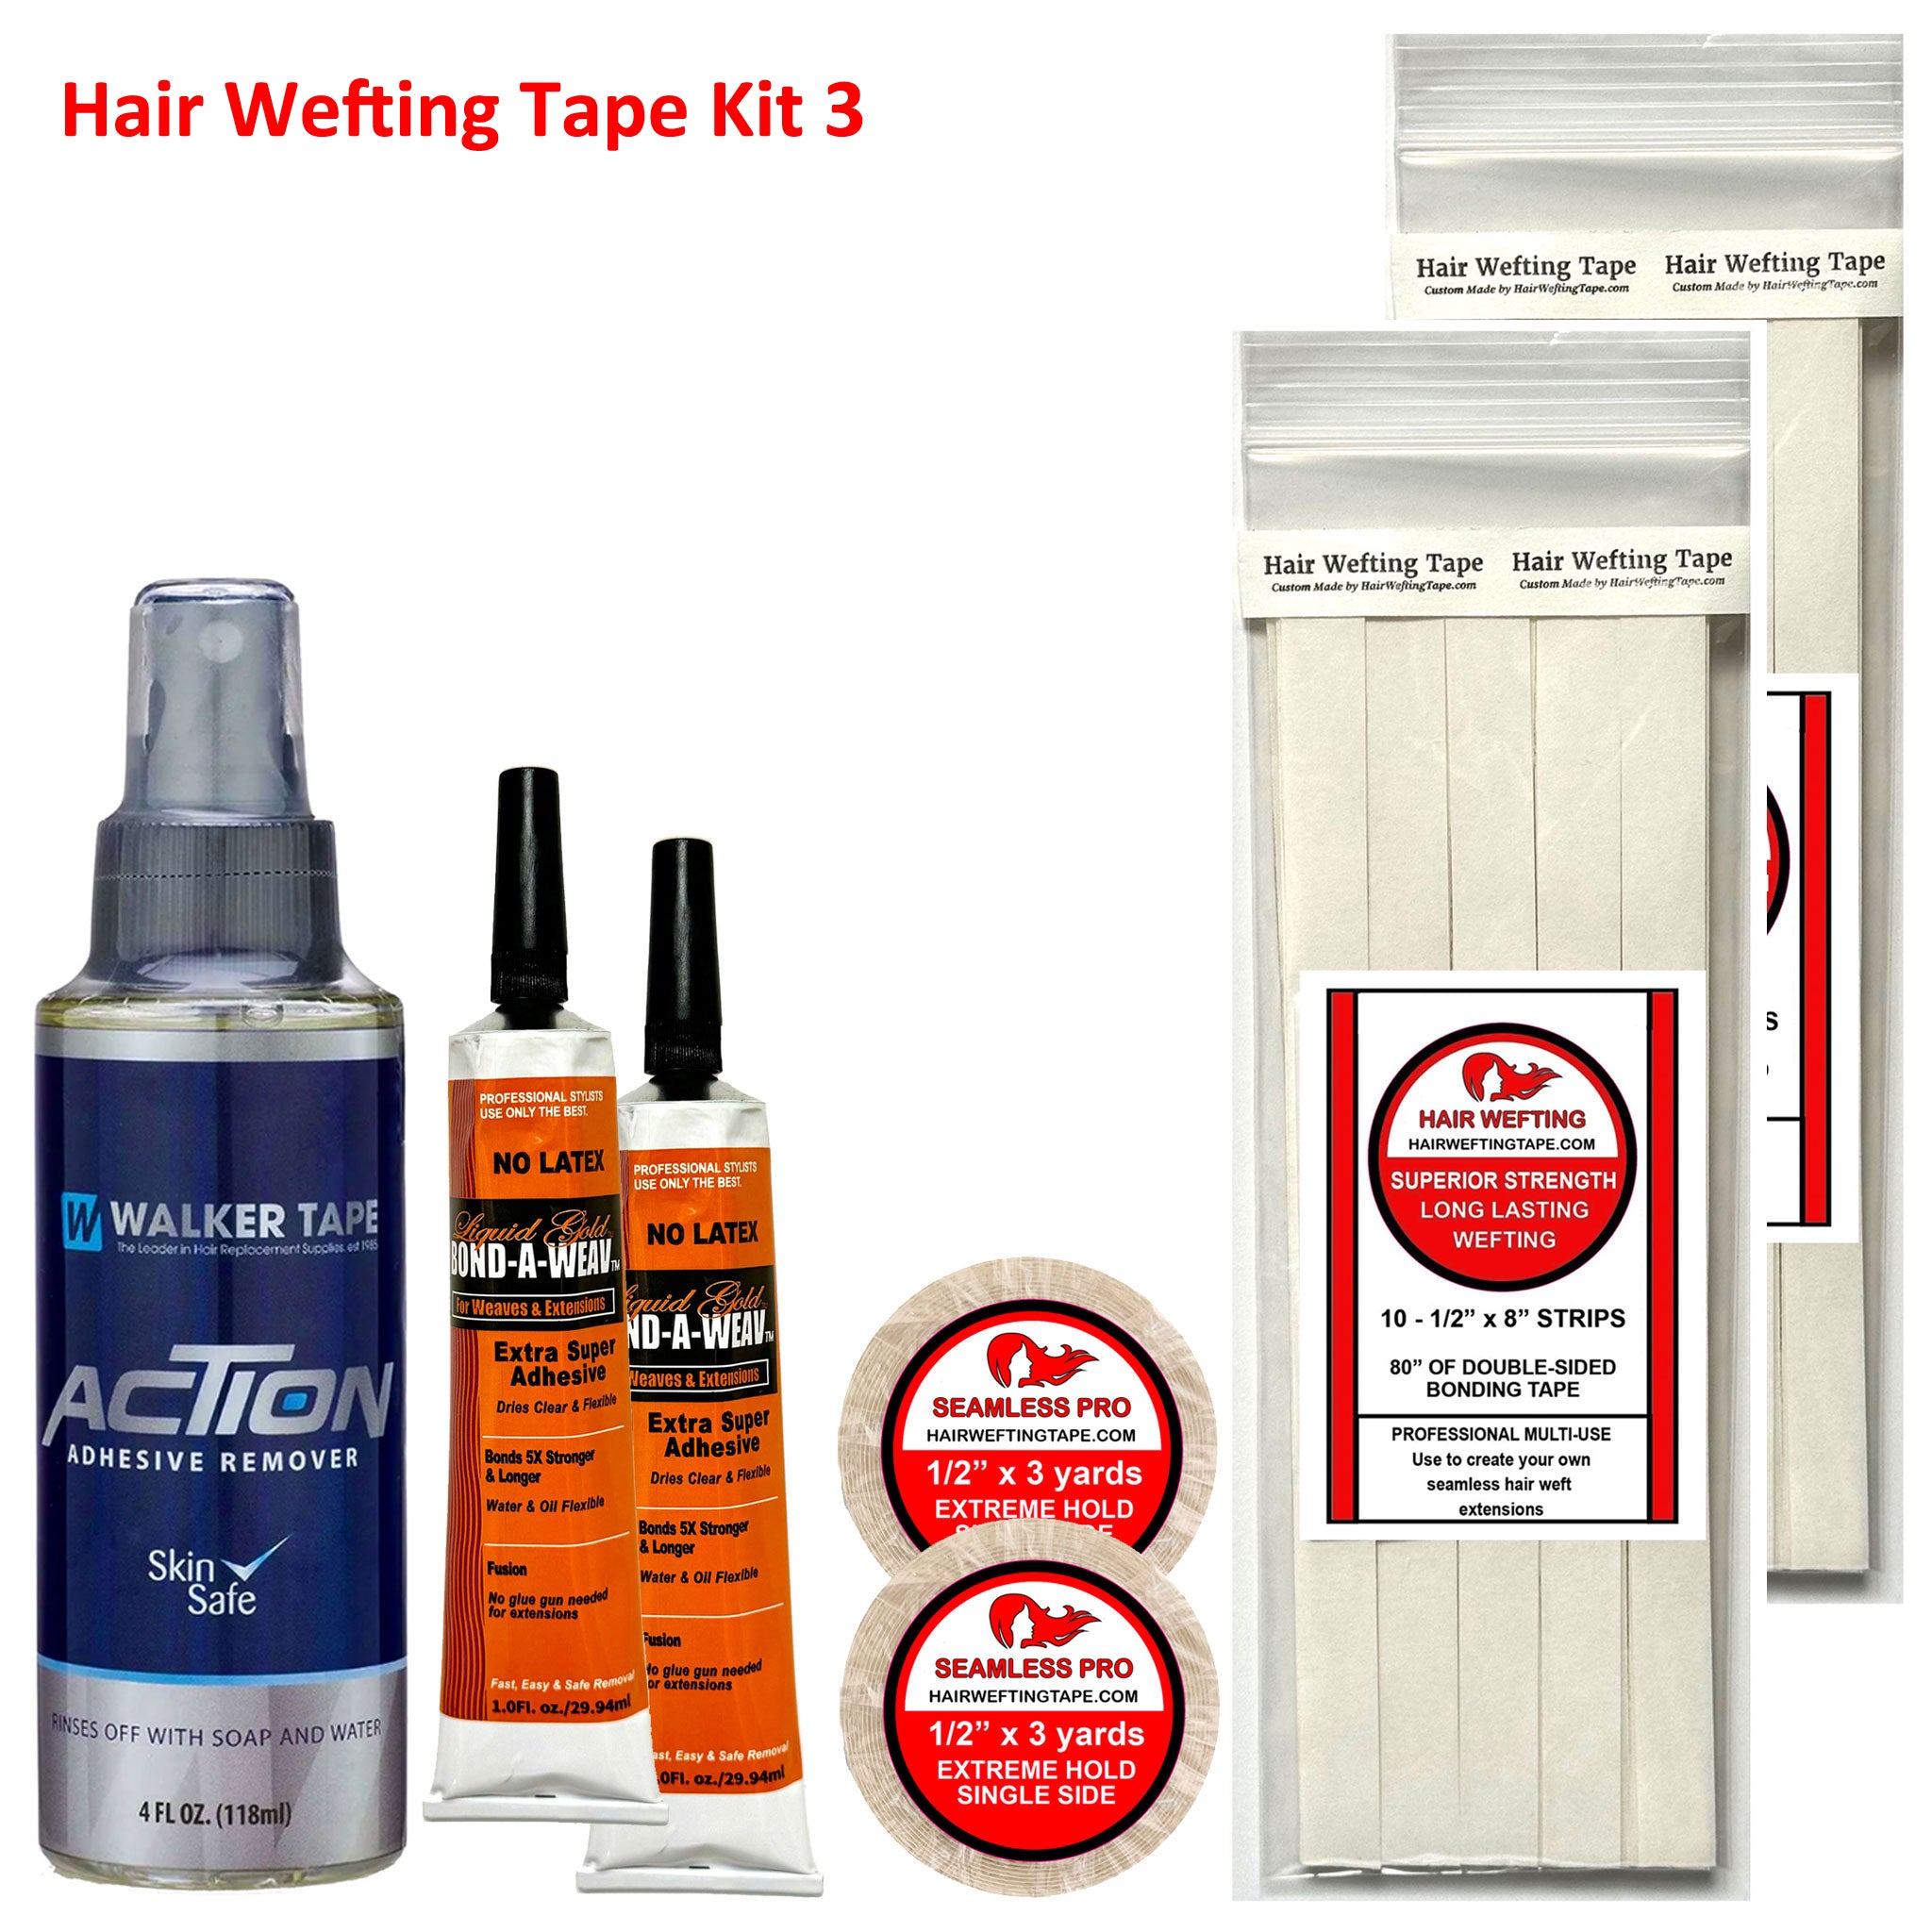
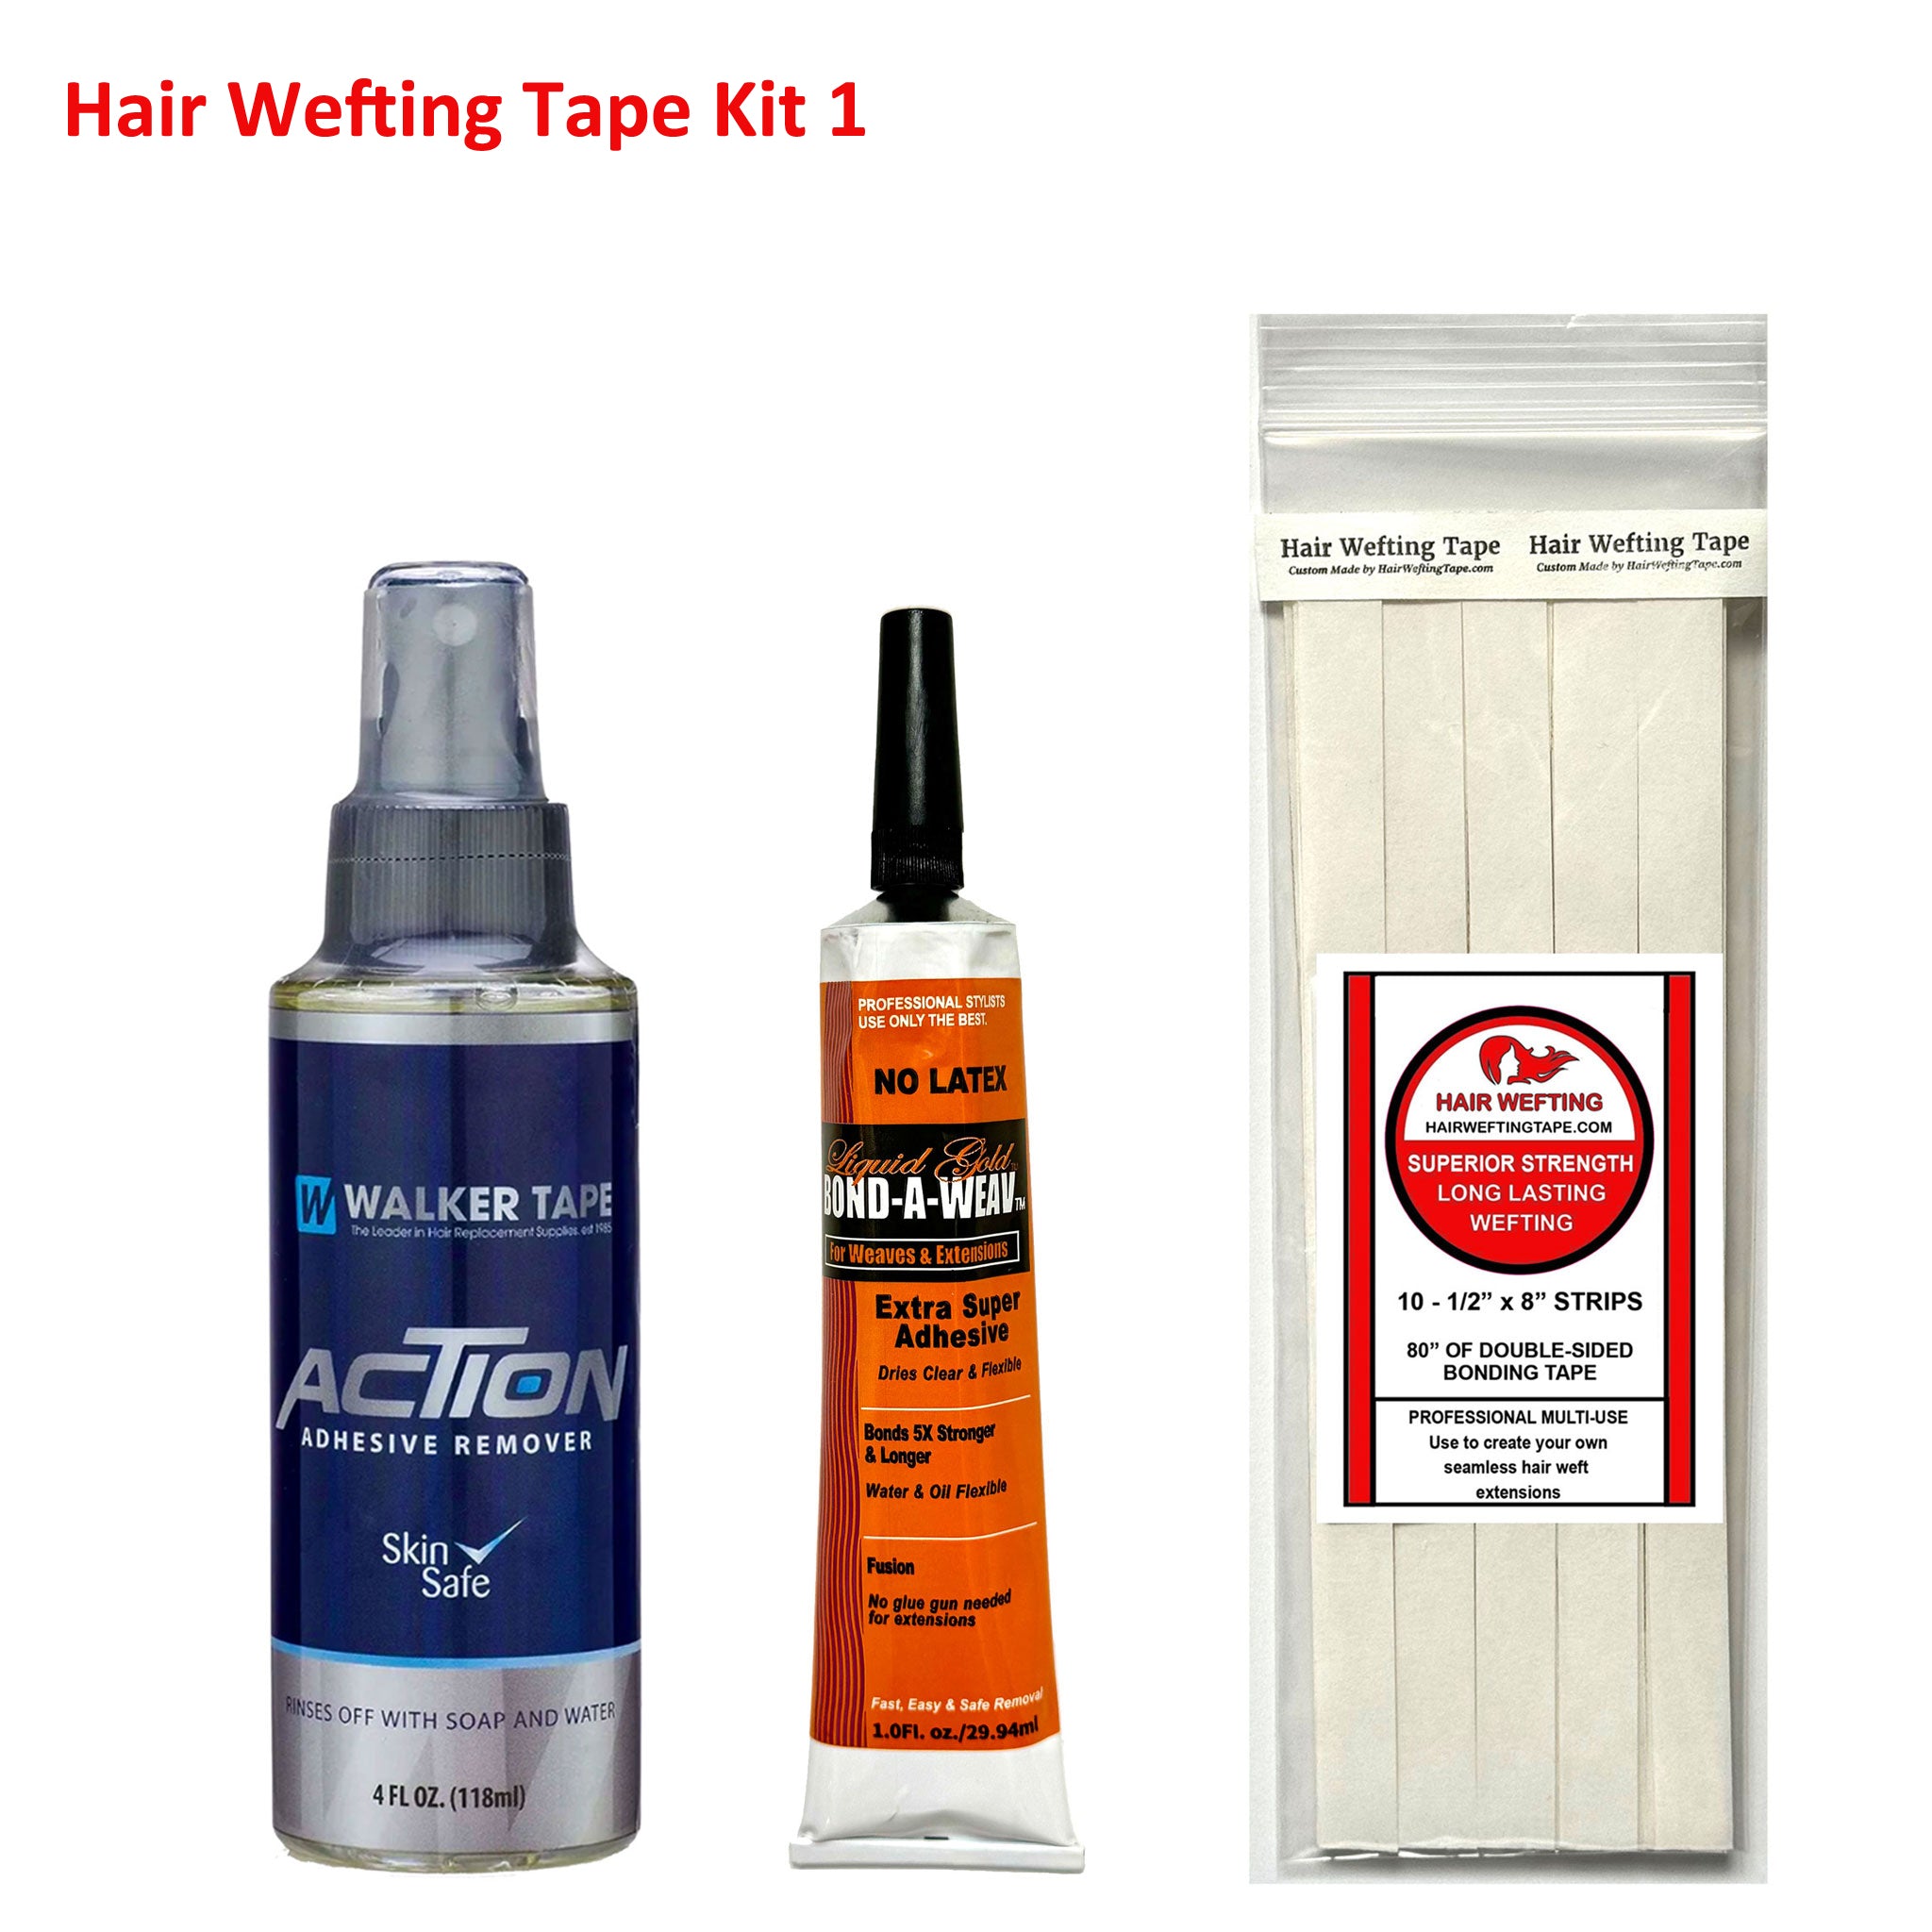
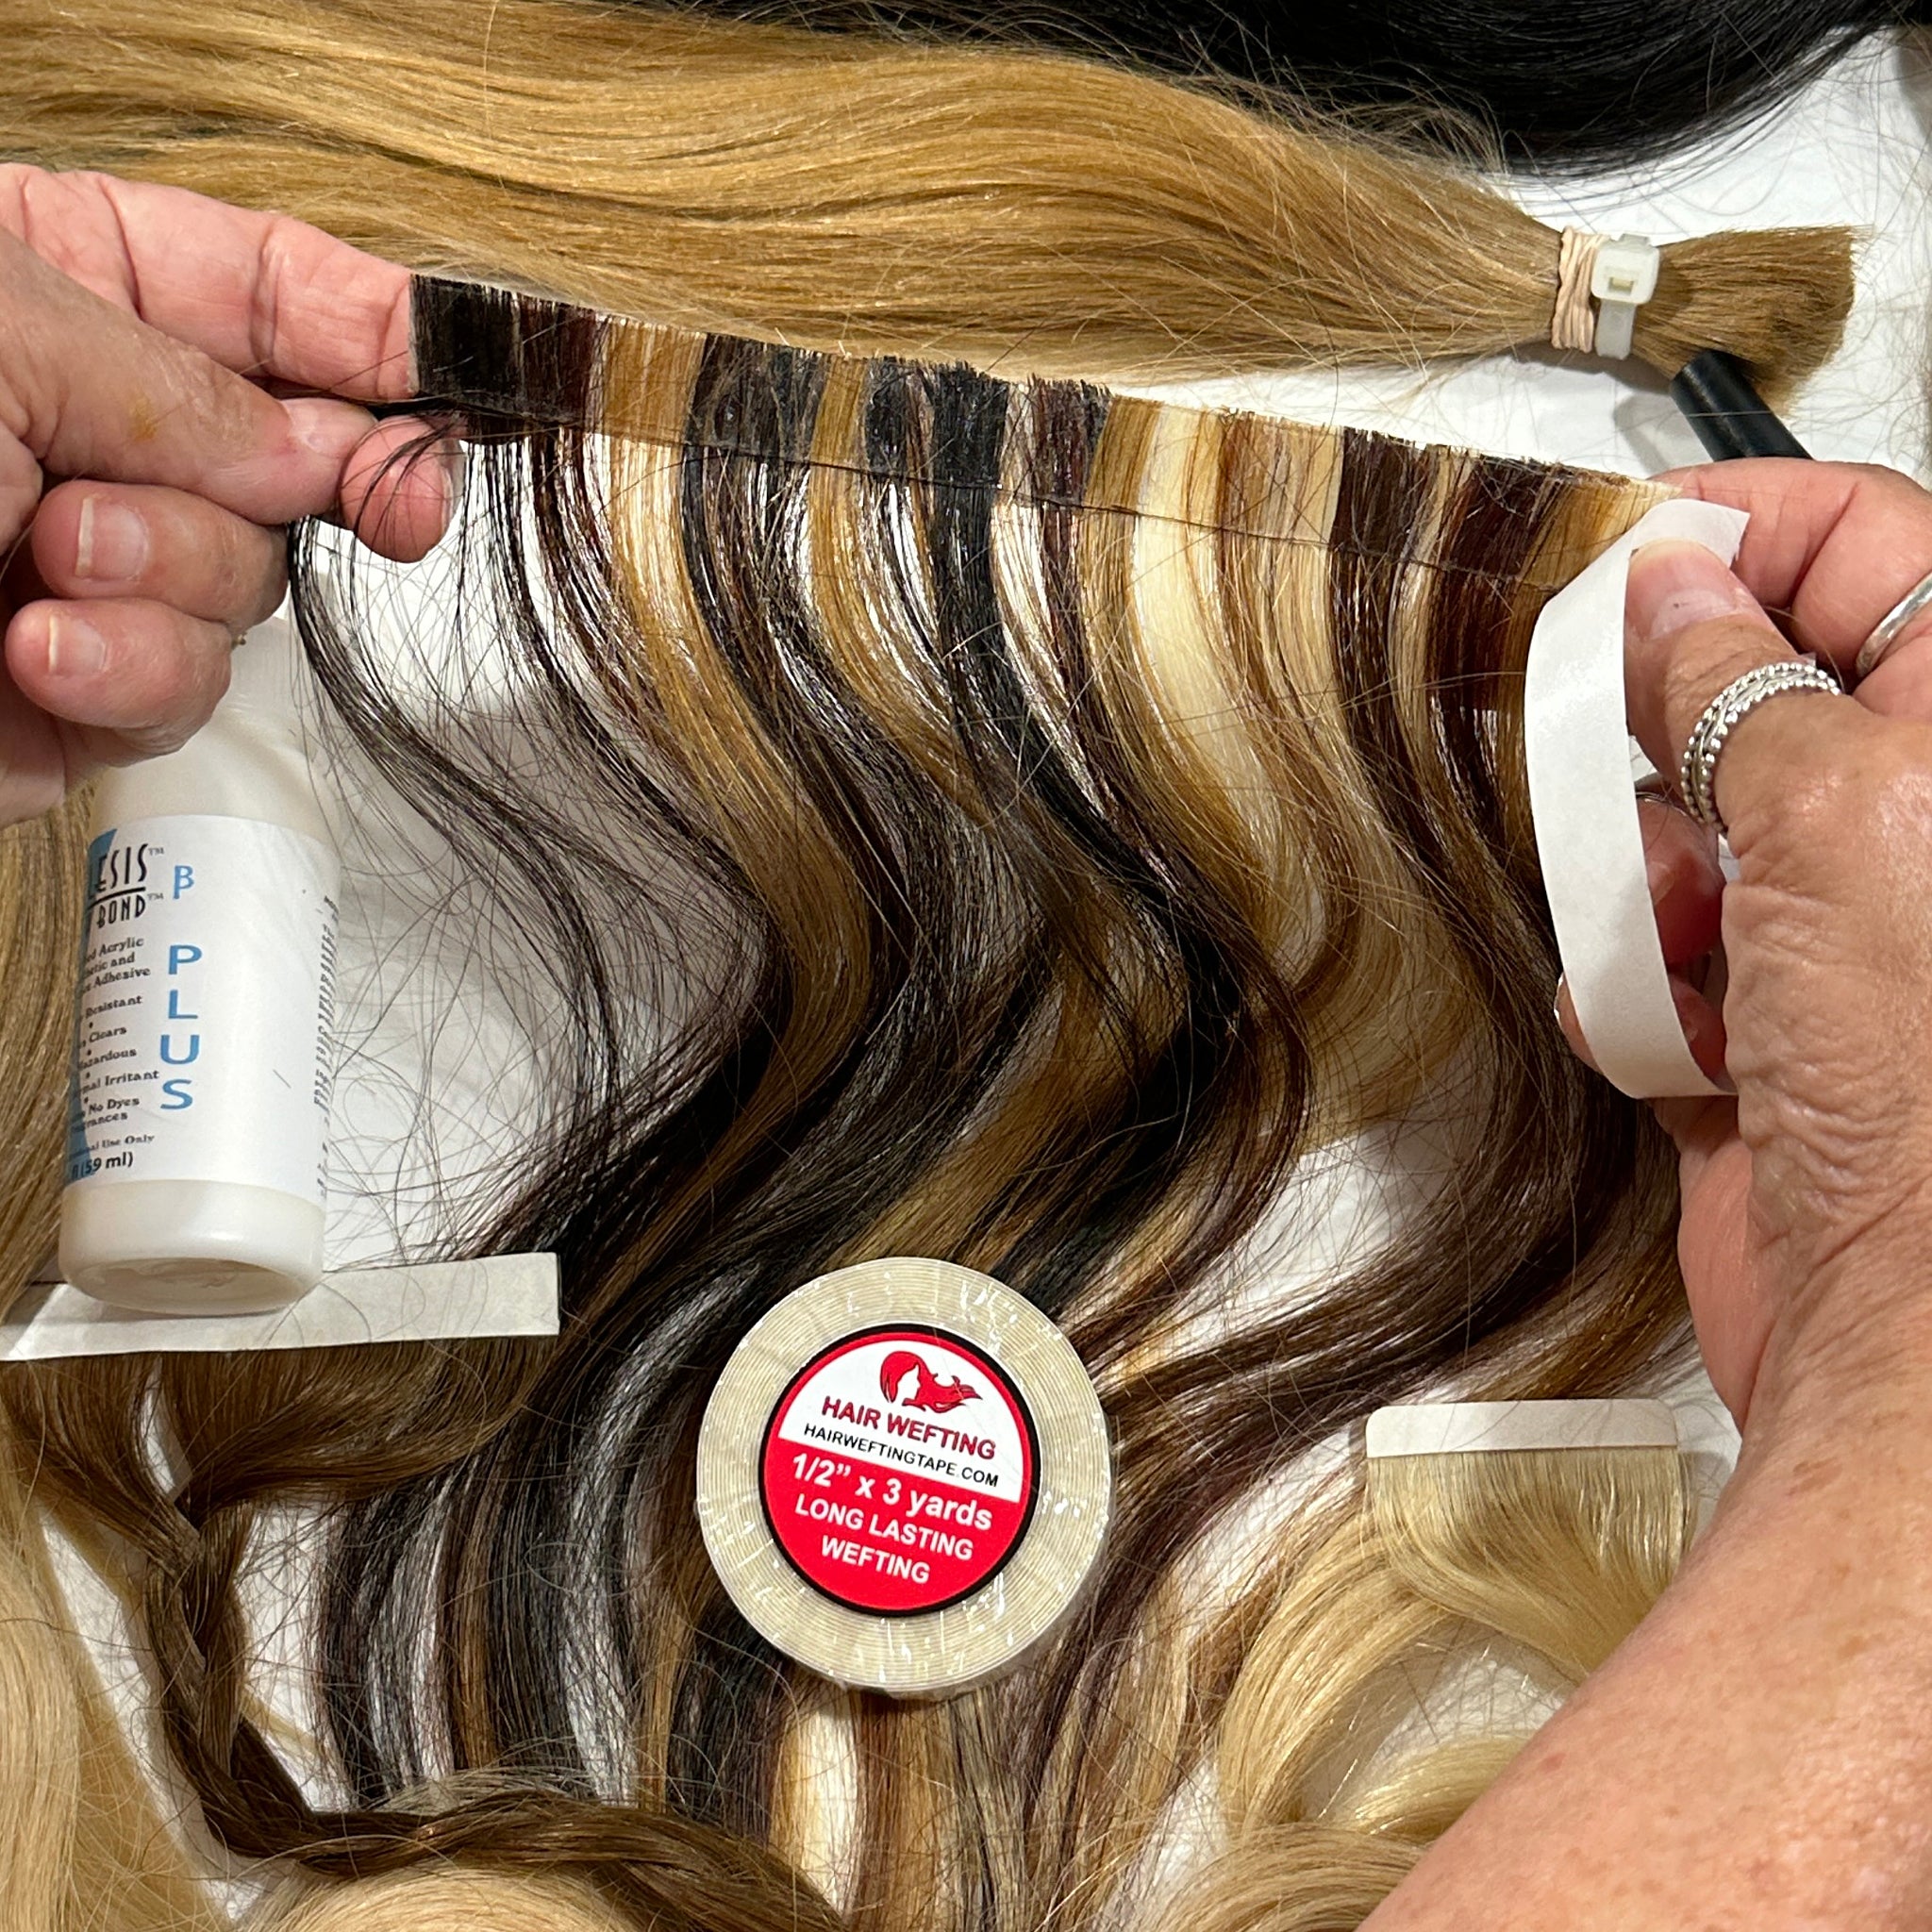
- Our Specialty Hair Wefting Tape & Kits: When making your own seamless weft hair extensions, you must only use our specially crafted tape. It is engineered specifically for making your own DIY hair wefting tape extensions—no other tape on the market has been made just for this purpose. We offer complete kits and easy-to-follow video tutorials on hairweftingtape.com showing you how to transform raw bulk hair, salon-cut ponytails, or bulky machine-wefted hair into ultra-thin, completely comfortable, and wearable seamless tape-ins.
- For the sandwich method: Our ultra-strong replacement tapes or Seamless Pro Extreme Hold Hair Wefting Tape Kits.
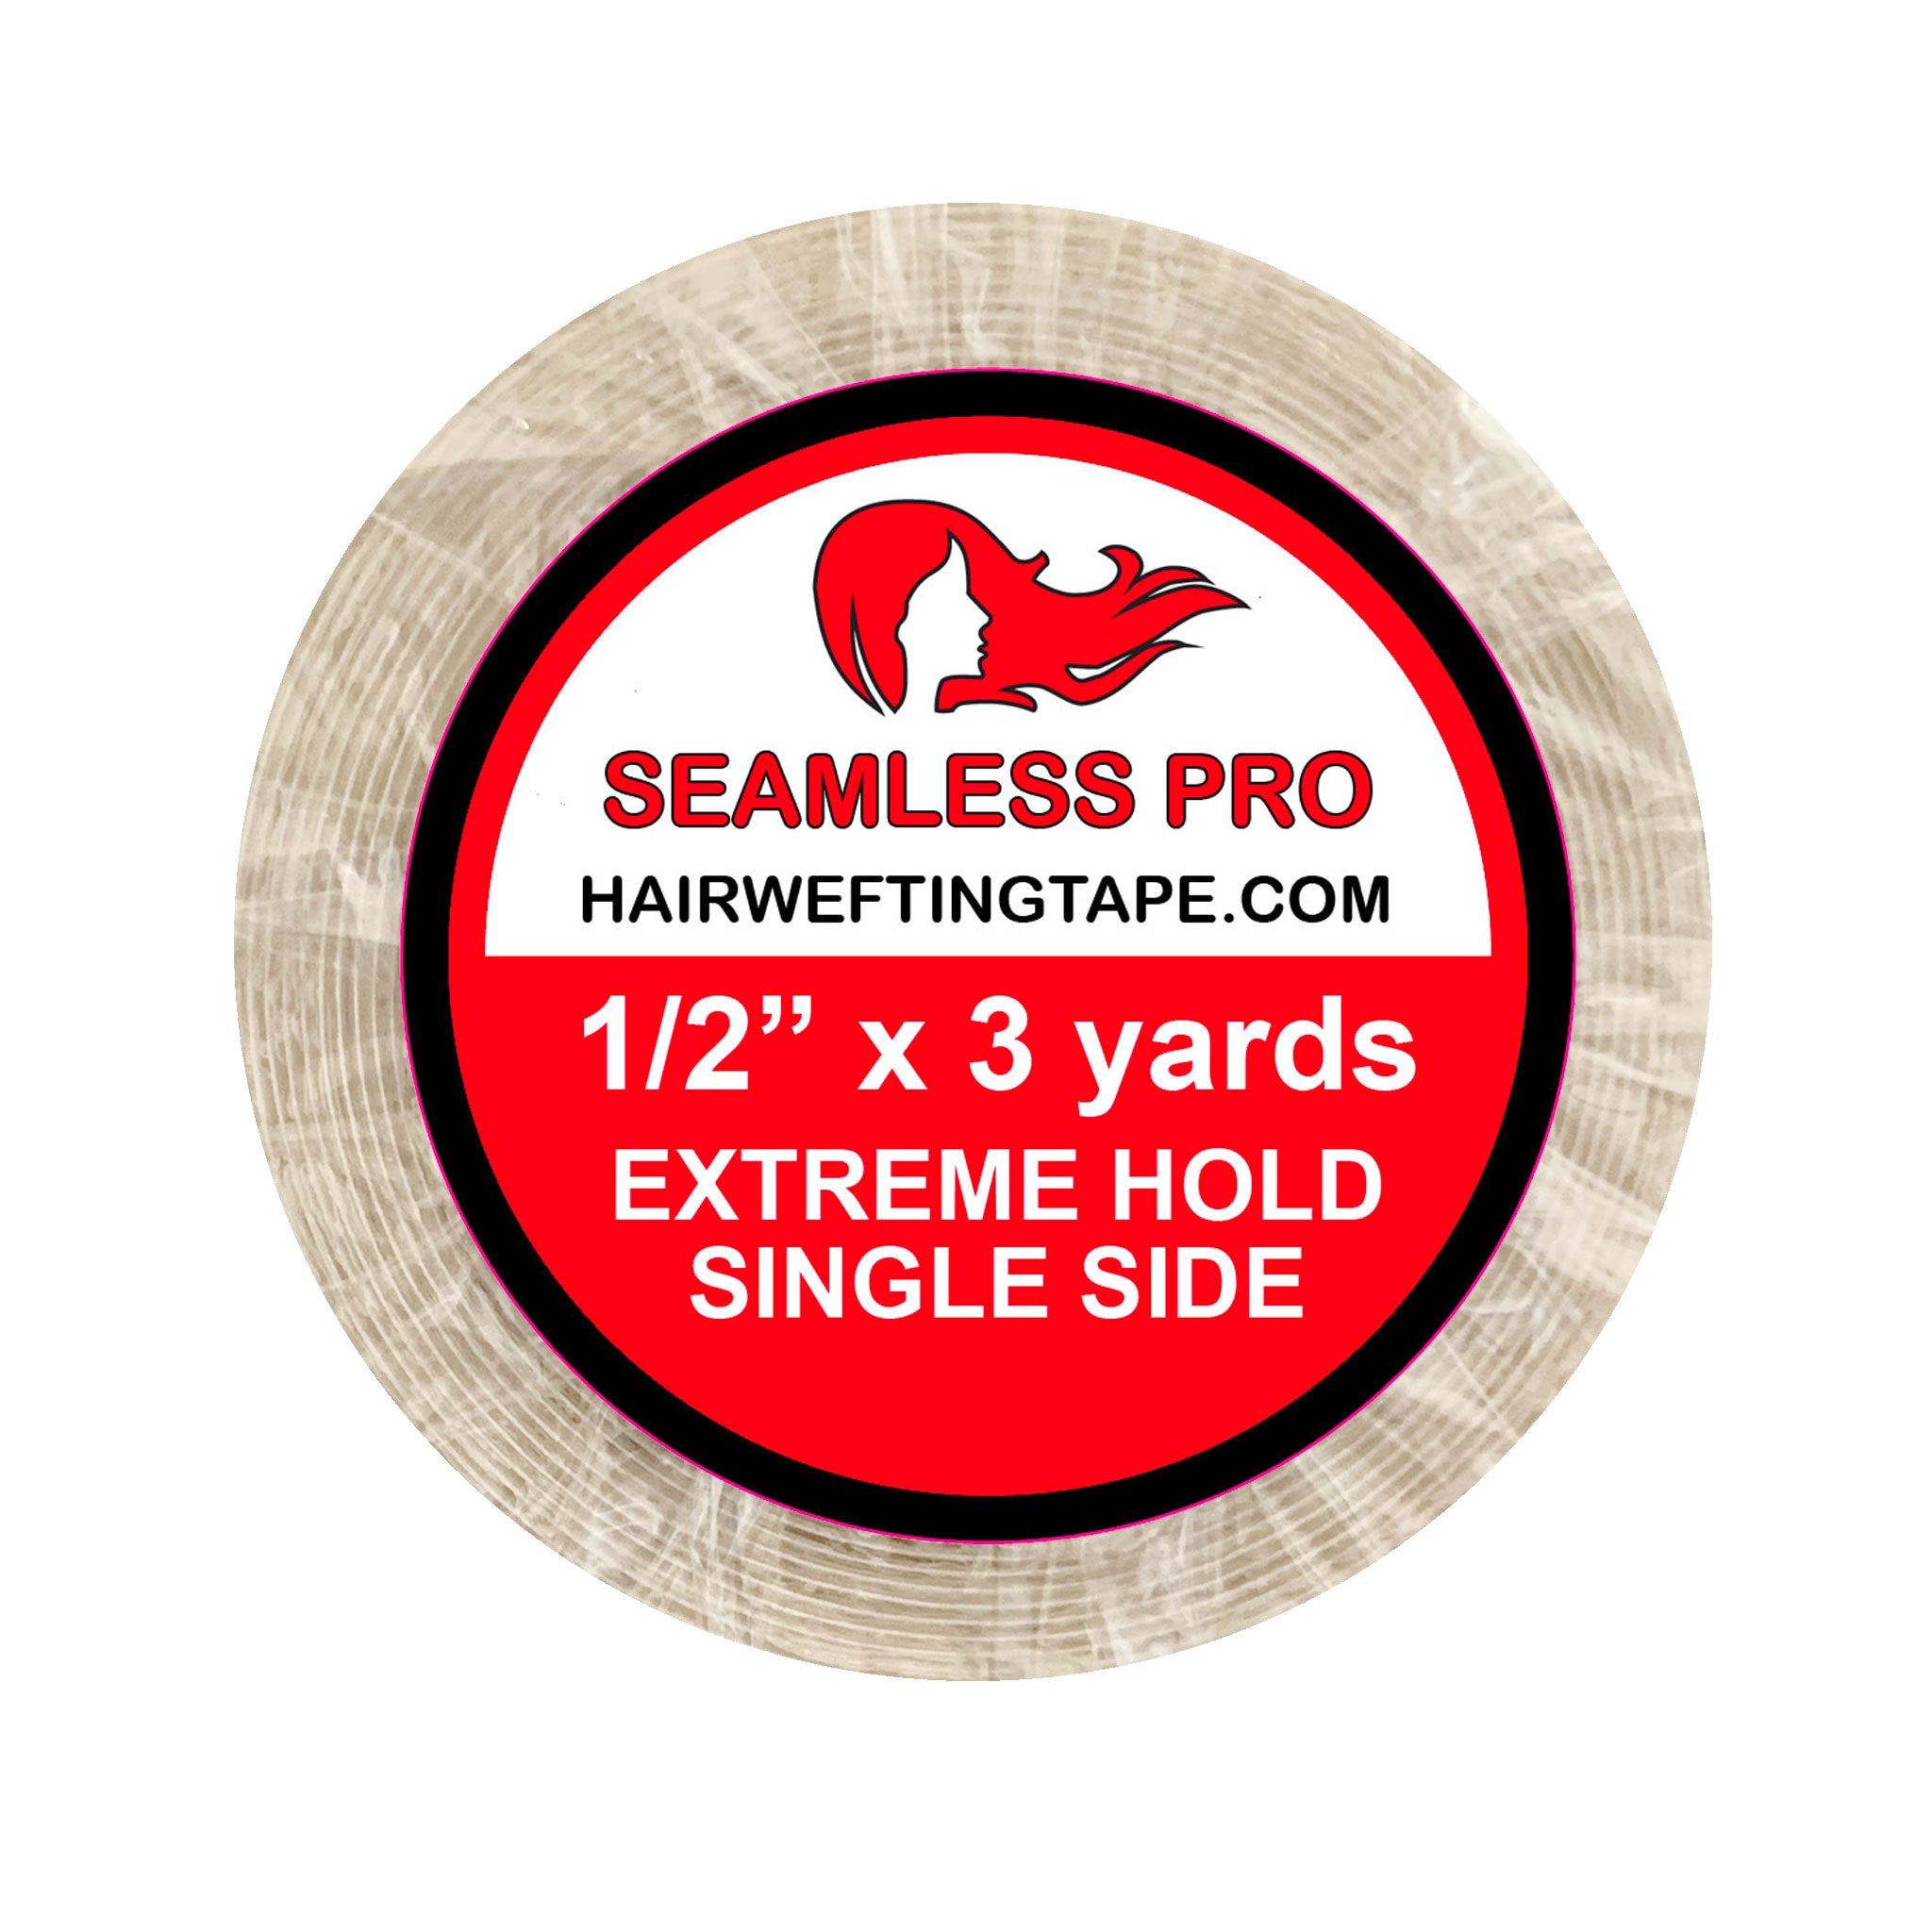
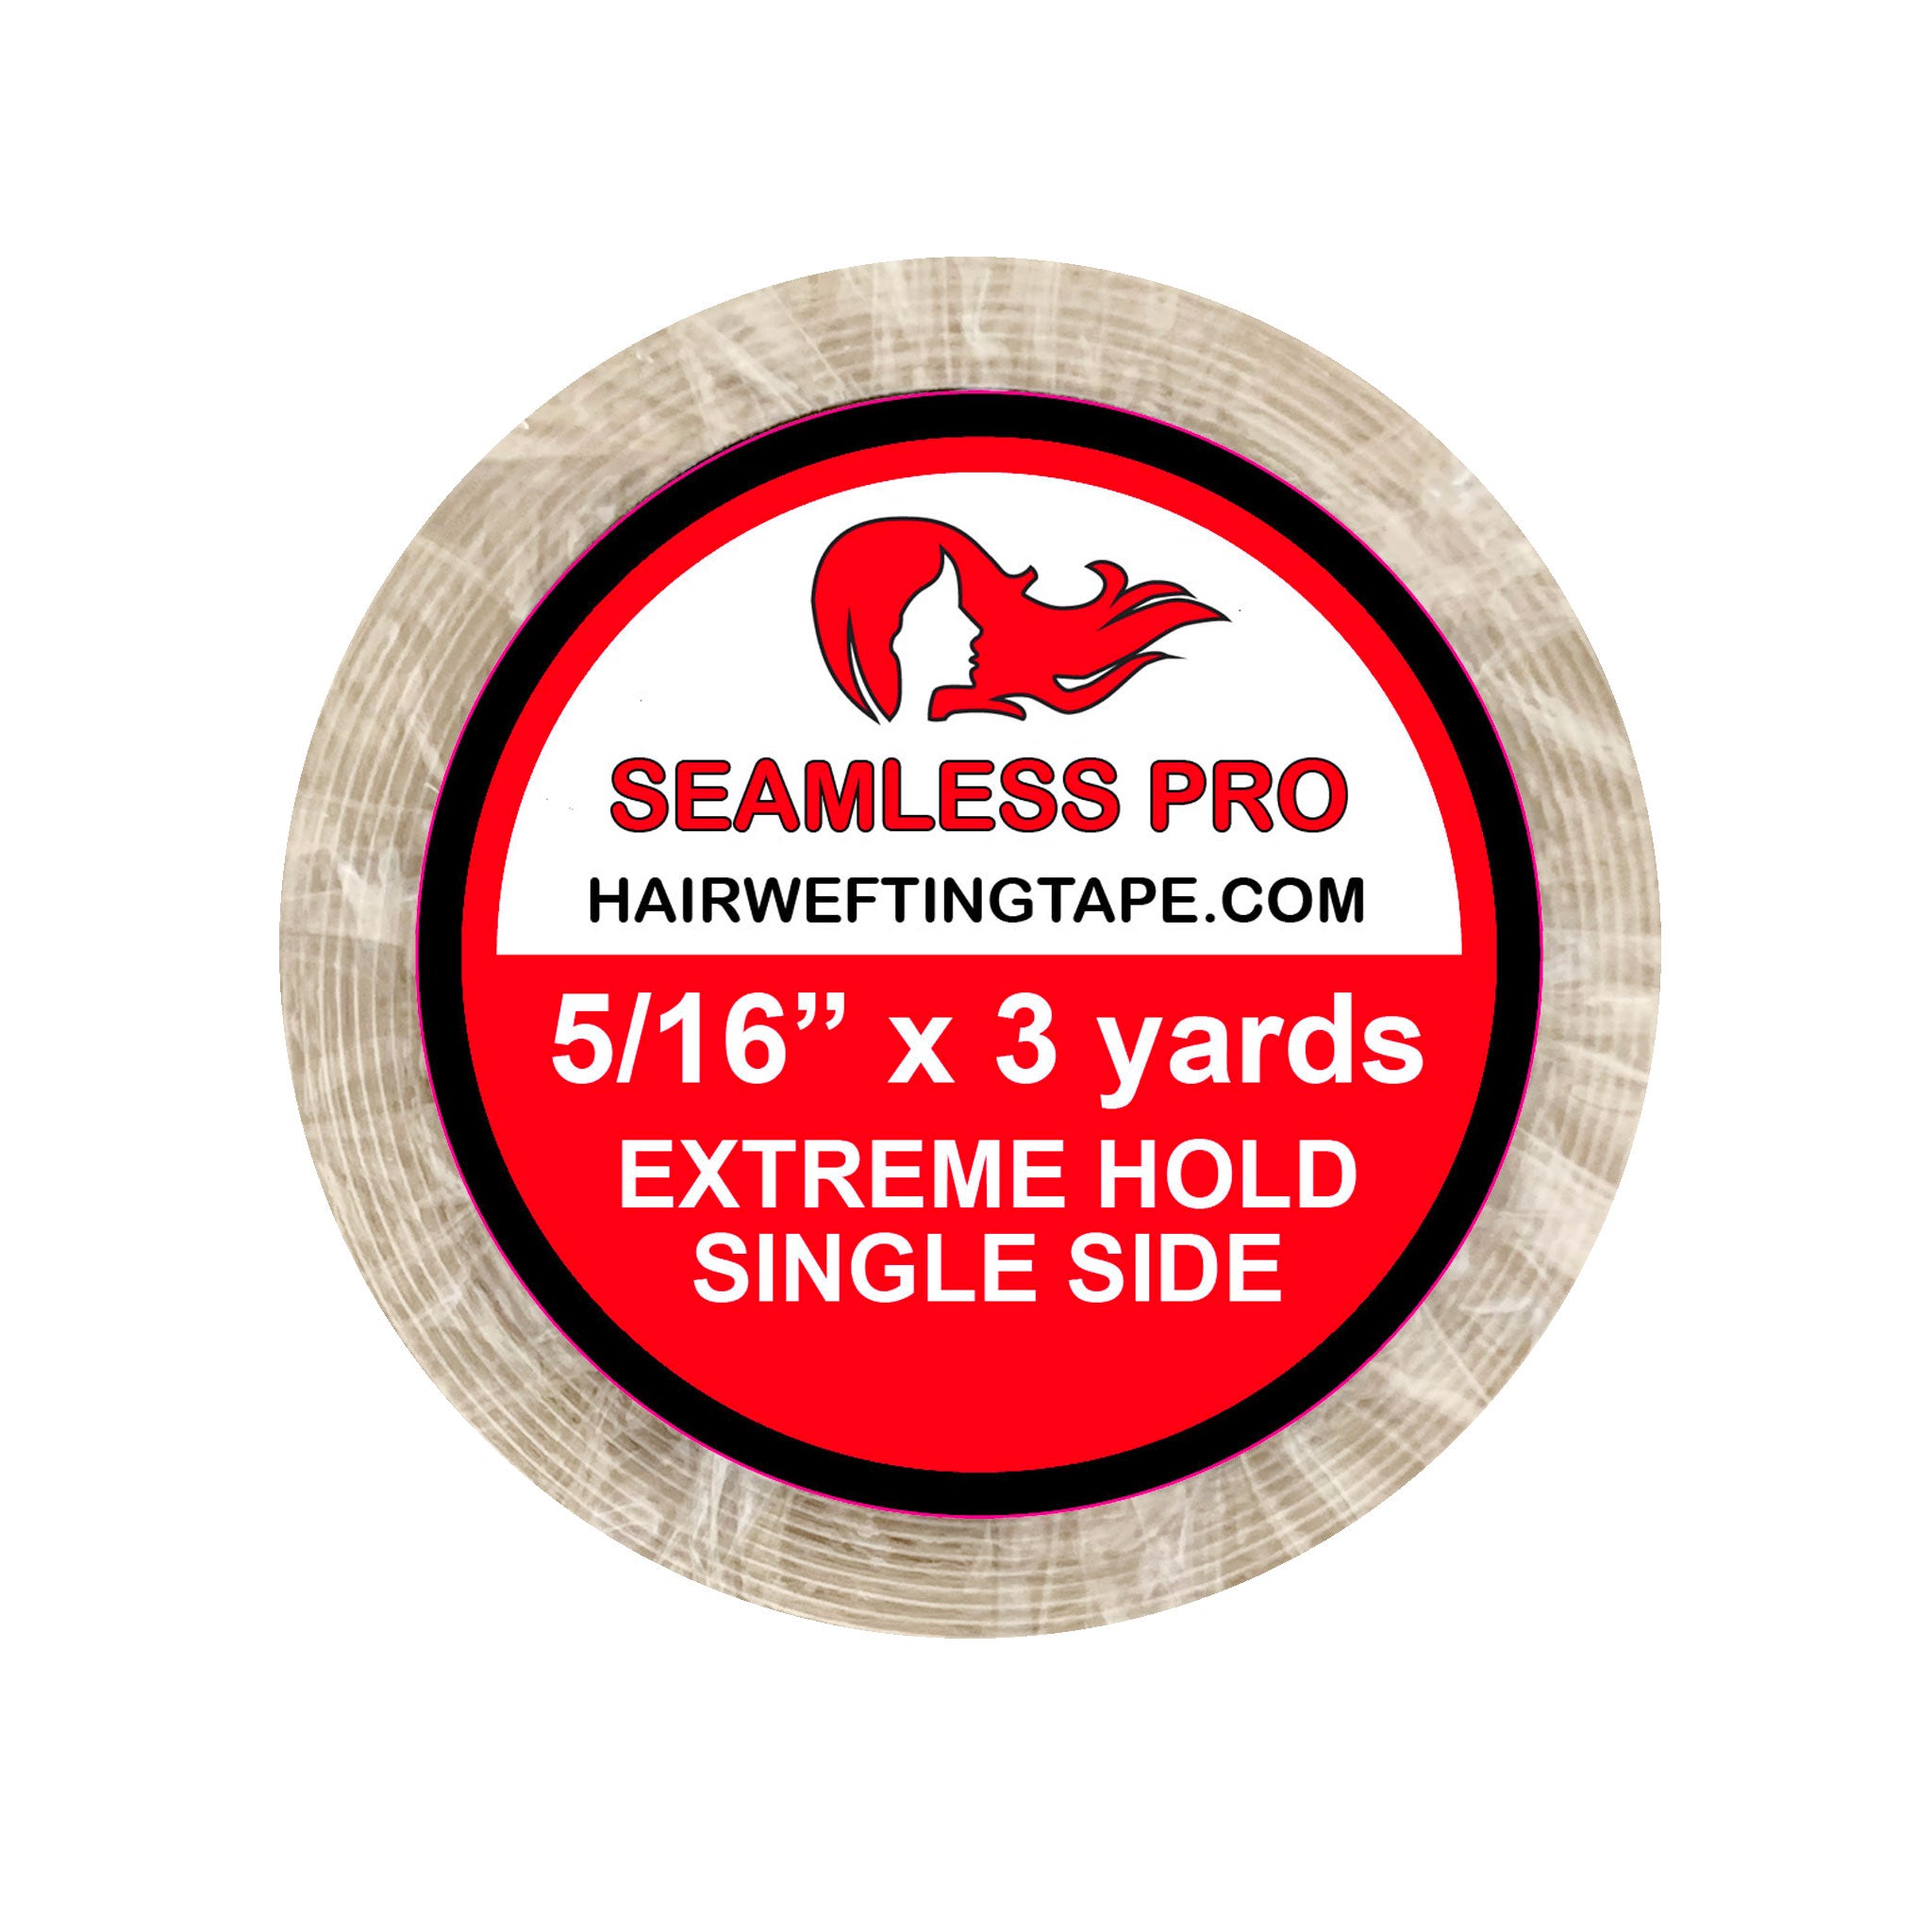
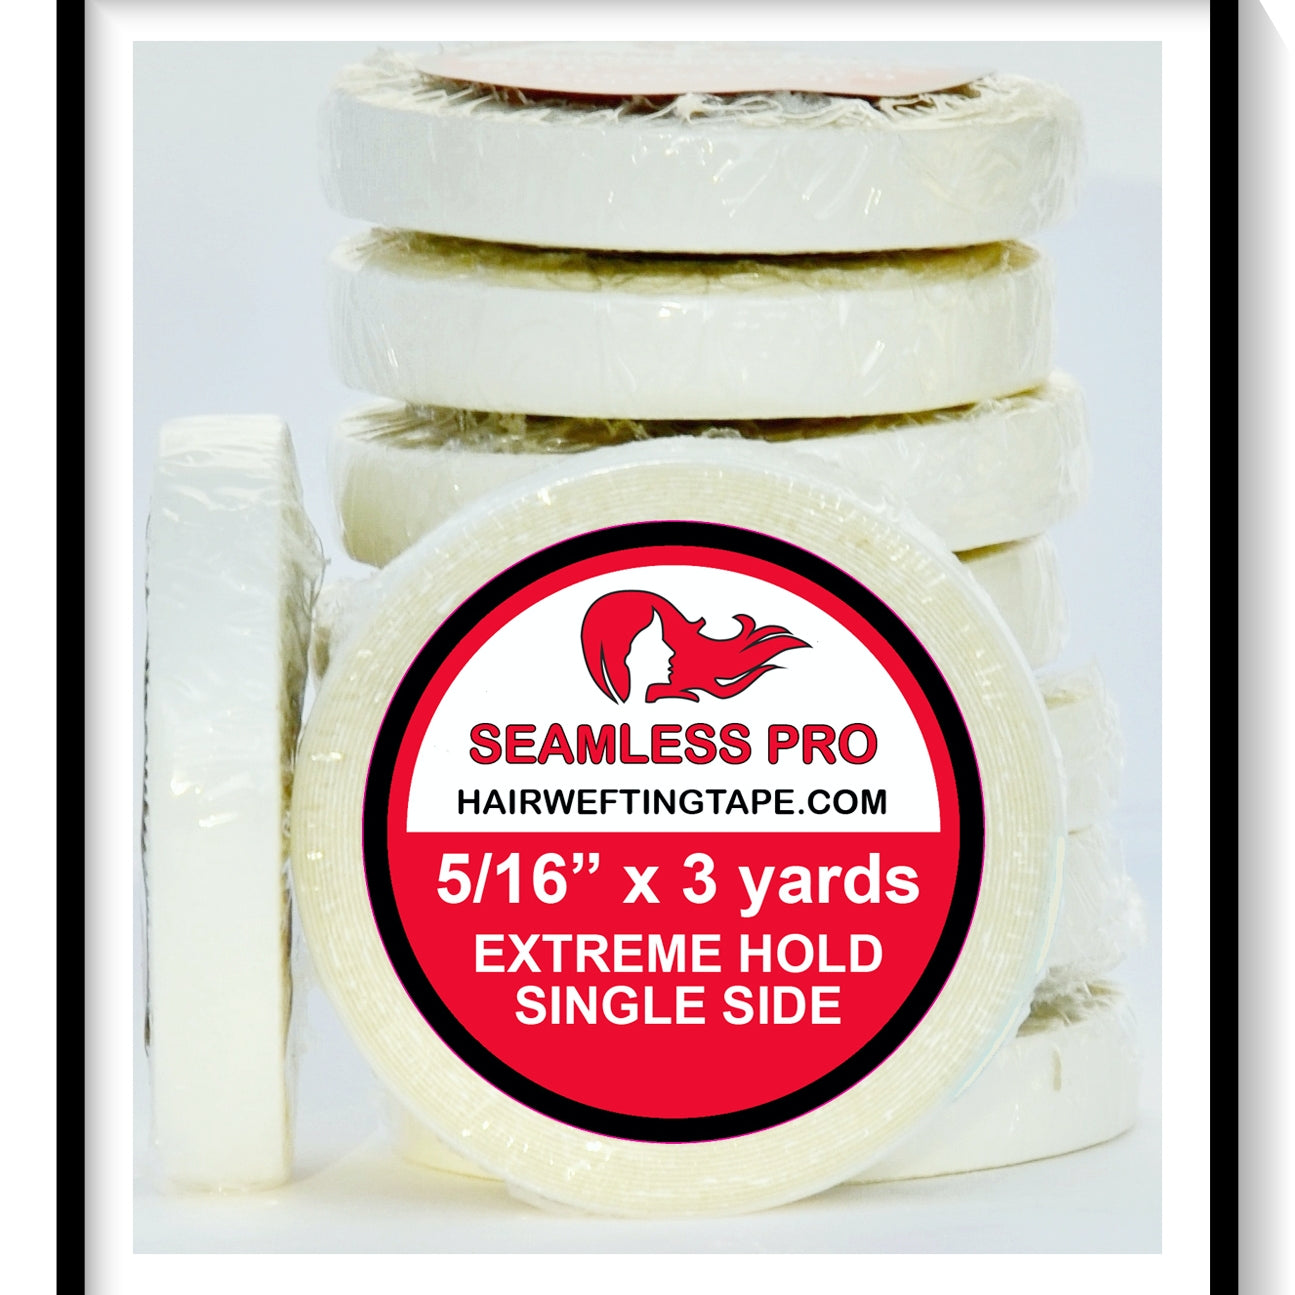
- For the single-weft method: Our specialty mess-free Seamless Pro Single-Sided Tape 5/16" x 3yd or 1/2" x 3yd.
- High-Quality Hair Wefts: Bulk hair, a ponytail, or cut-off machine wefts that you have prepped using our hair wefting tape systems to make them thin and flat.
- Specialized Liquid Glue (Optional): Your choice of hair extension liquid adhesive if you are utilizing the Method B single-weft technique.
- Rat-Tail Comb: Essential for carving out laser-straight, clean parts and pulling down precise hair strands with the pointy end.
- Flat Iron: Crucial for smoothing out natural textures and avoiding painful crosshairs.
- Bobby Pins & Spare Tape Backing: For our advanced scalp-protection layout trick.
- Hair Sectioning Clips: To hold your top hair completely out of the way while working on your open rows.
- Hands-Free Mirror Setup: An adjustable, pull-out wall mirror or tri-fold mirror to keep both hands free while viewing the back of your head.
🧠 The Gold Standard Placement Rules
- The Stacking Test: Before peeling any tape backing, physically hold your 2 or 3 wefts stacked above each other against the back of your head to check your spacing and top hair coverage.
- The "No-Peel" Layout Rule: Always map out your entire layout with the white protective backing fully intact. If you peel a weft and stick it down too far forward by mistake, trying to pull it up will ruin the adhesive. Finger oils instantly destroy the stickiness, meaning you cannot reuse that tape, you risk ruining your custom weft, and you will have to start all over again.
- The Occipital Boundary: Never place a weft more than 1.5 fingers above your occipital bone. This leaves enough natural hair density on top to perfectly hide the bonds.
- The Side Transition: Complete the back rows fully before moving to the sides of your head.
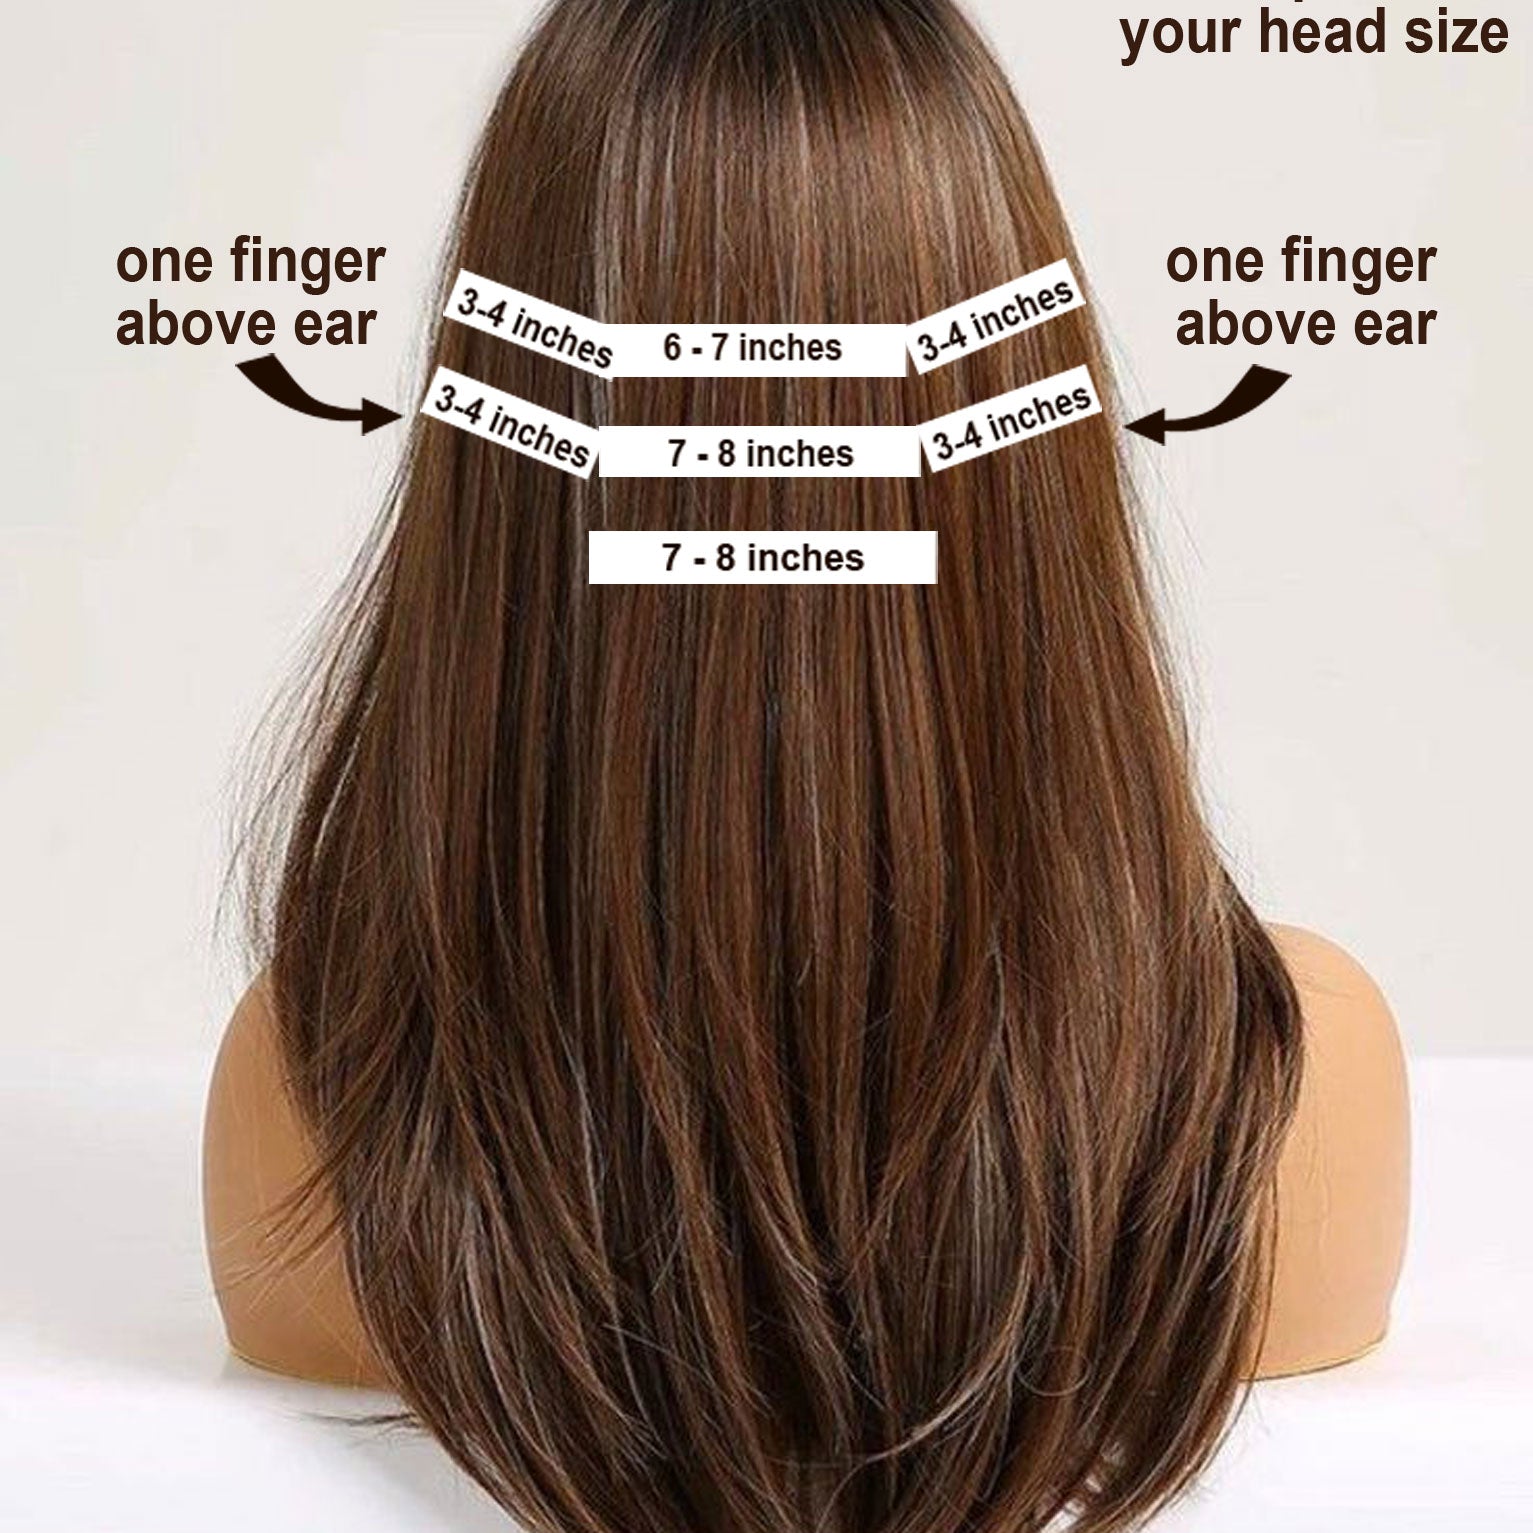
📐 The Fine Hair Placement Plan
- The Back: 3 horizontal rows total, centered on the back of the head.
- The Sides: 2 horizontal rows total on each side, placed just above the ears.
- The Bottom-Up Rule (Starting at the Back First): Always build your foundation from the lowest row at the back of the head first.
Why this matters: Starting at the back prevents you from running out of physical head space. More importantly, it lets you see exactly how the hair lays out naturally. Once you see the back pieces sitting correctly, you will know precisely how to cut your side pieces to fit perfectly, keeping you from accidentally placing them too far forward in front of your ear.
🪜 Installation Order: Step-by-Step
1. Prep Your Station & Hair
- Set up your mirror view: Use a pull-out, adjustable wall mirror or a tri-fold styling mirror so you can stand and see the exact back of your head hands-free. This leaves both of your hands free to part and place your wefts accurately.
- Wash twice: Use a clarifying shampoo to strip away all styling oils.
- Skip conditioner: Do not use conditioner near the roots where the tape will sit.
- Dry completely: Ensure the hair is 100% dry before sectioning.
- Flat iron straight: Smooth out any natural curl or wave from root to tip.
2. Install the Back Rows (Bottom-Up)
- Part perfectly: Create a crisp horizontal part below your occipital bone (never go more than 1.5 fingers above it).
- Zero crosshairs: Ensure no stray hairs cross over the line to prevent pulling, pain, and issues during future takedowns.
- The Comb Trick: Use the pointy end of a rat-tail comb to pull a very fine layer of hair strands straight down over the tape line area. (Remember to use the bobby pin and backing paper shield trick here if you want to protect your scalp completely!)
Choose Your Bonding Method (A, B, or C):
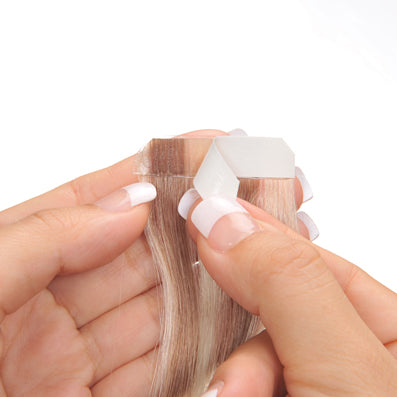
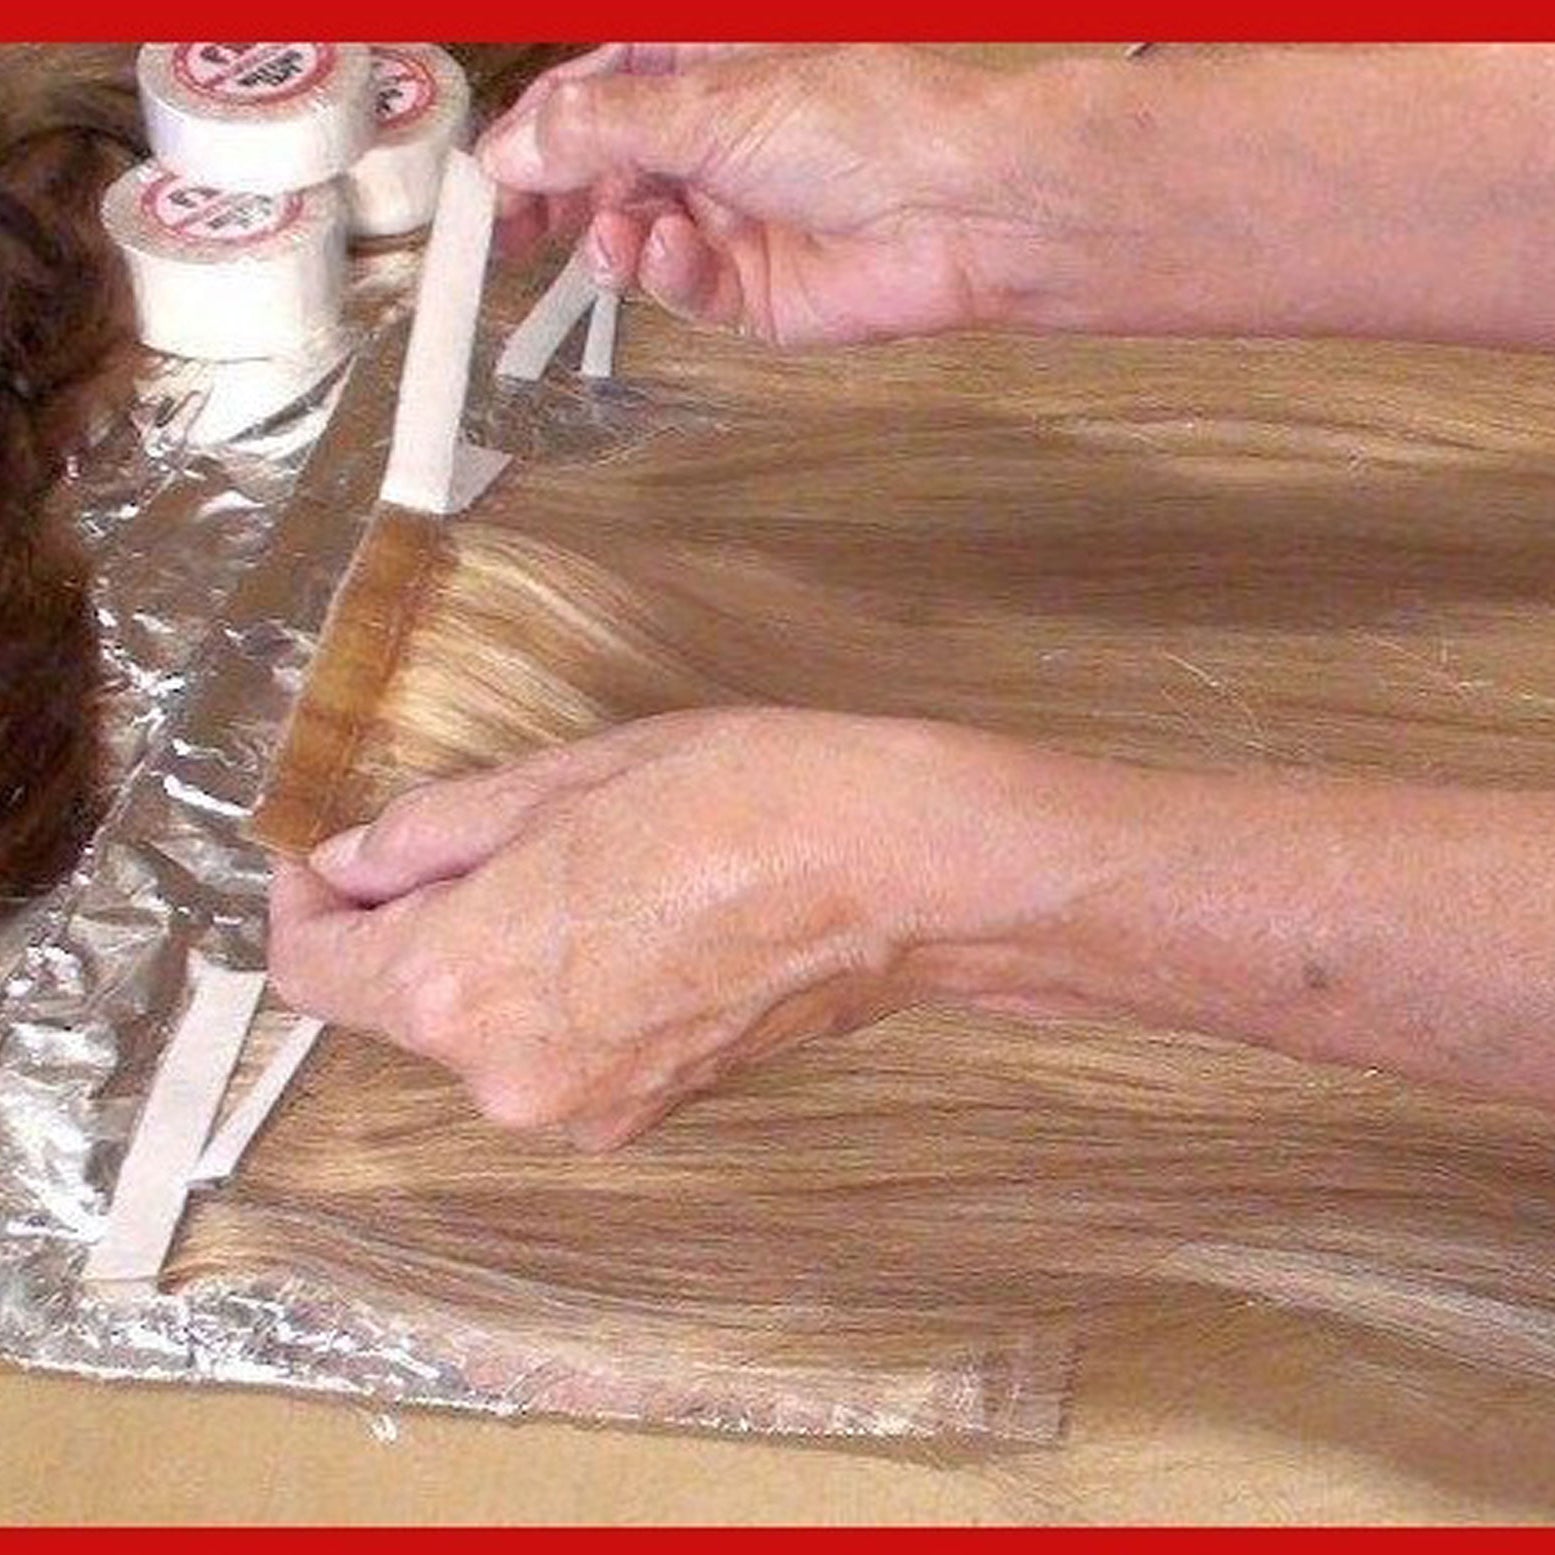
- Method A (The Classic Sandwich): Lay your first weft directly on top of the hair part line where you want it. Use your comb to pull down a small, thin amount of your natural hair over the tape, then press a second matching weft directly on top to trap your natural hair between them.
- Method B (The Single-Weft Liquid Adhesive Method): Apply a thin layer of specialized hair extension liquid adhesive/glue directly to the tape side of your single weft. Press this sticky side up against your natural hair strands.
- Method C (The Single-Sided Tape Method): Perfect for a lightweight, mess-free install! Press your single hair extension weft onto the hair strands. Lift the weft up, and press a strip of our specialty Single-Sided Tape (5/16" x 3yd) or 1/2" x 3yd firmly against the exposed weft adhesive with your fingers. No heat is required. The non-stick side faces your scalp, so you never feel any stickiness when you sweat or when it gets hot outside.
- Repeat: Move up to your next straight line and apply your chosen method.
3. Install the Side Rows
- The Sunglasses Rule: Leave at least one finger's width of space directly above your earlobe so you can wear glasses comfortably and give the weft room to grow out over the ear.
- The Wind & Ponytail Rule: Never place your side wefts more than one finger in front of your ear so they stay hidden in the breeze or when tied up into a ponytail.
- First Side Row: Lay your bottom side weft, use your rat-tail comb to pull a very thin amount of hair straight down over the tape area with zero crosshairs, and bond it using Method A, B, or C.
- Second Side Row: Create a new straight part roughly an inch or more above the first row, pull down your thin layer of hair, and apply your final side weft.
- Lock it in: Press all finished bonds firmly with your extension pliers to seal the tape.
🧴 The Pro Takedown Secret (For Future Move-Ups)
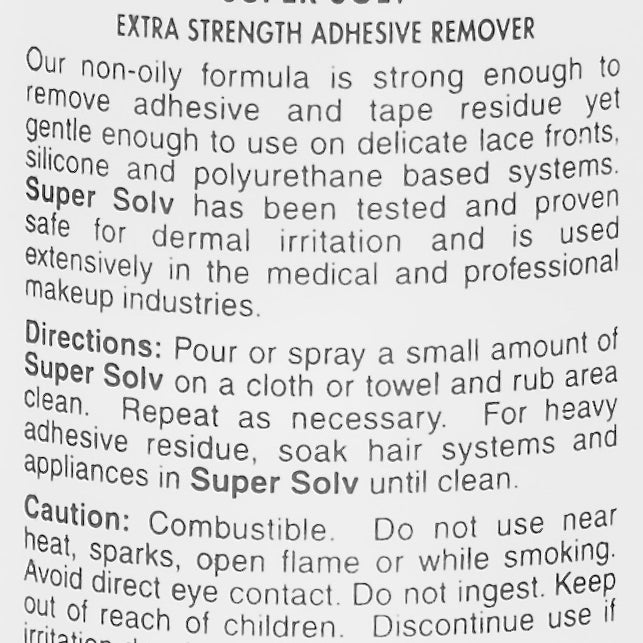
- The Single-Weft Advantage: If you used Method B or C, growing out and removing your extensions is exceptionally easy because you are not prying two heavy, taped wefts apart. You only need to apply remover to the single adhesive side.
- The Temperature Secret: When you are ready to take your wefts down, always use warm to hot water alongside your liquid remover. The heat is the absolute key to softening any amount of glue on the tape, ensuring the extensions slide right out smoothly without pulling your natural hair.
📺 Watch the Step-by-Step Video Tutorials on YouTube!
Want to see exactly how these methods are done in real-time? We have full video demonstrations showing you how to prep, tape, glue, and install your own custom extensions perfectly at home!
Click here to visit and follow the Hair Wefting Tape YouTube Channel. (Insert your actual YouTube channel URL inside the parenthesis)